Make It Monday | Gift Card Holder

Gift Card Holder video tutorial featuring Flower Patch from Stampin' Up! UK

Make It Monday with Stampin' Up!
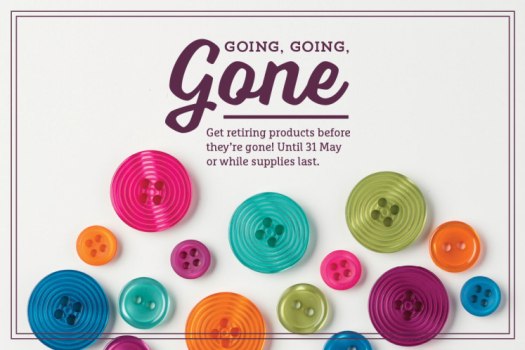
Now, before we go any further with todays project I need to remind you about this years Retiring List. The List was released last week and heaps of stuff has already sold out, left the building, goodbye and I really don’t want you to miss out on anything else. So, before you read today’s post go and check out the Retiring Products Page and grab yourself a bargain!

Right, with that out of the way today I’m sharing video tutorial! Yes, I managed to get some filming done (two videos for you lovely lot this week!) and here is the first!

Gift Card Holder video tutorial featuring Flower Patch from Stampin' Up! UK

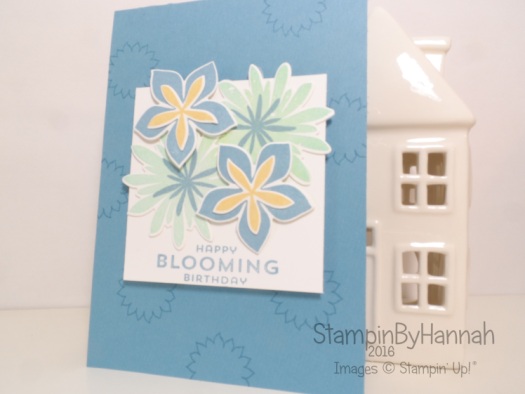
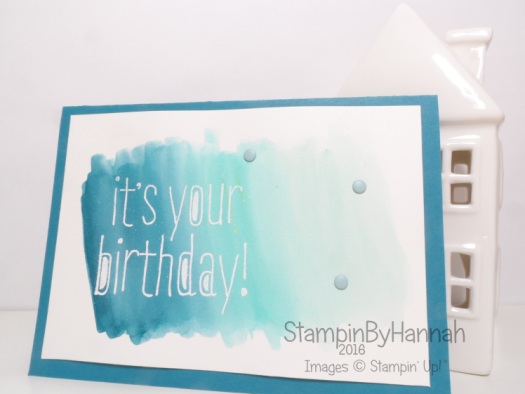
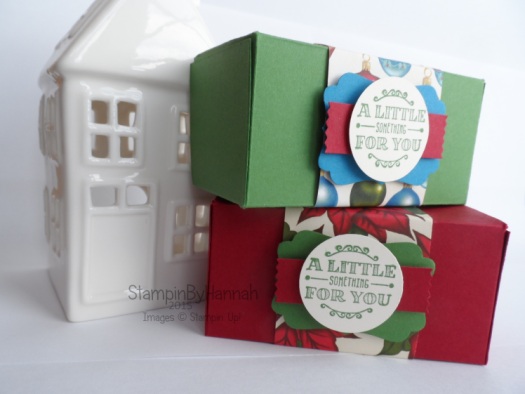
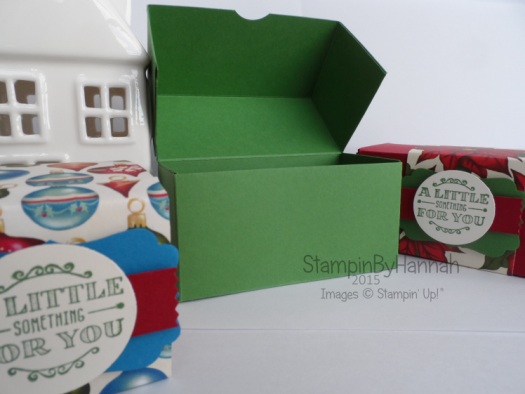
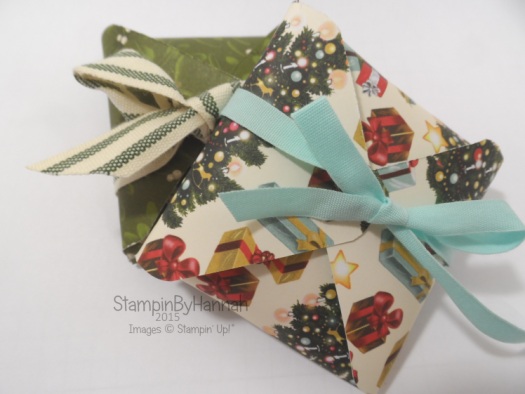
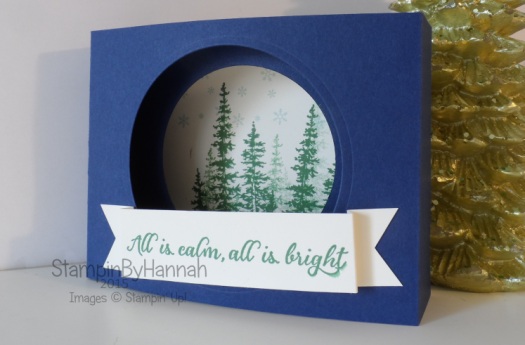
This card was inspired by the gorgeous Jennifer McGuire. I love the idea of adding a gift card in a way other than with a glue dot!

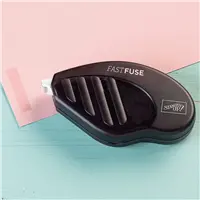
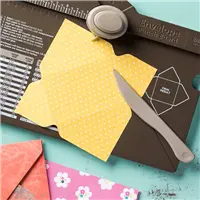
The key to this card is really in the adhesive. You could use the sides of your Dimensionals, however coming on 1st June we have some great Foam Adhesive strips that would work amazingly for this.

Gift Card Holder Featuring Cups and Kettles from Stampin' Up!

And who needs a reason to send a gift card?!


Measurements:

Flower Patch Card – Card Base: Half A4 folded in half, Whisper White panel: 3 x 3″ (7.5 x 7.5 cm)

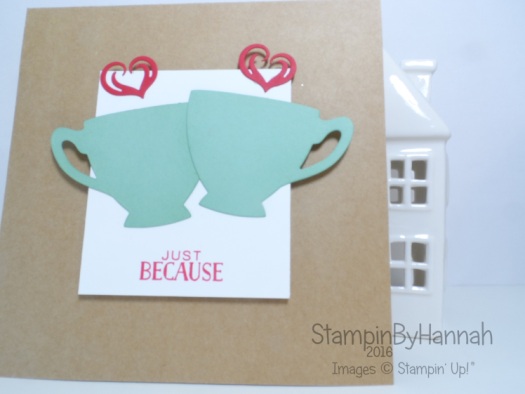
Cups Card – Card Base: 12 x 6″ (30 x 15 cm) Kraft Card scored at 6″ (15 cm), Whisper White Panel: 3 1/2 x 3″ (9 x 7.5 cm)
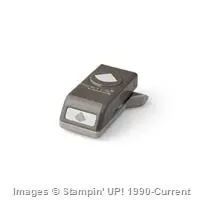
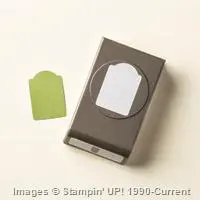
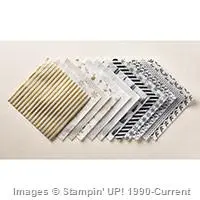
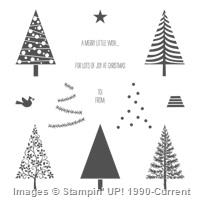
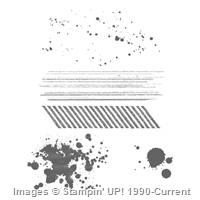
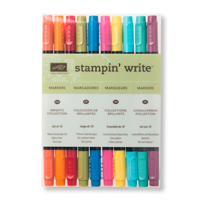
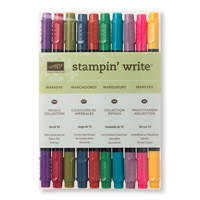
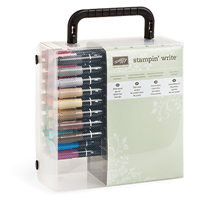
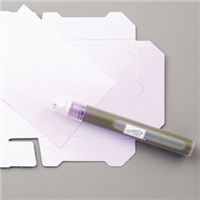
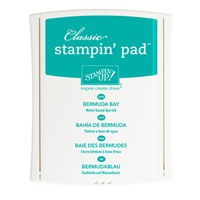
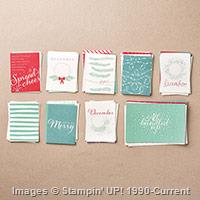
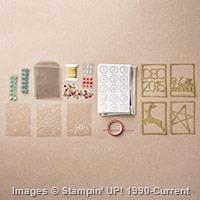
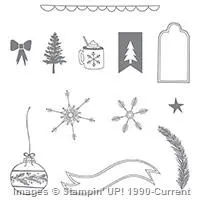
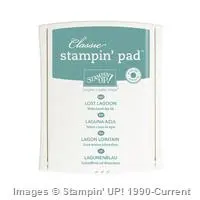
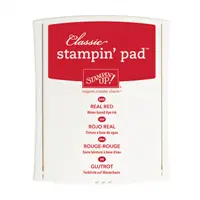
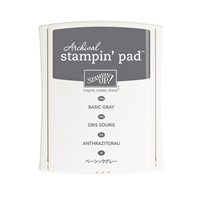

Stampin' up! Uk retiring list 2016


Product List


Shop Now button-001Join my team button-001

To purchase any of the items featured in my projects please use the links above. To join my team of Stampin’ Friends select ‘Join My Team’ or send me a message!

Please support StampinByHannah, and join my Code Club, by using the Hostess code featured in the top right hand of my blog. For orders of over £150 please do not use this code, as you are entitled to your own Hostess benefits!

Sign up to my newsletter here – http://eepurl.com/2if59

Hannah McCurley

Stampin’ Up! UK Independent Demonstrator

Make It Monday | Watercolour Wash

Make It Monday Watercolour Wash video tutorial

Make It Monday with Stampin' Up!

I did it! I finally got round to making another video tutorial for a Make It Monday! Yay!

This week here at StampinByHannah I have a heap of projects using Watercolour to share with you. I love watercolour, I love playing with inks and getting a little messy, creating one off pieces and generally having fun with ink! Yesterday I attended a Team Training day (more on that coming this week, but I will admit that this blog post was written last week!) and held an inspiration station based around watercolouring, so I have a mountain of samples to share with you, featuring a range of watercolouring techniques. But I thought I would keep it simple for Monday, and demonstrate a watercolour wash

Make It Monday Watercolour Wash video tutorial

This was my original card, and the wash here is in Island Indigo, Bermuda Bay and Pool Party, super pretty. This card would be perfect for a masculine birthday and so the sentiment it taken from Big News and has been heat embossed in white.

The key to an effective watercolour wash for me is to use an Aqua-Painter. I tend to prefer a traditional paint brush when watercolouring images, but for a wash like this one, the Aqua-Painter really comes into it own. The great thing about an Aqua-Painter is that the handle of the brush is full of water, which comes out onto your paper via the bristles of the brush which means that as you ‘wash’ over your card stock with the brush more water feeds out, diluting your ink further and giving you a super easy ombre effect.

Stampin' Up! UK Watercolour Wash Video Tutorial Thank you card

Now for these cards as the colour starts to fade on your wash, I have added in a different colour to create a gradient and multi-colour wash. As usual there are no rules here, you could use just one colour or you could create a whole rainbow, who says you stick to just blues!


Don’t forget to shop using the Code Club Code to receive some great FREE product!

7AXEMZNA

I will be closing this order on the 30th April 2016


Product List


Shop Now button-001Join my team button-001

To purchase any of the items featured in my projects please use the links above. To join my team of Stampin’ Friends select ‘Join My Team’ or send me a message!

Please support StampinByHannah, and join my Code Club, by using the Hostess code featured in the top right hand of my blog. For orders of over £150 please do not use this code, as you are entitled to your own Hostess benefits!

Sign up to my newsletter here – http://eepurl.com/2if59

Hannah McCurley

Stampin’ Up! UK Independent Demonstrator

Make it Monday | Reactive Watercolour

Make it Monday Reactive Watercolour with Stampin' Up! f

Make It Monday with Stampin' Up!

Hello! Welcome to another week of Make it Monday! I hope you are enjoying this series of posts as much as I am. Last week I made a card an photographed each stage, but this week I thought I would make a video. I haven’t made any video tutorials for a while so I am a little rusty, so please forgive any mistakes or issues. I had so much fun making this card, using some of those great Sale-a-bration products for the last time!

Make it Monday Reactive Watercolour with Stampin' Up! f

Sale-a-bration ends on March 31st (that’s Thursday!), but until then you get to choose from 11 gifts when you spend £45 (and you get to pick extras each time you hit that £45, so you get 2 free things if you order comes to £90!) or you could get the best deal ever and join my team of Stampin’ Friends for just £99 and choose £160 worth of great Stampin’ goodies! Awesome!

Reactive Watercolour is a great technique, and its super simple too! Just stamp your image in Stampin’ Up! ink and spritz with a little water – then sit back and watch the ink move and bleed. The more water you add the more the ink moves.

On this card, once the ink had dried I over stamped the images again as I may have gone a little over board with the water the first time around!

Stampin' Up! UK Sale-a-bration flowering fields Perfect Pairings

Finished with a stripe of the Metallic Glitter Tape in Silver and this card is done!

I hope you enjoyed this weeks Make It Monday, and I’ll see you here again next week for another great project! Don’t forget to place those last Sale-a-bration orders soon, or your favourite items may already have sold out!


Stampin' Up! Sale-a-bration


Product List


Shop Now button-001Join my team button-001

To purchase any of the items featured in my projects please use the links above. To join my team of Stampin’ Friends select ‘Join My Team’ or send me a message!

Please support StampinByHannah, and join my Code Club, by using the Hostess code featured in the top right hand of my blog. For orders of over £150 please do not use this code, as you are entitled to your own Hostess benefits!

Sign up to my newsletter here – http://eepurl.com/2if59

Hannah McCurley

Stampin’ Up! UK Independent Demonstrator


12 Weeks of Christmas | Quick Tags

Stampin' Up! UK Quick Christmas tags

Stampin' Up! 12 weeks of Christmas

I don’t know if anyone else is like me and quickly running out of time before Christmas! I still haven’t got round to making my Christmas cards yet, let along finishing Christmas shopping or even thinking about getting any food in! I’m working at the day job over much of Christmas this year, and so have a few extra bits to do too – making gifts for colleagues and sorry I can’t be there cards for family members. Still, I’m sure it’ll all get done (even if its in January!)

Stampin' Up! UK Quick Christmas tags

So this week I hadn’t even managed to grab 5 minutes to make a video for you, I know – shocking seeing as it is Week 12 of our 12 weeks of Christmas! – and so this video is a little bit different!

At least I can now tick one job off my list – Christmas tags done!

What have you still got on your Christmas to do list?


Shop Now button-001Join my team button-001

To purchase any of the items featured in my projects please use the links above. To join my team of Stampin’ Friends select ‘Join My Team’ or send me a message!

Please support StampinByHannah, and join my Code Club, by using the Hostess code featured in the top right hand of my blog. For orders of over £150 please do not use this code, as you are entitled to your own Hostess benefits!

Sign up to my newsletter here – http://eepurl.com/2if59

Hannah McCurley

Stampin’ Up! UK Independent Demonstrator

Endless Wreath

Stampin' Up! UK Christmas wreath

It’s that time again, time for a Tuesday Video Tutorial! Yay!

I love this card, although I do wish that it had come out a little more circular – how many wreaths have you seen with corners?! but never mind, I love it all the same

Stampin' Up! Uk Christmas card stamping

This card was so quick and simple to stamp, just three colours of ink; Mossy Meadow, Old Olive and Cucumber Crush (with some Real Red for the hearts) and a quick and easy technique; oh and its not even a Christmas stamp set!

How To:

Draw a circle on your card front using a pencil – I drew around a Circle thinlit die but you could use a glass or pot. I also stamped my sentiment at this point to ensure it was centred in the wreath.

Ink up your stamp, and stamp around the circle, changing direction and colour – You could use the second generation stamping to get a variation in colour too

Add the hearts (or berries) with Real Red ink

I think this would look lovely with some added glitter or heat embossing too!


Shop Now button-001Join my team button-001

To purchase any of the items featured in my projects please use the links above. To join my team of Stampin’ Friends select ‘Join My Team’ or send me a message!

Please support StampinByHannah, and join my Code Club, by using the Hostess code featured in the top right hand of my blog. For orders of over £150 please do not use this code, as you are entitled to your own Hostess benefits!

Sign up to my newsletter here – http://eepurl.com/2if59

Hannah McCurley

Stampin’ Up! UK Independent Demonstrator

12 Weeks of Christmas | Table Gifts

Stampin' Up! UK chocolate box video tutorial

Stampin' Up! 12 weeks of Christmas

I am so sad that this is series of Christmas projects is nearly over! We have reached week 11 of 12, so only next week to go 🙁 I do hope that you have enjoyed this series as much as I have enjoyed making it!

This week I have a fabulous box project for you, that would make a great box for home-made chocolates or truffles, or as a table gift on your Christmas table

Stampin' Up! UK 12 weeks of christmas table gifts

These are quite large boxes, and I have to admit, they are quite indulgent and use a WHOLE SHEET of A4 (or 8 1/2 x 11!) but they are a great size – 2 x 2 x 4″ (5 x 5 x 10 cm)

Measurements:

Card stock = 8 x 10″ (20 x 25 cm)

Score on the short side at 2 and 6″ (5 and 15 cm)

Score on the long side at 2, 4, 6, and 8″ (5, 10, 15 and 20 cm)

Designer Series Paper measures 2 x 8 1/2″ (5 x 22 cm)

Stampin' Up! UK 12 Weeks of Christmas Chocolate box

I’m loving the belly band on these boxes, using the Home for Christmas Designer Series Paper, and A Little Something stamp set.


Don’t forget to shop using the Code Club Code to receive some great FREE product!

T7RTG437

I will be closing this order on the 30th Decemeber 2015


Shop Now button-001Join my team button-001

To purchase any of the items featured in my projects please use the links above. To join my team of Stampin’ Friends select ‘Join My Team’ or send me a message!

Please support StampinByHannah, and join my Code Club, by using the Hostess code featured in the top right hand of my blog. For orders of over £150 please do not use this code, as you are entitled to your own Hostess benefits!

Sign up to my newsletter here – http://eepurl.com/2if59

Hannah McCurley

Stampin’ Up! UK Independent Demonstrator


Festival of Watercolour

Stampin' Up! UK Festival of Trees Watercolour

I’m a little bit in love with this card! I was sat brainstorming card designs last week and this card called out to me, check the video to see exactly how this card came together!

Stampin' Up! Uk Video Tutorial festival of trees

I’m still loving getting inky, and messy with my ink, water and stamps! and this card is no exception, using one of my favourite stamp sets of all time, with Stampin’ Write markers and my water spritzer

I realised when I went to do the voice over for this card that I had forgotten about the solid image stamp in this set. I had actually selected the stamp with spaces to add your baubles, which of course just filled in with ink and water once I had used my water spritzer! I did add some baubles to the trees though, using the dotty stamp with Versamark ink and Irredescent Ice embossing powder.

Stampin' Up! UK Festival of Trees Watercolour

The photos of course do not do this gorgeous embossing powder justice, I’m blaming the horrible storm and rain we were having when I was attempting to take these photos!


Shop Now button-001Join my team button-001

To purchase any of the items featured in my projects please use the links above. To join my team of Stampin’ Friends select ‘Join My Team’ or send me a message!

Please support StampinByHannah, and join my Code Club, by using the Hostess code featured in the top right hand of my blog. For orders of over £150 please do not use this code, as you are entitled to your own Hostess benefits!

Sign up to my newsletter here – http://eepurl.com/2if59

Hannah McCurley

Stampin’ Up! UK Independent Demonstrator

12 Weeks of Christmas – Chocolate Gift Envelopes

Stampin' Up! Chocolate envelopes using the envelope punch board

Stampin' Up! 12 weeks of Christmas

Its’s Week 10 of our 12 weeks of Christmas countdown already! I can’t believe it! Really need to get organised with this Christmas shopping business, I haven’t even started yet!

Stampin' Up! UK 12 Weeks of Christmas

These super cute envelopes make sweet little gifts, and I’m planning on making a stack for the girls and guys working with me on Christmas day this year. It’s been a few years since I worked on Christmas day, and I’m actually quite looking forward to it. I’m looking forward to seeing lots of families visiting their loved ones, seeing the happy smiling faces of the ladies and gentlemen in my care, and sharing a little love with these cute envelopes filled with chocolates with my colleagues.

They are really easy to put together, even if you make a mistake like I did in the video!

Stampin' Up! Chocolate envelopes using the envelope punch board

Measurements:

Designer Series Paper – 4 1/2 x 4 1/2″

Use the Envelope Punch Board to punch and score at 2 1/4″ on the first side, then follow the score lines to position the other punches and scores as instructed on the board


Don’t forget to shop using the Code Club Code to receive some great FREE product!

EYHG9VNC

I will be closing this order on the 30th November 2015


Shop Now button-001Join my team button-001

To purchase any of the items featured in my projects please use the links above. To join my team of Stampin’ Friends select ‘Join My Team’ or send me a message!

Please support StampinByHannah, and join my Code Club, by using the Hostess code featured in the top right hand of my blog. For orders of over £150 please do not use this code, as you are entitled to your own Hostess benefits!

Sign up to my newsletter here – http://eepurl.com/2if59

Hannah McCurley

Stampin’ Up! UK Independent Demonstrator

12 Weeks of Christmas – Hello December

Stampin' Up! December Daily

Stampin' Up! 12 weeks of Christmas

One of the greatest things about Christmas for me is getting to spent time with our extended family. 2015 has been a really big year in our family, with Weddings, new babies, house moves and many other exciting events. Stampin’ Up!® have partnered with Becky Higgins Project Life to create a great memory keeping system, not just for Christmas but for all year round.

I have just started to print photos and plan my wedding album using the Project Life system. I adore memory keeping, and really looking forward to spending some time over the Christmas season to sit and make a good start on my album.

Stampin' Up! December Daily

This year I am planning on documenting the Christmas season using the Project Life by Stampin’ Up! Hello December 2015 (This is about to retire, so please grab the card kit and accessory pack quickly!)

The kits make it so simple to organise your photos and document those memories. I have already completed most of my album, ready to slip the photos in and add my journalling!

Stampin' Up! UK Memory Keeping Christmas project

Stampin' Up! Hello December Project Life

How are you documenting this holiday season?


Shop Now button-001Join my team button-001

To purchase any of the items featured in my projects please use the links above. To join my team of Stampin’ Friends select ‘Join My Team’ or send me a message!

Please support StampinByHannah, and join my Code Club, by using the Hostess code featured in the top right hand of my blog. For orders of over £150 please do not use this code, as you are entitled to your own Hostess benefits!

Sign up to my newsletter here – http://eepurl.com/2if59

Hannah McCurley

Stampin’ Up! UK Independent Demonstrator

12 Weeks of Christmas | Diorama Card

Stampin' Up! UK 12 Weeks of Christmas Wonderland Card

Stampin' Up! 12 weeks of Christmas

I can’t quite believe it, but we have hit the half way through this years 12 Weeks of Christmas Series!

This week I have a card for you, but it is a fancy fold 3D card!

Stampin' Up! UK Christmas Diorama Video Tutorial

This card looks really impressive but its super easy to make, Check the video tutorial and measurements at the bottom of this post.

I have used the Circle Collection Framelits dies to create the holes in my Diorama card, but this would look lovely if you used Deco Label Collection of Lots of Labels Framelits

Stampin' Up! UK 12 Weeks of Christmas Wonderland Card

Measurements:

Card Stock – 1 piece of Very Vanilla (for the back) : 19 x 10 cm, 1 piece of Night of Navy (for the front) 19 x 10 cm, 1 piece of Night of Navy (for the middle) 10 x 15.9 cm

Score the front and back pieces with the long side at the top at 3 and 16 cm

Score the middle piece with the long side at the top at 1.5, rotate and score the other end at 1.5 cm


Code Club Code-001


Shop Now button-001Join my team button-001

To purchase any of the items featured in my projects please use the links above. To join my team of Stampin’ Friends select ‘Join My Team’ or send me a message!

Please support StampinByHannah, and join my Code Club, by using the Hostess code featured in the top right hand of my blog. For orders of over £150 please do not use this code, as you are entitled to your own Hostess benefits!

Sign up to my newsletter here – http://eepurl.com/2if59

Hannah McCurley

Stampin’ Up! UK Independent Demonstrator