Fancy Fold Friday – Waterfall card

Welcome to another Fancy Fold Friday here at StampinByHannah!

I love doing these fancy fold posts for you all, but I have to say, I need some inspiration, so, would you please be so kind as to leave a comment below with a fancy fold that you would like to see me tackle!

This card is a request from my lovely friend Kathryn.

Stampin' Up! UK Waterfall card Indescribable Gift

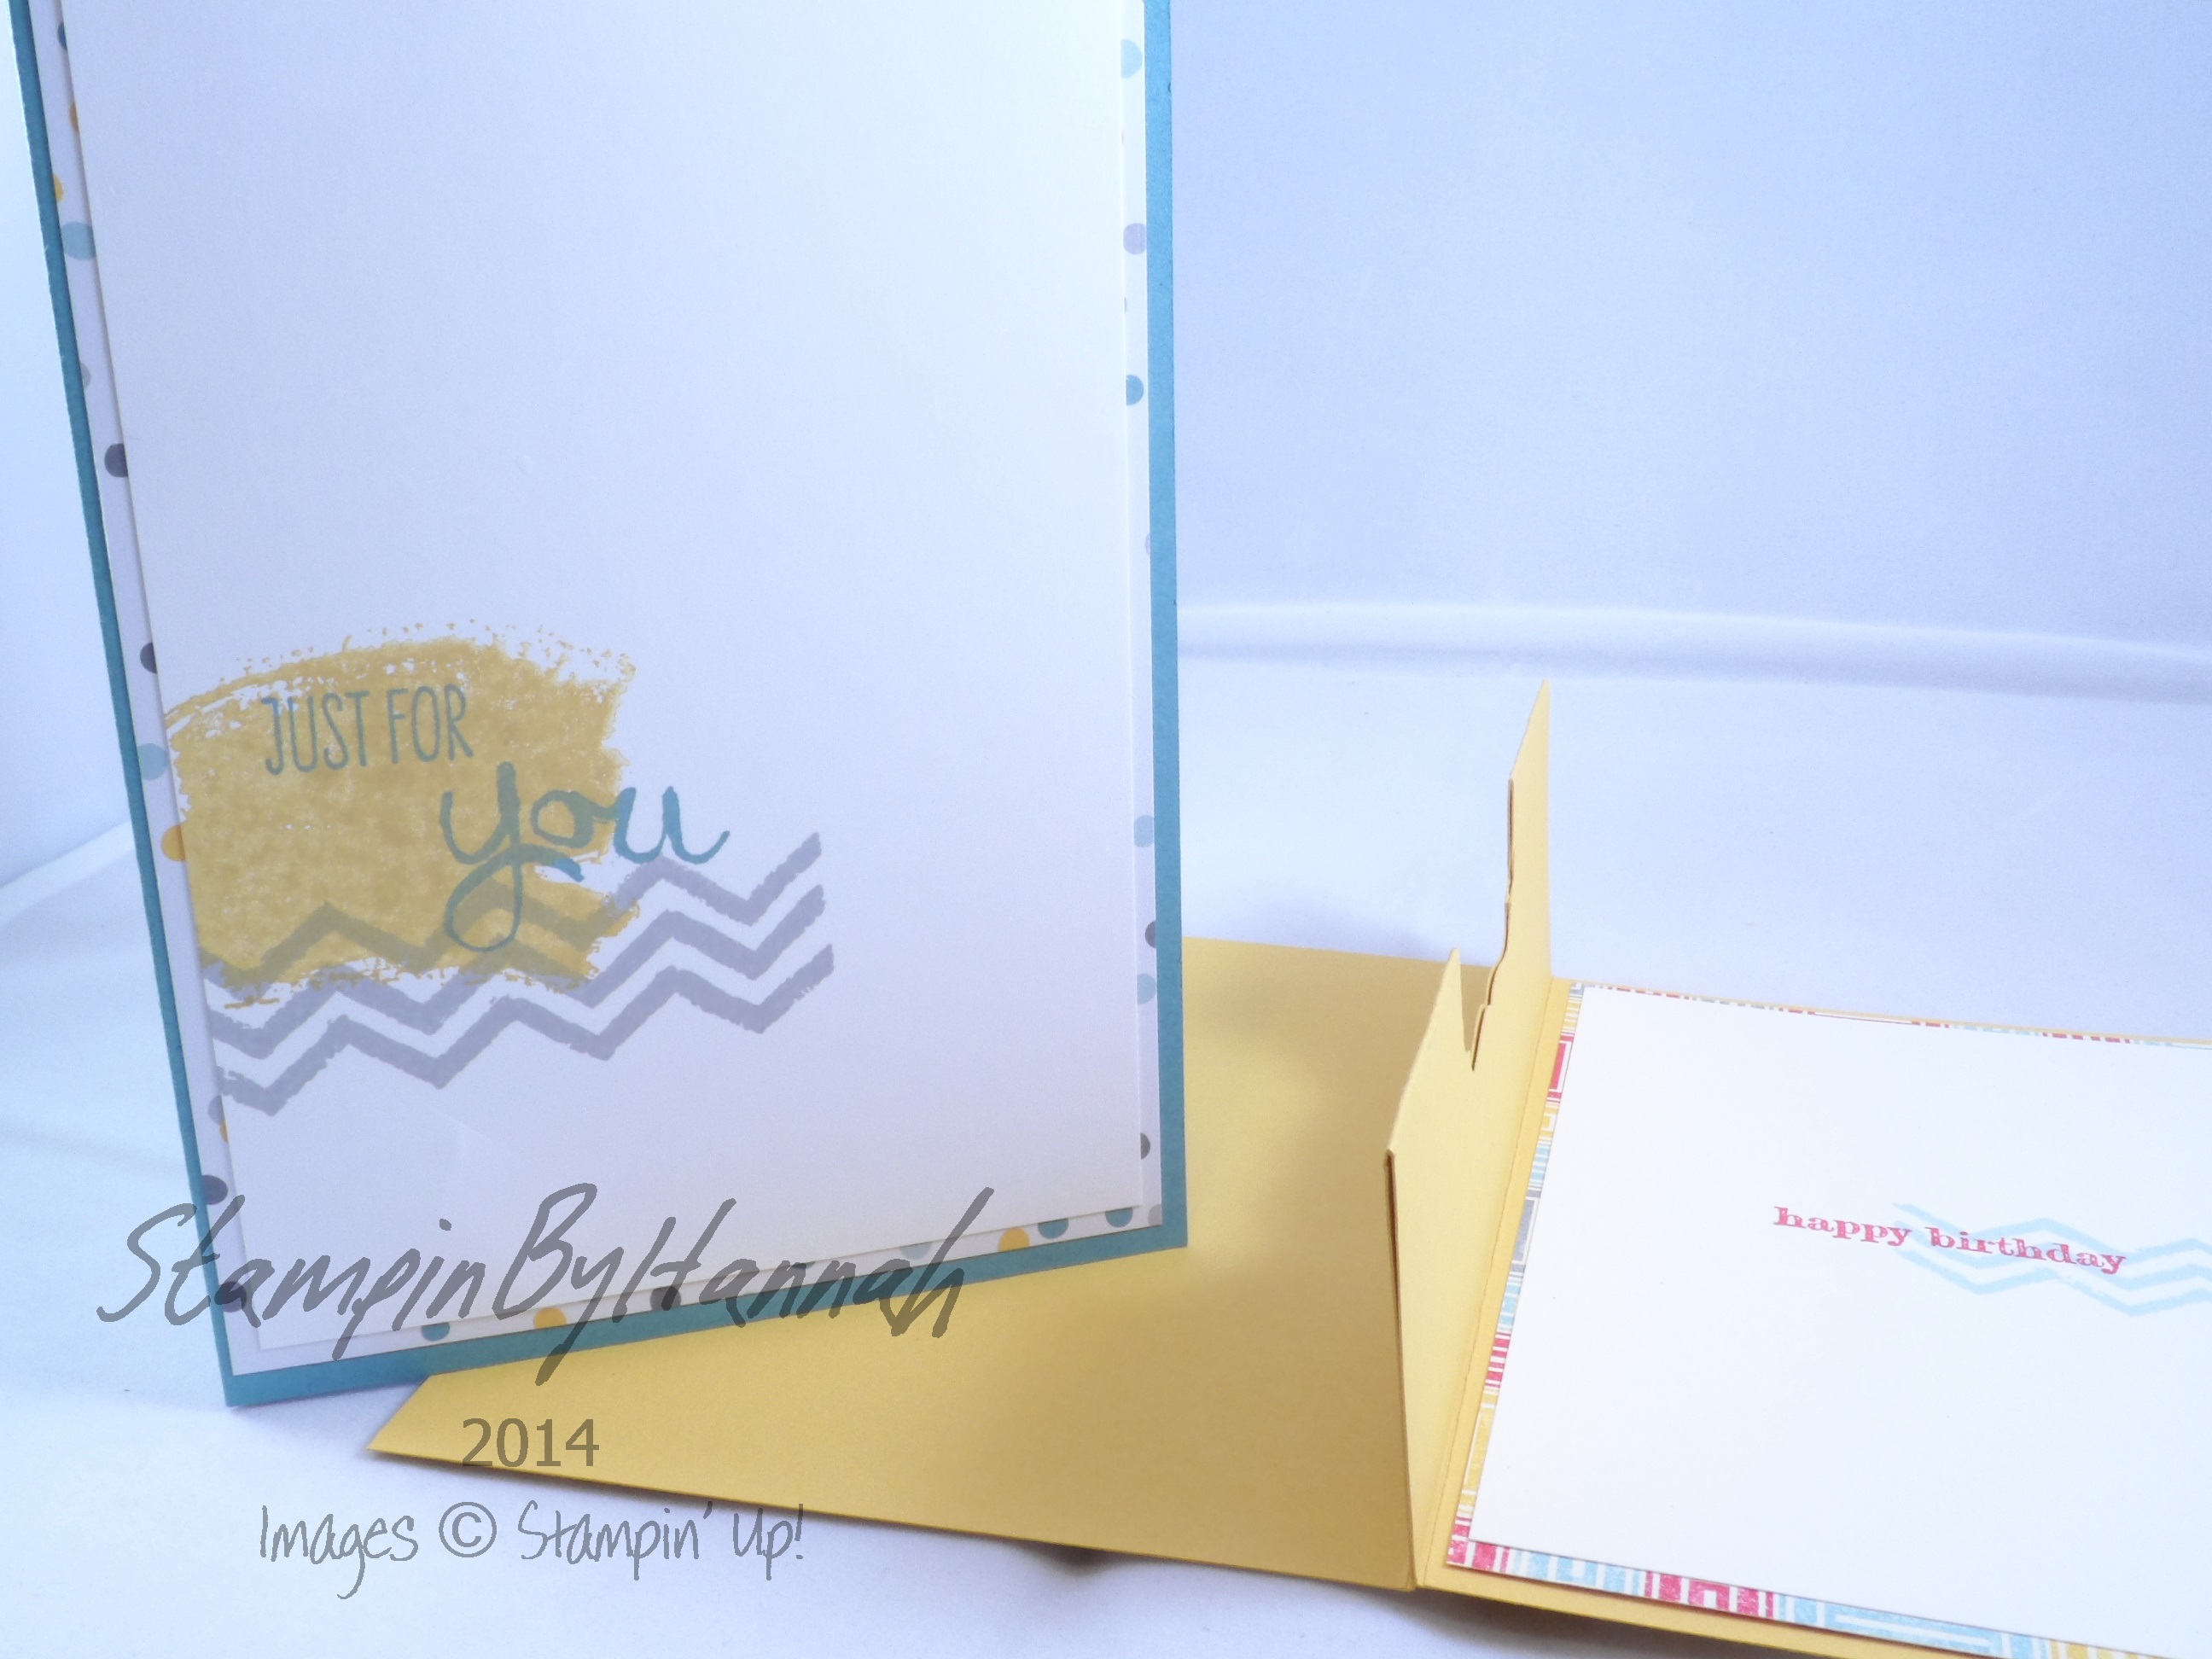
Usually a Waterfall card is vertical, but I had to change it up a bit, and so decided to make it sideways, I think it works.

This card uses the Brushed Silver cardstock and Moonlight Designer Series Paper Stack, I love neutral colours at the moment – probably something to do with still being in winter mode – its been so very cold here!

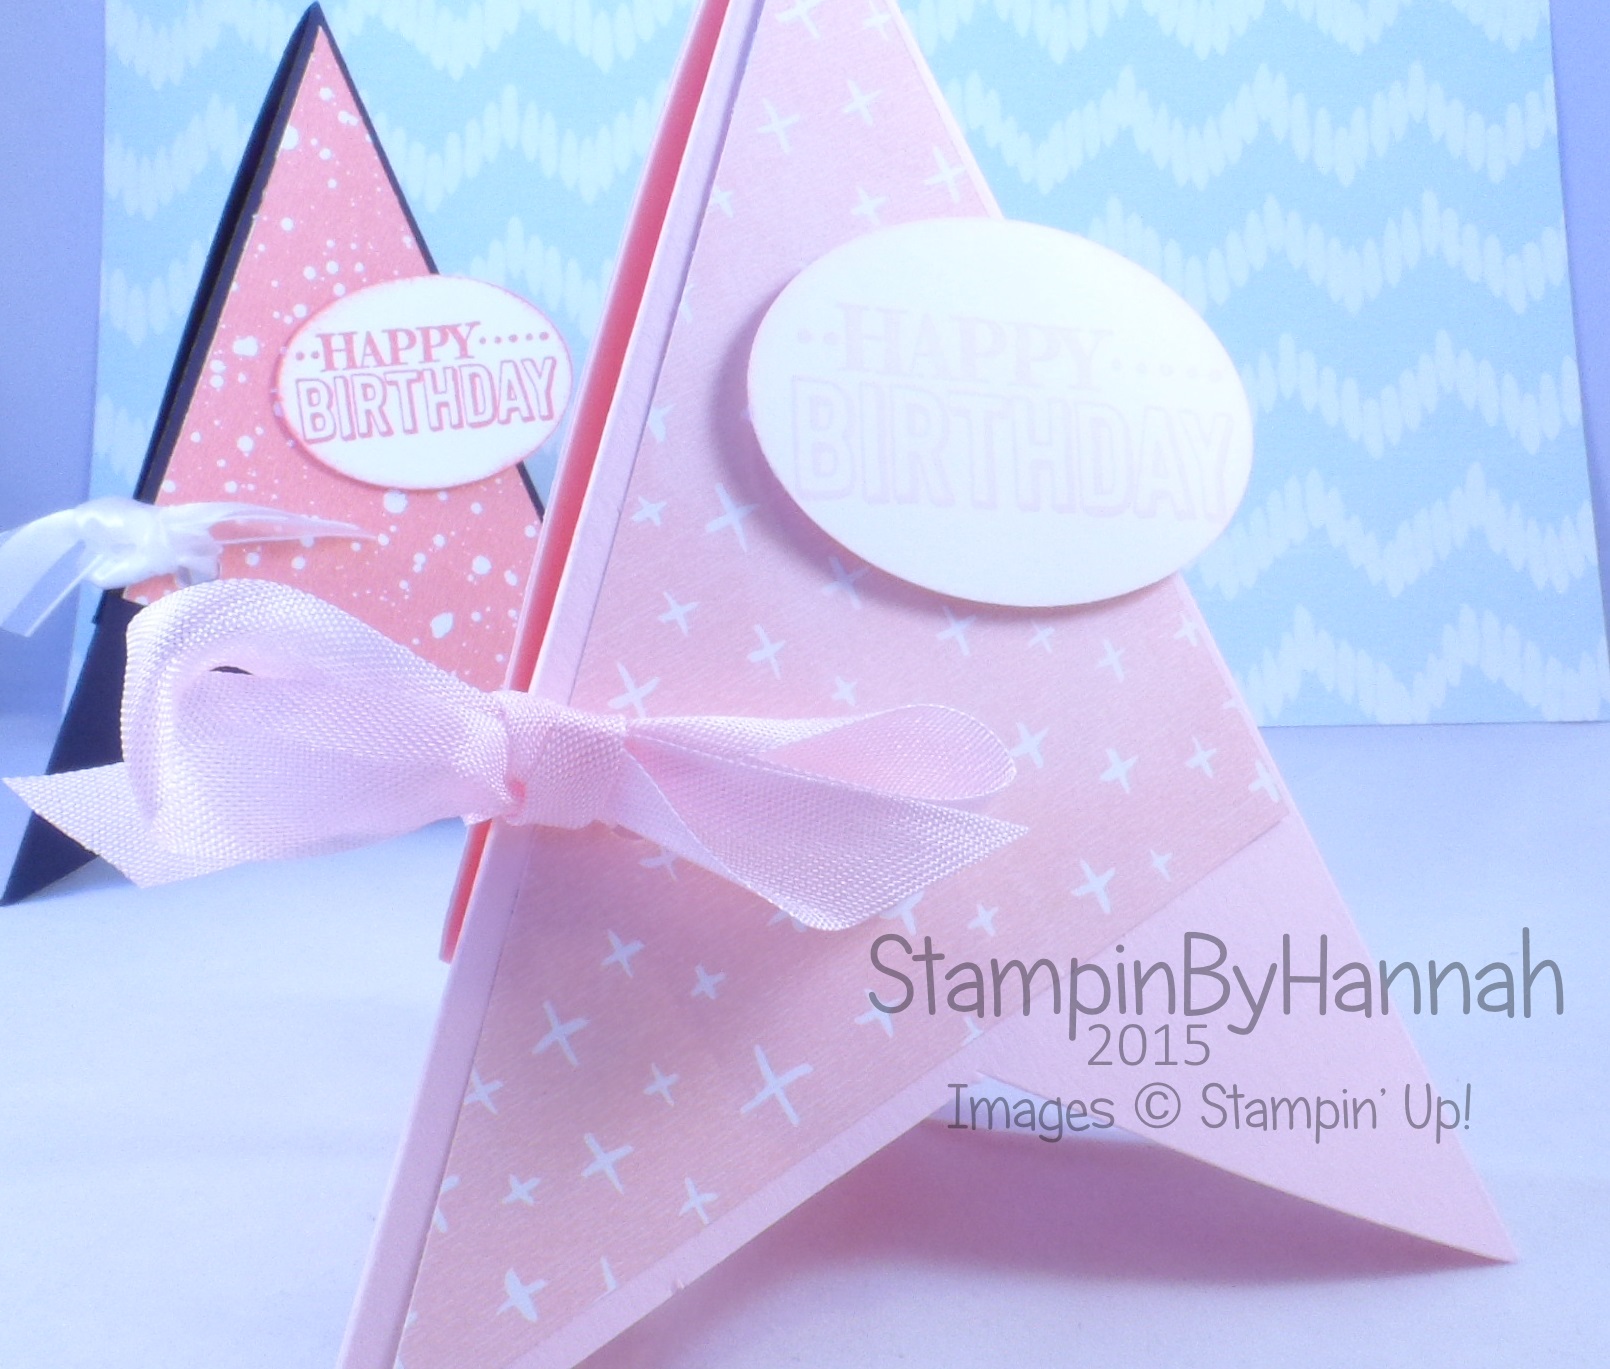
The stamp set I have used it Indescribable Gift, one of the Easter themed sets from the Spring/Summer catalogue. I know that it has been designed with the Blendabilities in mind, but I just think it is the most beautiful line image I can’t bring myself to colour it in! Here I have stamped it in Smokey Slate onto Whisper White, and the sentiment from the same set is stamped in Momento Black (my Favourite black ink!)

Measurements:

Cardbase – cut a piece of A4 length ways – put the cardstock into your trimmer with the short side at the top and cut at 10.5 cm (4 1/8″)

Designer Series Paper – 10 x 14.2 cm (3 7/8″ x 5 1/2″)

Then there are a series of smaller pieces of cardstock –

1 piece – 2.5 x 10.5cm (1 x 4 1/8″)

4 pieces – 5 x 5 cm (2 x 2″)

Cut a piece of Whisper White to 4.5 x 18 cm (1 3/4 x 7″) and stamp along the length, then cut this piece into 4 measuring 4.5 x 4.5 cm (1 3/4 x 1 3/4″)

Cut a piece of Basic Grey cardstock to 5 x 24 cm (2 x 9 1/2″) and score at 5, 7, 9, and 11 cm (2, 2 3/4, 3 1/2, and 4 1/4″) punch the end with the Scalloped Tag Topper Punch

Check the video for full Instructions.


Hannah Wilks

Stampin’ Up! UK Independent Demonstrator

If you like the project, or any of the products used, would like a catalogue, or to join my team, please contact me, or click on the ‘Shop NOW’ button at the top of the page. You can also find me on Twitter, Facebook, YouTube, Google+, About.me, and Tumblr (Links in the sidebar)

Sign up to our newsletter here – http://eepurl.com/2if59

Thank you for stopping by www.www.stampinbyhannah.co.uk today

x

Fancy Fold Friday – Joy Fold Card

Hello and welcome to another Fancy Fold Friday!

Today I have Joy fold card for you, using In-colours from both 2013-2015 AND 2014-2016

Stampin' Up! UK Joy Fold Fancy Fold


I will be so sad when Coastal Cabana leaves us in June, its so pretty, and I couldn’t pass up the opportunity to use it in this card. The other version uses the New In-Colours – Lost Lagoon and Hello Honey.

The card also features the Crazy About You stamp set and Hello You Thinlits, I love using thinlits like these, but getting all those bits and pieces out of the dies can be a bit of a pain. I know there are loads of tips on how to make this easier on YouTube (particularly after the release of those beautiful Butterfly Thinlits!) but I use the old fashioned method of poking through the holes of the die with my poky tool and allowing the bits of cardstock fall into a sandwich bag (rather than letting them loose all over my desk!)

Measurements:

Outer Card – 4 1/8 x 8 3/4″ (10.5 x 22.3 cm) Scored at 3″ (or 14.8 cm)

Inner Card – 3 x 8 1/4 (7.5 x 21 cm) Scored at 4 1/8 (10.5 cm)

Two pieces of Whisper White cardstock measuring 2 3/4 x 3 7/8″ (7 x 10 cm)


Hannah Wilks

Stampin’ Up! UK Independent Demonstrator

If you like the project, or any of the products used, would like a catalogue, or to join my team, please contact me, or click on the ‘Shop NOW’ button at the top of the page. You can also find me on Twitter, Facebook, YouTube, Google+, About.me, and Tumblr (Links in the sidebar)

Sign up to our newsletter here – http://eepurl.com/2if59

Thank you for stopping by www.www.stampinbyhannah.co.uk today

x

Fancy Fold Friday – Extended Thinlit Circle Card

I have previously used this Thinlit Circle Card die for a Fancy Fold Friday, but this time I’ve made a small alteration – creating an extended flap on one end.

Stampin' Up! UK Thinlit Circle Card extended Painted Petals

I love the Painted Petals Stamp set and Painted Blooms Designer Series Paper. I just think its great that you can look like a watercolour expert, just using a couple of stamps!

The Painted Blooms DSP features some lovely colours, but the colour that stood out on this piece was Blackberry Bliss and so I selected Blackberry Bliss cardstock as my card base.

The secret to making this card successfully is cutting your cardstock, the die creates a card that is 5 1/2″ tall, so your cardstock should be cut a hair shorter to ensure that it passes through the die allowing you to cut part of the die, leaving the trailing edge to create the extended portion.

Measurements:

Cardstock = 8 1/4 x 5 3/8

Insert your cardstock through the die, leaving one edge of the cardstock above the die when laid on your acrylic plate. Fold the extended side into the card, lining the edge up with the circle cut out in the centre.

Cut a 6×6″ piece of DSP with the die. Trim around all  4 edges, and cut along the score lines left by the die. Trim the larger piece to 2″ wide.

Whisper White piece for the insert measures 2 x 5″, cut a scallop circle from Whisper White using the Scallop Circle die from the die set.


Hannah Wilks

Stampin’ Up! UK Independent Demonstrator

If you like the project, or any of the products used, would like a catalogue, or to join my team, please contact me, or click on the ‘Shop NOW’ button at the top of the page. You can also find me on Twitter, Facebook, YouTube, Google+, About.me, and Tumblr (Links in the sidebar)

Sign up to our newsletter here – http://eepurl.com/2if59

Thank you for stopping by www.www.stampinbyhannah.co.uk today

x

Fancy Fold Friday – TeePee Card

I’ve seen a lot of this card on various facebook groups recently, and I had to have a go at making one.

When I had a look through Pinterest looking at this type of card, I found two methods of making it. I prefer the method I will demonstrate here, I have tried it both ways.

Stampin' Up! UK TeePee cardThe other way is to cut 3 squares of cardstock, and fold diagonally in half. Apply glue to one half of each square, and stick them together. You should end up with a sort of chain of square that wrap around to form the TeePee.

Stampin' Up! TeePee card Sale-a-bration

Here I have used Basic Black cardstock, and the Best Year Ever Sale-a-bration designer series paper, and Pink Pirouette with the same DSP.

The stamp is from Big Day, another Sale-a-bration, offering, and is punched out using the Extra-large Oval punch.

Measurements:

Cardstock – 8 1/4 x 5 3/4″

Score on the long side at 4 1/8″ and fold, as if creating a standard fold card

place this folded card base onto the Simply Scored with the short side at the top, scoring at 4 1/8 down to approximately 2 1/2″

Cut this score line, and then cut from the end of that line to the bottom corner of the card – forming a triangle.

Open the card out, score from the middle score line to the outer bottom corner on both sides

DSP = 3 3/4″ x 3 3/4″, cut into two triangles


Hannah Wilks

Stampin’ Up! UK Independent Demonstrator

If you like the project, or any of the products used, would like a catalogue, or to join my team, please contact me, or click on the ‘Shop NOW’ button at the top of the page. You can also find me on Twitter, Facebook, YouTube, Google+, About.me, and Tumblr (Links in the sidebar)

Sign up to our newsletter here – http://eepurl.com/2if59

Thank you for stopping by www.www.stampinbyhannah.co.uk today

x


Fancy Fold Friday – Double Diamond

So, a few weeks ago I asked for any requests for fancy fold cards (any further suggestions most welcome, by the way!) and one of my lovely downline suggested a Double Diamond Fold – So Kathryn this is for you!

Stampin' Up! UK Double Diamond Fold Card I Like You


When I initially looked at this card, I did think ‘oh dear, that looks awfully complicated’ but really its quite simple, just folding the cardstock – no cutting involved!

I have used the I Like You Hostess Stamp set for this card, coloured with 4 of the lightest Blendabilities – Coastal Cabana, Old Olive, Rich Razzleberry, and Pumpkin Pie. I love this way of using my Blendies – really its just line colouring, and you could just as easily use the Stampin’ Write Markers. Using the stamped image as a guide, use your markers to add lines of colour, it just gives that hint of a shade rather than going for a full blended coloured look.

Measurements:

Cardstock = 10 x 4″

Score on the long side at 2 and 8″ making marks at 4 and 6″ on both sides

Score on the short side at 2″ before turning back to the long side, and marking the card stock on that 2″ horizontal score line at 3 and 7″

Then using a ruler and stylus (or ball tool) join the marks to form a diamond shape in the centre of the cardstock – the marks at 4″ should join with the 3″ mark, and the marks at 6″ should join the 7″ mark

Fold the cardstock from the left hand side; mountain fold, valley fold, valley, mountain.

Holding the edges of the cardstock push the edges together and the card should form!

Magic

In addition to the originally piece of cardstock you will need 2 pieces of coloured card measuring 1 /34 x 1 3/4″ and a piece measuring 2 3/4 x 2 3/4″

For stamping you will need 3 pieces of Whisper White; 1 measuring 2 1/2 x 2 1/2″ and 2 measuring 1 1/2 x 1 1/2″


Hannah Wilks

Stampin’ Up! UK Independent Demonstrator

If you like the project, or any of the products used, would like a catalogue, or to join my team, please contact me, or click on the ‘Shop NOW’ button at the top of the page. You can also find me on Twitter, Facebook, YouTube, Google+, About.me, and Tumblr (Links in the sidebar)

Sign up to our newsletter here – http://eepurl.com/2if59

Thank you for stopping by www.www.stampinbyhannah.co.uk today

x

Fancy Fold Friday – Twisted Easel Card

Have you got that Friday feeling?! I do! and if its Friday, it can only mean one thing around here! Time for another Fancy Fold!

This week I have kept it simple and made a Twisted Easel card, using that lovely Butterfly Basics stamp set and the coordinating Butterflies Framelits dies.

Stampin' Up! UK Twisted Easel Card Butterfly Basics In Collours

I absolutely LOVE the latest selection of In Colours; Blackberry Bliss, Lost Lagoon, Hello Honey, Mossy Meadow, and Tangelo Twist, and so have selected 3 of them to use on my Fancy Fold card this week.

No one wants to watch my pick all the pieces out of these butterflies so I pre-cut them for filming purposes, but I wanted to share with you how pretty they are and how well they cut using the Big Shot! There are loads of YouTube tutorials out there already showing you how to get the best from these dies, so for now I’ll stick to having them pre-cut and ready to show you.

Measurements:

Cardstock – 12 x 6″ (30 x 15 cm)

Score on the long side at 6″ (15 cm)

Score a diagonal line from the top corner of one side of your cardstock to the bottom of the central score line. Fold and Burnish all the score lines well (this is the trick to this card)

Mat = 5 3/4 x 5 3/4″ (14.5 x 14.5 cm)

Layer – 5 1/2 x 5 1/2″ (14 x 14 cm)


Hannah Wilks

Stampin’ Up! UK Independent Demonstrator

If you like the project, or any of the products used, would like a catalogue, or to join my team, please contact me, or click on the ‘Shop NOW’ button at the top of the page. You can also find me on Twitter, Facebook, YouTube, Google+, About.me, and Tumblr (Links in the sidebar)

Sign up to our newsletter here – http://eepurl.com/2if59

Thank you for stopping by www.www.stampinbyhannah.co.uk today

x


Fancy Fold Friday – Box Card

Welcome to another Fancy Fold Friday.

This card is the result of a conversation I had a few weeks before Christmas with one of my Stampin’ Up! Pootles team mates. She had spotted this card, and could find what it was called or a tutorial for it. What followed was a quick mess around with some copy paper (a disaster by the way) and a quick hunt on Pinterest. We found this tutorial, and I just knew I had to do my own version; I have altered the measurements in order to fit the card into a C6 envelope.

Stampin' Up! UK Box Card Video Tutorial


The card above uses Elegant Eggplant cardstock, with the Something Borrowed Designer Series Paper and stamps from Your Perfect Day.

I’m sorry, but I haven’t currently got the metric measurements of this card. I have tried but I wasn’t very successful. So its imperial only for the time being.

Measurements:

Cardstock = 8 1/4 x 10!

Score on the Long Side at – 2, 3 1/2, 6 1/2, and 8″, marking the cardstock at 5″

Score on the Short Side at – 1 1/2 and 6 3/4″

Score triangles from the 5″ marks to the points where the score lines meet.


Hannah Wilks

Stampin’ Up! UK Independent Demonstrator

If you like the project, or any of the products used, would like a catalogue, or to join my team, please contact me, or click on the ‘Shop NOW’ button at the top of the page. You can also find me on Twitter, Facebook, YouTube, Google+, About.me, and Tumblr (Links in the sidebar)

Sign up to our newsletter here – http://eepurl.com/2if59

Thank you for stopping by www.www.stampinbyhannah.co.uk today

x

Fancy Fold Friday – Twist Turn Card Video Tutorial!

Welcome to another Fancy Fold Friday! This week I am re-visiting a previous project as a reader had asked for a video tutorial, and so here it is. This is originally a CASE from My Chic and Scratch, but I have altered the measurements to fit A4 cardstock.

Stampin' Up! UK Twist Turn card Butterfly BasicsThis card uses the new Butterfly Basics stamp set, from the Spring/Summer catalogue from Stampin’ Up! This stamp set comes bundled with a set of thinlits, Butterflies Thinlit Dies. This set of dies is a little different that our usual Stampin’ Up! thinlits as not all the dies match a stamp, instead the sets compliment each other. Saying that the butterfly featured on this card is the only stamp/die combination in the set!

Measurements:

Cardstock – 8 1/4 x 5 1/4″ (20.9 x 13.3 cm)

Score on the long side at 2 5/8 and 3 1/2″ (6.6 and 8.9 cm)

Score on the short side at 2 5/8″ (6.6 cm)

Between the two score lines draw two further score lines on a diagonal. Lay your card with the long side at the top and the square created by the previous score lines on the left. Draw a score line from the top of the left hand score line to the point with the right hand score and horizontal score line meet. Then draw a further score line from the point with the right hand score line and the horizontal score line meet to the bottom of the left hand score line.

With the card still laid in the same orientation fold along the horizontal score line, before folding all the score lines both forwards and backwards. Fold the left hand score line backwards, and fold the card along the horizontal score. Holding the card under the square that you have just formed, take hold of the top two corners of that square and tilt. Make sure you burnish all the score lines well at this point.

Then attach your decorative cardstock or DSP.

Measurements:

2 1/4 x 2 1/4″ ( 5.7 x 5.7 cm)
2 1/4 x 4 1/4″ (5.7 x 10.8 cm)


Hannah Wilks

Stampin’ Up! UK Independent Demonstrator

If you like the project, or any of the products used, would like a catalogue, or to join my team, please contact me, or click on the ‘Shop NOW’ button at the top of the page. You can also find me on Twitter, Facebook, YouTube, Google+, About.me, and Tumblr (Links in the sidebar)

Sign up to our newsletter here – http://eepurl.com/2if59

Thank you for stopping by www.www.stampinbyhannah.co.uk today

x

Fancy Fold Friday – Pop-up Gift Card Card Tutorial!

Ok, so before I start, I give Michelle Last full credit for this project, I just think its awesome and HAD to share! (HERE is her version)

Stampin' Up! UK Pop up gift card card

This gift card holder (or gift card card if you will) is super cool! I used this design to hold all the gift cards we gave as Christmas gifts.

Measurements:

Cardstock – 5 3/4″ x 11 3/4″ (14.8 x 29.7cm)

Fold the card in half, and score both ends at 4 1/8″ (10.5cm)

Designer Series Paper – 5 5/8 x 4″ (14.3 x 10 cm)

Whisper White – 5 3/8 x 3 3/4″ (13.8 x 9.5 cm)


I have finished my version with stamping from Work of Art and Something to Say Stamp sets, in the 2014-2016 In-Colours.


Hannah Wilks

Stampin’ Up! UK Independent Demonstrator

If you like the project, or any of the products used, would like a catalogue, or to join my team, please contact me, or click on the ‘Shop NOW’ button at the top of the page. You can also find me on Twitter, Facebook, YouTube, Google+, About.me, and Tumblr (Links in the sidebar)

Sign up to our newsletter here – http://eepurl.com/2if59

Thank you for stopping by www.www.stampinbyhannah.co.uk today

x

Fancy Fold Friday – Scallop Tag Topper Card

Hello!

This is a joint post with my other website – www.thehandmadeweddings.co.uk.

I love making wedding stationary, but a standard card can be a little bit dull, and I love making these!

It uses my favourite Scallop Tag Topper punch, yes I really do use it all the time!

Stampin' Up! UK Scallop tag topper punch wedding card


Measurements:

Cardstock = 8 1/4 x 5 3/4″ (21 x 14.5 cm)

Mark your halfway point on the short sides of your cardstock – approximately 2 7/8″ (7.3 cm) and use these as guide marks when using your scallop tag topper punch

Score one of the tags where it joins the card, and fold.

Score the main card at 4 1/4″ (10.8 cm)


Insert measures – 3 7/8 x 5 1/2 ” (10 x 14 cm)

Card matt measures – 2 1/4 x 5 1/2″ (5.5 x 14 cm)


For more information and to see the complete Wedding invitation collection visit – www.thehandmadeweddings.co.uk


Hannah Wilks

Stampin’ Up! UK Independent Demonstrator

If you like the project, or any of the products used, would like a catalogue, or to join my team, please contact me, or click on the ‘Shop NOW’ button at the top of the page. You can also find me on Twitter, Facebook, YouTube, Google+, About.me, and Tumblr (Links in the sidebar)

Sign up to our newsletter here – http://eepurl.com/2if59

Thank you for stopping by www.www.stampinbyhannah.co.uk today

x