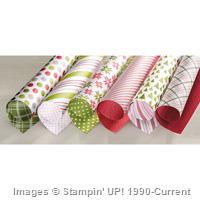
12 Weeks of Christmas | Gift Bag

Stampin' Up! UK Christmas Gift Bag

Sorry this post is slightly later than normal today, I had every intention of having this post ready for you at the usual time, but yesterday I was suddenly struck down with a horrendous cold! Dosed up on paracetamol I am hoping to get a few posts written before getting back under the duvet.

Stampin' Up! UK Christmas Gift Bag

So I hope you can forgive me for a shortened blog post today.

Measurements:

Designer Series Paper – 12 x 12″ (30.5 x 30.5 cm)

Score on the first side at 3 3/4, 5 3/4, 9 1/2 and 11 1/2″ (9.5, 14.5, 24, and 29 cm)

Score on the second side at 2 and 9″ (5 and 23 cm)

Stampin' Up! UK 12 Weeks of Christmas Gift Tag

You can make a very similar gift bag using the Gift Bag Punch Board, and the directions for the Large sized bag (printed on the board) check the video above for the differences between this bag and my version.


Shop Now button-001Join my team button-001

To purchase any of the items featured in my projects please use the links above. To join my team of Stampin’ Friends select ‘Join My Team’ or send me a message!

Please support StampinByHannah, and join my Code Club, by using the Hostess code featured in the top right hand of my blog. For orders of over £150 please do not use this code, as you are entitled to your own Hostess benefits!

Sign up to my newsletter here – http://eepurl.com/2if59

Hannah McCurley

Stampin’ Up! UK Independent Demonstrator

12 Weeks of Christmas | Advent Calender

Stampin' Up! UK Advent Calender 2015 Season of Cheer

Stampin' Up! 12 weeks of Christmas

This week is my annual Advent Calender project! Yay! I LOVE making an advent calender each year, last year I made 25 little sour cream style bags (video tutorial still available), but this year I really needed to keep things really simple

So I turned to the Stampin’ Up!® Annual catalogue, and the Tiny Treat Boxes – you get 25 of these babies for just £6.25! add some Designer Series Paper and some numbers and you’re done! So easy


Stampin' Up! Advent Calender Video Tutorial

These also use the lovely Season of Cheer Designer Series Paper, so pretty and bang on trend with the watercolour look! This Designer Series Paper was hand painted by a lovely lady at the Stampin’ Up!® Utah Home Office. I used about 5 pieces of this paper on this project, which is great as there are 12 sheets in each pack -loads left over!

Measurements:

Designer Series Paper – 5 pieces for each box – 1 3/4 x 1 3/4″ (4.5 x 4.5 cm)

Stampin' Up! UK Advent Calender 2015 Season of Cheer

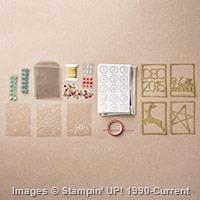
The numbers on these are super cute too, taken from the Hello December 2015 Project Life Accessory Pack for 25 super quick numbers!

Definintly the easiest Advent calender I have made a in a few years!

What are you making this Christmas?


q1_hostrewards_cust_10-9-2015_sp_uk


Shop Now button-001Join my team button-001

To purchase any of the items featured in my projects please use the links above. To join my team of Stampin’ Friends select ‘Join My Team’ or send me a message!

Please support StampinByHannah, and join my Code Club, by using the Hostess code featured in the top right hand of my blog. For orders of over £150 please do not use this code, as you are entitled to your own Hostess benefits!

Sign up to my newsletter here – http://eepurl.com/2if59

Hannah McCurley

Stampin’ Up! UK Independent Demonstrator

Simply Sketched Saturday Challenge – Week 1!

Stampin' Up! UK Sketch Challenge Lovely Lace Die cutting Card

Stampin' Up! Sketch Challenge

Thank you for joining us on the first Simply Sketched Saturday Challenge! We’re a small group of Stampin’ Up!® Demonstrators who fancied a new challenge to share with you all.  The products used are all available in the current Annual, or seasonal, Stampin’ Up!® Catalogues*.  Simply use the buttons at the bottom of the post to keep hopping!


My regular blog readers will know how much I love a sketch challenge, and I am so excited to be taking part in this one!

Stampin' Up! UK Simply Sketched Challenge Week 1

The lovely Sam Johnson has designed this lovely sketch this week, and it scared the pants off me! However, after about a week of staring at it, and find some further inspiration in Instagram, I finally managed to actually make something!

Stampin' Up! UK Sketch Challenge Lovely Lace Die cutting Card

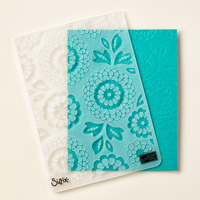
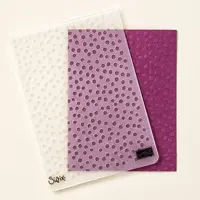
Definitely outside of my usual clean and simple style, but I’m super pleased with this card. I used my favourite embossing folder, Lovely Lace, to emboss a piece of Very Vanilla card stock. I love this folder so much that I actually need to replace it – its currently held together with parcel tape! Shocking I know, but that is how much use it has had!

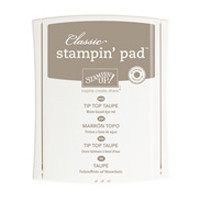
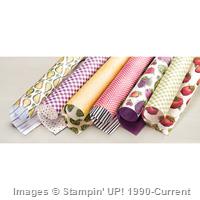
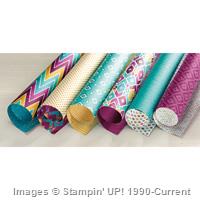
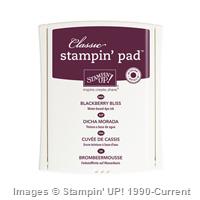
Once I had the piece embossed I added ink around the edges of the card stock with my Stampin’ sponges, inked in Tip Top Taupe, Chocolate Chip and Blackberry Bliss. I have been taking colour inspiration from the packs of Designer Series Paper recently, and have done the same here – using the Farmers Market Paper Pack.

Stampin' Up! UK Simply Sketched Challenge Hello You

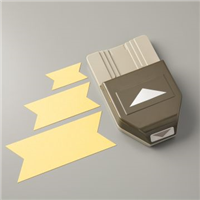
I added two strips of the Designer Series Paper to the bottom of the card after using my Triple Banner Punch to fishtail the ends, and completed the sketch with a Vellum circle added with two Glue Dots.

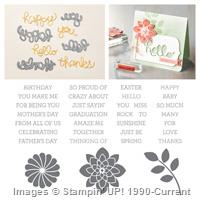
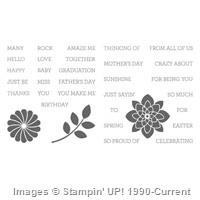
The sentiment is taken from the Crazy About You stamp and die bundle, and I used my Blackberry Bliss ink to emboss the word Hello – mainly because the ink takes so long to dry on Vellum, adding some clear embossing powder and heat setting it meant that I could get this card finished! The die cut ‘You’ is in Tip Top Taupe and is attached using Tombow Multi-purpose glue.

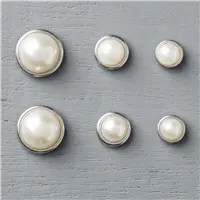
I finished the card with four of the Metal Rimmed Pearls

Simply Sketched Next

Simply Sketched Previous


Supply List

Built for Free Using: My Stampin Blog


Shop Now button-001Join my team button-001To purchase any of the items featured in my projects please use the links above. To join my team of Stampin’ Friends select ‘Join My Team’ or send me a message!

Please support StampinByHannah, and join my Code Club, by using the Hostess code featured in the top right hand of my blog. For orders of over £150 please do not use this code, as you are entitled to your own Hostess benefits!

Sign up to my newsletter here – http://eepurl.com/2if59

Hannah McCurley

Stampin’ Up! UK Independent Demonstrator

12 Weeks of Christmas | Inch Boxes

Stampin' Up! 12 weeks of Christmas Cute boxes

Stampin' Up! 12 weeks of ChristmasJust a quick post for today’s 12 Weeks project. I am so super behind with my blog planning at the moment that I am going to take 5 days off this week, but I will be back next Saturday for something super exciting!

Stampin' Up! 12 weeks of Christmas Cute boxes

These super cute little boxes are really simple to put together, and only use the tiniest piece of Designer Series Paper.

Measurements:

Designer Series Paper – 4 1/2 x 3″

Score on the long side at 1, 2, 3, and 4″

Score on the short side at 1 and 2″


Shop Now button-001Join my team button-001

To purchase any of the items featured in my projects please use the links above. To join my team of Stampin’ Friends select ‘Join My Team’ or send me a message!

Please support StampinByHannah, and join my Code Club, by using the Hostess code featured in the top right hand of my blog. For orders of over £150 please do not use this code, as you are entitled to your own Hostess benefits!

Sign up to my newsletter here – http://eepurl.com/2if59

Hannah McCurley

Stampin’ Up! UK Independent Demonstrator

Vaseline Gift Box

Stampin' Up! UK box tutorials

I’ve been thinking a lot recently about pillow gifts and table favours, not sure if that’s because I’m still in Wedding mode or that I’m preparing for Christmas, but it means that when I’m shopping I’m constantly looking at little bits and bobs and thinking of ways to make them pretty!

Stampin' Up! UK box tutorials

These both hold Vaseline Lip Therapy Lip Balm tins, in coordinating colours of course!

I’m still loving the Cherry on Top Designer Series Paper stack, the 6 x 6″ size is so convenient for card making and little projects like this one, particularly when you pair it with the coordinating Card Stock pack or Washi Tape.

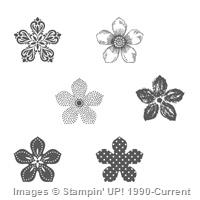
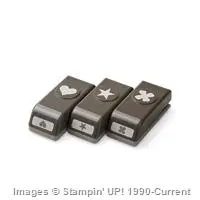
I’ve made this style of box before. I love the pizza box styling, its so simple to put together. If you are struggling to open the box you can also add a little notch in the front edge with a 1″ circle punch. This one is finished with the Petite Petals stamps and punch combo, and a couple of Itty Bitty accents flowers in the same colour.

Stajmpin' Up! UK Vaseline box video tutorial

Measurements:

Card stock – 6 1/2 x 3 5/8″ (17 x 9.5 cm)

Score on the long side at  3/4, 2 7/8, 3 5/8, and 5 3/4″ (2, 7.5, 9.5, 14.5 cm)

Score on the short side at 3/4 and 2 7/8″ (2 and 7.5 cm)

Designer Series Paper measures 1 7/8 x 1 7/8″ (5 x 5 cm)


Stampin' Up! Starter Kit offer


Shop Now button-001Join my team button-001

To purchase any of the items featured in my projects please use the links above. To join my team of Stampin’ Friends select ‘Join My Team’ or send me a message!

Please support StampinByHannah, and join my Code Club, by using the Hostess code featured in the top right hand of my blog. For orders of over £150 please do not use this code, as you are entitled to your own Hostess benefits!

Sign up to my newsletter here – http://eepurl.com/2if59

Hannah Wilks

Stampin’ Up! UK Independent Demonstrator


October Sketch Challenge – Card 3

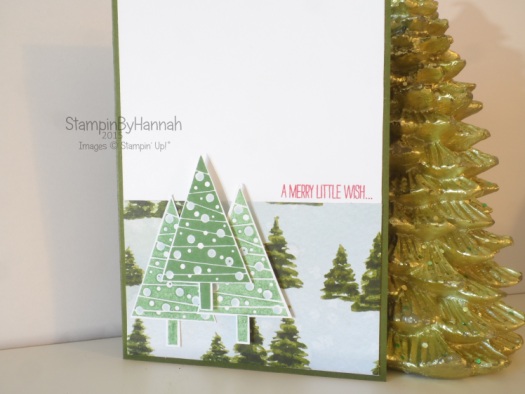
Stampin' Up! Sketch Challenge Festival of Trees

I am loving this challenge! I don’t think I have even made more than one card with a sketch before, let alone using my own sketches!

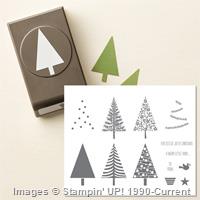
Last week I came across a lovely lady called Linda’s blog, when she played along with my sketch challenge – check out here AWESOME card here! I am yet to purchase the stamp set Linda used on her card, but it totally inspired me to use the Festival of Trees stamp set, and to rotate my sketch too! funny how my brain works!

StampinByHannah October Sketch Challenge

The sketch is really simple, and I think I had been thinking small – so lets jump out of the box!

Stampin' Up! Sketch Challenge Festival of Trees

Ok, so that sketch has now been turned on its head. The three trees are stamped from Festival of Trees in Garden Green and Soft Sky, and the Designer Series Paper is Season of Cheer.

I’m really enjoying playing with this sketch, check back next Wednesday for yet another card using the same inspiration. I would LOVE to see what you have made with this sketch too, post me a link to your blog here or post a photo to my Facebook page.


Stampin' Up! Starter Kit offer


Shop Now button-001Join my team button-001

To purchase any of the items featured in my projects please use the links above. To join my team of Stampin’ Friends select ‘Join My Team’ or send me a message!

Please support StampinByHannah, and join my Code Club, by using the Hostess code featured in the top right hand of my blog. For orders of over £150 please do not use this code, as you are entitled to your own Hostess benefits!

Sign up to my newsletter here – http://eepurl.com/2if59

Hannah Wilks

Stampin’ Up! UK Independent Demonstrator

Technique Tuesday | Using the Precision Base Plate

Stampin' Up! Butterfly thinlit Precision base plate how to

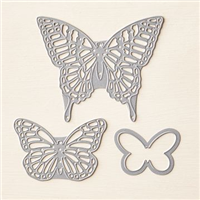
One of the things in the Autumn / Winter catalogue I was looking forward to more than anything else was the Precision Base Plate. I love cutting intricate dies with my Big Shot; the Butterfly thinlits or those stunning Delicate Ornaments, but getting all those little pieces out is a pain and needing to run things through the machine several time to ensure a good cut is annoying – but no more! Stampin' Up! UK Die cutting video tutorial

The Precision Base Plate is a steel plate deigned to replace one of your Clear Cutting Plates when using intricate dies. It works by providing a super hard surface for your dies to work against, giving a crisper, cleaner cut. I have to say though, I wouldn’t use this plate all the time – it just isn’t required for basic shapes, but the difference it makes on detailed dies makes this a must have accessory for my Big Shot Machine

This card was super easy to make with the Big Shot and precision base plate, the video is only 8 minutes and that’s with all my waffle! The Designer Series Paper on both cards was the inspiration for the colour schemes here, the Bohemian Designer Series Paper pack features some pretty loud patterns but the reverse sides are lovely and delicate with some great tone on tone looks.

Stampin' Up! Butterfly thinlit Precision base plate how to

Precision Base Plate top tips:

  • Use the Precision plate with your Multi-purpose platform fully closed, just as you would for thinlits dies and Clear plates
  • Make sure you are cutting on the correct side – the label should be face down (not showing) and you cut into the Black side of the plate
  • It may take a little more force to get this plate through your Big Shot, but DO NOT force it! check your sandwich and try again
  • This plate replaced a Clear Cutting Plate in your standard die sandwich – Multi-purpose Platform (on tab 2), Precision Base Plate (label side DOWN), card stock, die, Clear Cutting Plate

StampinByHannah Parties at home Teesside Stockton on Tees Craft Cardmaking Classes


Shop Now button-001Join my team button-001

To purchase any of the items featured in my projects please use the links above. To join my team of Stampin’ Friends select ‘Join My Team’ or send me a message!

Please support StampinByHannah, and join my Code Club, by using the Hostess code featured in the top right hand of my blog. For orders of over £150 please do not use this code, as you are entitled to your own Hostess benefits!

Sign up to my newsletter here – http://eepurl.com/2if59

Hannah Wilks

Stampin’ Up! UK Independent Demonstrator

12 Weeks of Christmas – Tree Decorations

Stampin' Up! Christmas Tree Decoration Merry Moments Designer Series Paper

Stampin' Up! 12 weeks of Christmas

The 3rd in our series counting down to Christmas and this week we’re talking tree decorations!

Stampin' Up! Christmas Tree Decoration Merry Moments Designer Series Paper

How cute are these! I have a plan for a stack of these on my tree this year, in various different sizes.

I thought that a video was the best way to explain how to make these, but its really simple; take a square of Designer Series Paper and fold it in half diagonally to form a triangle. Fold this piece in half, then use your Paper Snips to cut two slits as shown in the video.

Once you have made your slits, open out the paper and curl the pieces to create the above shape

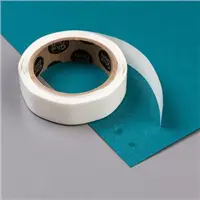
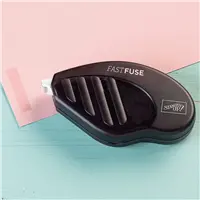
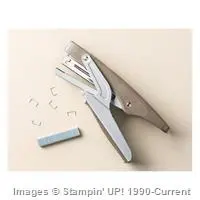
I used Mini Glue Dots and Fast Fuse to stick these ones, but I think they look super cute with mini staples! You can join them together with staples to form an adorable snowflake shape too!


Stampin' Up! Starter Kit offer


Shop Now button-001Join my team button-001

To purchase any of the items featured in my projects please use the links above. To join my team of Stampin’ Friends select ‘Join My Team’ or send me a message!

Please support StampinByHannah, and join my Code Club, by using the Hostess code featured in the top right hand of my blog. For orders of over £150 please do not use this code, as you are entitled to your own Hostess benefits!

Sign up to my newsletter here – http://eepurl.com/2if59

Hannah Wilks

Stampin’ Up! UK Independent Demonstrator

Pinkies Blog Hop | Pillow Box Note Card Collection

Stampin' Up! UK Watercolour Wings Note Card Collection

Blog hop logo

Welcome to another Pinkies Blog Hop! As it’s World Card Making Day today, we hope everyone will get some time to craft, and we’ve created some lovely projects to help inspire you to create your own beautiful card. Simply use the buttons at the end of each post to keep hopping!
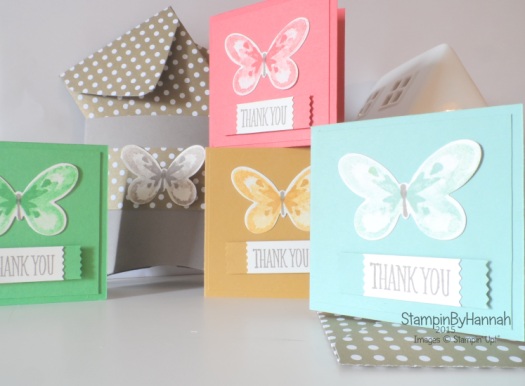
Stampin' Up! UK Watercolour Wings Note Card Collection

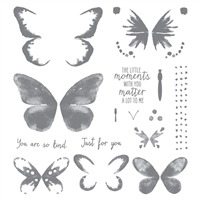
I hope you’re enjoying our hop today. This is my first Pinkies Blog Hop (and hopefully not my last!) and I wanted to create something that would describe my style of crafting for this event. There are so many great stamp sets in this years Annual catalogue that picking one favourite is incredibly difficult, but I think Watercolour Wings is probably one of my most used. Its such a easy set to use, although the effect looks complicated. The butterflies are stamped from 5 different stamps – 4 layering butterfly wings, and a body – and each one is stamped in one colour!

Stampin' Up! UK Pinkies Blog Hop World Card Making Day

So the first, most solid stamp is inked and stamped off onto scrap paper 3 times before being stamped onto the card stock, the next stamp is stamped off twice, the 3rd stamp is stamped off once, and the final image is stamped straight onto the butterfly to create a lovely layered image. These butterflies also coordinate with the Butterflies Thinlits Die set – which is awesome because fussy cutting isn’t my friend!

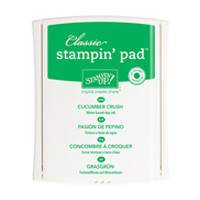
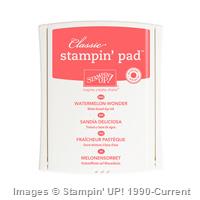
The note cards themselves are 3 x 3″ cards in four of the most recent In-Colours; Mint Macaron, Watermelon Wonder, Cucumber Crush and Delightful Dijon. Complete with a layer of the same card stock measuring 2 3/4″ square, matching butterfly and sentiment piece.

The Thank you sentiment is taken from Something to Say, stamped in Tip Top Taupe and punched out with the Washi Label punch. I found the punch a little long for the sentiment so inserted the punched piece back into the punch for a bit of a trim, before mounting on a full sized punch of the Washi Label.

Stampin' Up! UK World Card Making Day 2015

I couldn’t finish this project without making a pocket for the cards to go in, and without using my favourite item from the Autumn/Winter catalogue this year – The Pillow Box Die of course! I have used the die so much in the past few weeks, I’m sure regular readers of my blog are sick of the sight of it! Here I have created a Pillow Pocket by only putting the die off the edge of my card stock before cutting, so only one end has the pillow box closure. Finished with a belly band of Gold Designer Series Paper from the Neutrals Designer Series Paper Stack and another one of those butterflies in Tip Top Taupe.

Oh, and of course no set of note cards would be complete without some envelopes, so I used the same Designer Series Paper to create 4 envelopes with the Envelope Punch Board.

Thanks so much for stopping by today, and I hope you enjoy the rest of the hop!

Blog hop nextBlog hop previous


Shop Now button-001Join my team button-001

To purchase any of the items featured in my projects please use the links above. To join my team of Stampin’ Friends select ‘Join My Team’ or send me a message!

Please support StampinByHannah, and join my Code Club, by using the Hostess code featured in the top right hand of my blog. For orders of over £150 please do not use this code, as you are entitled to your own Hostess benefits!

Sign up to my newsletter here – http://eepurl.com/2if59

Hannah Wilks

Stampin’ Up! UK Independent Demonstrator

Kindness Project – Sweetie Boxes

Stampin' Up! UK Sweeties Box Video Tutoria

I love sharing my papercrafting with other people, I always make sweetie parcels and little gifts for my work colleagues at Christmas and special events, but until recently that’s where my sharing stopped! Shock I know, that was until I came across The Kindness Projects – and from now on people I come across will be getting little token gifts from me – a cashier in the supermarket, the doctor’s receptionist, the lovely chap that delivers my Stampin’ Up! goodies!
So, what are my token gifts – well, I thought I would go with some sweeties start with, and I have a pile left over from the sweetie bar at the Wedding, so I’ll be working my way through these first.

The first sweeties that I pulled out of the stack were my favourites  – Parma Violets! (just remind me of my childhood! LOVE them!) and so this box was created!

Stampin' Up! UK Sweeties Box Video Tutoria

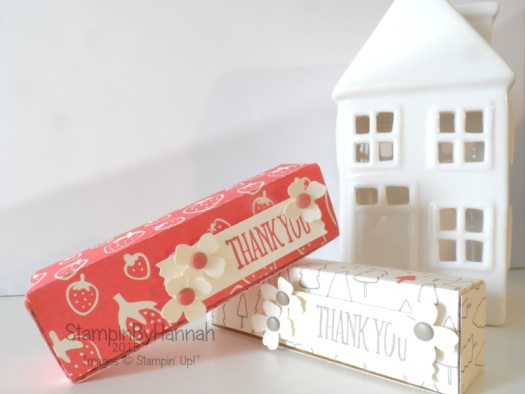
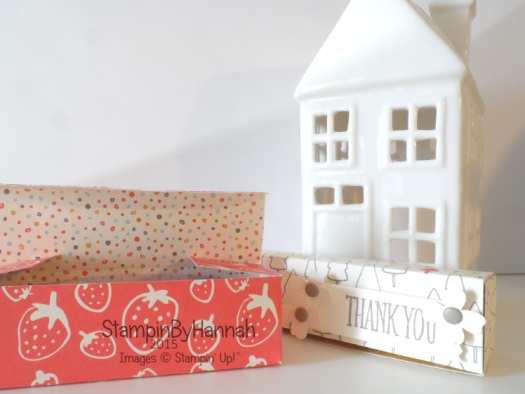
Aren’t they Cute! I adore this Designer Series Paper, Sweet Li’l Thing, it’s designed with Children in mind, but I just cannot resist those Strawberries! I made a card with this same paper last week. The prints are adorable, and I love the colour combination too – Hello Honey, Pool Party, Tangelo Twist, Tip Top Taupe, Very Vanilla and Watermelon Wonder – I don’t think I would have come up with that colour combination on my own, but I have to say it will be one that is staying in my Colour Combo Bank from now on!

And they are so quick and easy to make with only a teeny tiny bit of Designer Series Paper too! Awesome!

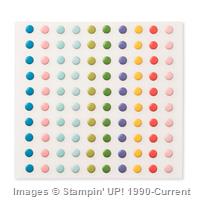
These boxes have been finished with a ‘Thank You’ from Something to Say, punched with my favourite punch (this week!) the Washi Label Punch, and some flowers from the Itty Bitty Accents Punch pack (and a few Candy Dots!)

Stampin' Up! UK Kindness Projects Parma Violets Box Video Tutorial

Measurements:

Designer Series Paper : 4 1/2 x 5 1/2″ (11.5 x 14 cm)

Score on the long side at 1 and 4 1/2″ (2.5 and 11.5 cm)

Score on the short side at 1, 2, 3 and 4″ (2.5, 5, .5 and 10 cm)

Don’t forget to round the corners on the lid to ensure a good close


Shop Now button-001Join my team button-001

To purchase any of the items featured in my projects please use the links above. To join my team of Stampin’ Friends select ‘Join My Team’ or send me a message!

Please support StampinByHannah, and join my Code Club, by using the Hostess code featured in the top right hand of my blog. For orders of over £150 please do not use this code, as you are entitled to your own Hostess benefits!
Sign up to my newsletter here – http://eepurl.com/2if59

Hannah Wilks

Stampin’ Up! UK Independent Demonstrator