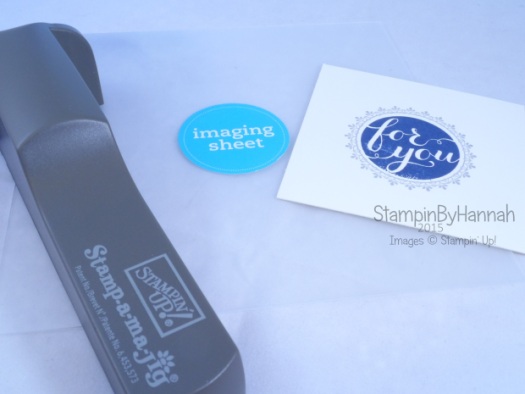
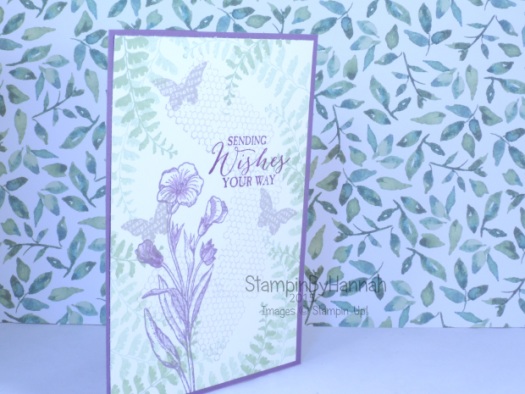
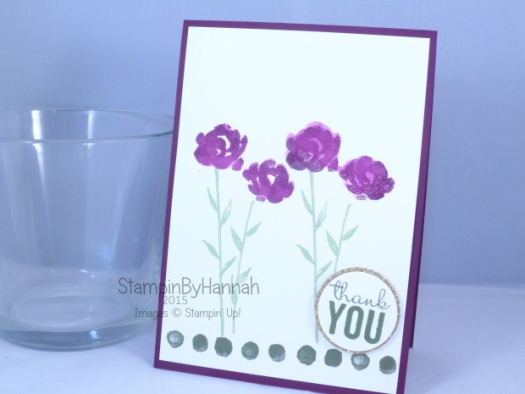
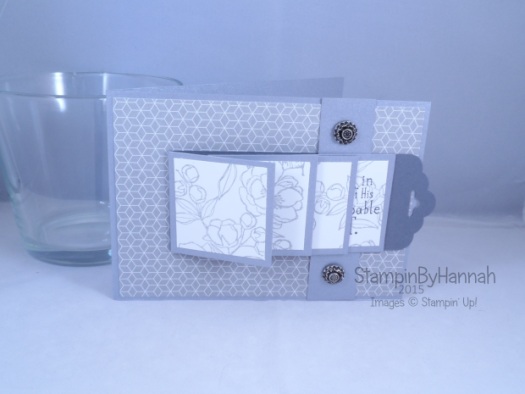
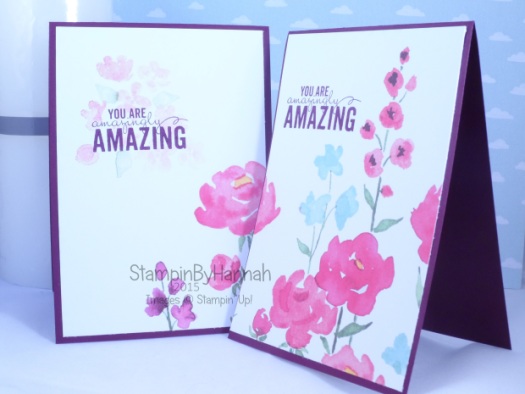
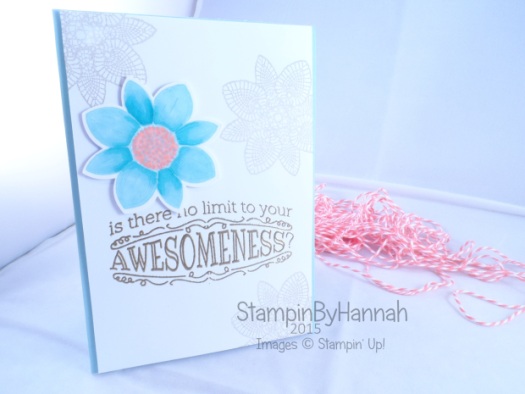
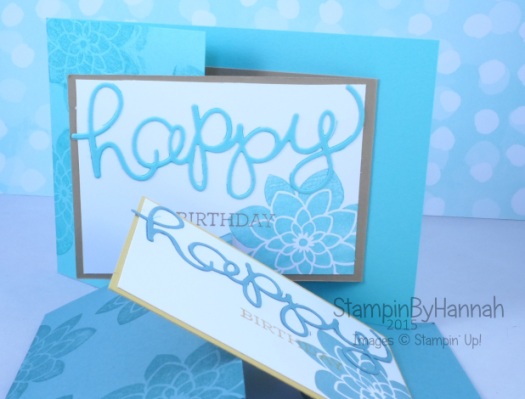
I have recently invested (not that it cost very much, but it was definitely worth the spend) in the Stamp-a-ma-jig from Stampin’ Up!
I had not realised how much I would use it, and will openly admit I bought it because I can’t tell you how useful something is without trying it first. I have to say, I think this is a tool that will definitely make it into my top 5 stampers tool kit!
There are so many ways to use the Stamp-a-ma-jig, but this is the way I use it most often….
Place the Acrylic Imaging Sheet with the shiny side down onto your grid paper, and butt the handle up against a corner, ensuring the corner of the imaging sheet is into the top corner of the T shape of the handle.
Ink up your stamp in a dark colour (Momento Black works particularly well). Put the corner of your stamping block into the top of the corner of the Stamp-a-ma-jig handle, slide the block down the corner to stamp onto the Imaging sheet. Your stamped image should now be on the imaging sheet
Remove the handle, position the imaging sheet onto your project, so that the image on the imaging sheet is where you want to stamp for real.
Place the handle back onto the corner of the imaging sheet in the same position it was before, and remove the imaging sheet – holding onto the handle ensuring it doesn’t move.
Ink up your stamp and stamp again, putting the corner of the stamping block into the corner of the handle, sliding the block down and back up to ensure a smudge free image.
Hannah Wilks
Stampin’ Up! UK Independent Demonstrator
If you like the project, or any of the products used, would like a catalogue, or to join my team, please contact me, or click on the ‘Shop NOW’ button at the top of the page. You can also find me on Twitter, Facebook, YouTube, Google+, About.me, and Tumblr (Links in the sidebar)
Sign up to our newsletter here – http://eepurl.com/2if59
Thank you for stopping by www.www.stampinbyhannah.co.uk today
x
