March Technique Class!

Right, so there are only a few days left before booking for my March Technique Class closes!

This month we are using the Flower Patch stamp set and die bundle, to make 2 lovely cards and a gift box!

Stampin' Up! UK Flower Patch

As always all materials are provided, including adhesives. All classes take place within my home (unless you choose the virtual option!) and private classes are also available.
Stampin' Up! UK Flower Patch Cardmaking classes

Each month we make a series of cards, and I always include a 3D project; either a fancy fold card, or a box of some form. This month the boxes we are using are from Stampin’ Up! but we are going to make them look fabulous!

Check out my Facebook events for all my classes, or my Stampin’ Up! page for full details of all StampinByHannah events!
Stampin' Up! UK Flower Patch Craft Classes on TeessideMy classes are available either in person or virtually, and are available with or without the Stamp set.

Class only – £10

Class with Stamp set – £28

Class with Stamp and die bundle – £45

Message me for payment information


Hannah Wilks

Stampin’ Up! UK Independent Demonstrator

If you like the project, or any of the products used, would like a catalogue, or to join my team, please contact me, or click on the ‘Shop NOW’ button at the top of the page. You can also find me on Twitter, Facebook, YouTube, Google+, About.me, and Tumblr (Links in the sidebar)

Sign up to our newsletter here – http://eepurl.com/2if59

Thank you for stopping by www.www.stampinbyhannah.co.uk today

x

Ambassador’s Chocolate box! using Stampin’ Up! UK products – video Tutorial

I love taking packaging as inspiration for handmade projects, a few weeks ago I was shopping with a friend and spotted a long thin box of chocolates, and just knew I had to buy it and re-create it. Now, that box wasn’t all that exciting, but using an existing box makes it much easier to re-engineer a box to fit the same items! So, the original box held 5 chocolates, my version holds 3, but I think 3 of these indulgent chocolates is enough!

Stampin' Up! UK Ferrero Rocher box chocolate video tutorial

I have made this box a few times now, with punched out sections, and designer series paper, but may favourite has to be this Brushed Gold version. The photo doesn’t do the colour of this cardstock justice, but I think I managed to capture the shine in the video.

I also grabbed one of the new wedding themed stamp sets from the Spring/Summer catalogue for the stamped sentiment – Your Perfect Day, punched out perfectly (pun intended) with the 1 1/4″ circle punch. I just love the look of these two punched layered on top of each other, the bottom layer is a 1 3/8″ circle punched from Blackberry Bliss cardstock (love that colour!)

Measurements:

Cardstock = 8 1/4 x 6 1/2″ (21 x 17 cm)

Score on the long side first at – 1/2, 2, 6 1/4 and 7 3/4″ (1 , 5, 16, and 20 cm)

Score on the short side at 1/2, 2, 3 1/2 and 5″ (1, 5, 9, 13 cm)

Measurements for Designer Series Paper:

4 pieces cut to 1 1/4 x 4″ (3 x 10 cm)

2 pieces cut to 1 1/4 x 1 1/4″ (3 x 3 cm)


Hannah Wilks

Stampin’ Up! UK Independent Demonstrator

If you like the project, or any of the products used, would like a catalogue, or to join my team, please contact me, or click on the ‘Shop NOW’ button at the top of the page. You can also find me on Twitter, Facebook, YouTube, Google+, About.me, and Tumblr (Links in the sidebar)

Sign up to our newsletter here – http://eepurl.com/2if59

Thank you for stopping by www.www.stampinbyhannah.co.uk today

x

Butterfly Basics

Hello and Welcome to a new week at StampinbyHannah!

This card uses the Butterfly Thinlits dies, from the Spring/Summer Stampin’ Up! catalogue. Isn’t it pretty.
Stampin' Up! UK Butterfly Thinlits dies Butterfly BasicsWhen I first received these dies I had a good old play with them, trying to find the best way to get them to cut, which colours did I prefer, that kind of thing, and this is the card that resulted.

I adore the subtles collection cardstocks for spring, the colours are all just so pretty. Here I have used Soft Sky, Blushing Bride and Pear Pizzazz.

There are now loads of videos on YouTube showing you some of the best ways to get these dies to cut. I am absolutely no expert on this one! I run them through my slightly tired Big Shot several times, rotating them and moving them across the cutting plates. Once they are cut I stand and poke all the pieces through with my pokey tool (or Stampin’ Up! Paper Piercing Tool), into a Sandwich bag to catch all the little bits. But these Butterflies are worth the effort, they are stunning on a card!


Hannah Wilks

Stampin’ Up! UK Independent Demonstrator

If you like the project, or any of the products used, would like a catalogue, or to join my team, please contact me, or click on the ‘Shop NOW’ button at the top of the page. You can also find me on Twitter, Facebook, YouTube, Google+, About.me, and Tumblr (Links in the sidebar)

Sign up to our newsletter here – http://eepurl.com/2if59

Thank you for stopping by www.www.stampinbyhannah.co.uk today

x


Sale-a-bration on Sunday – An opportunity too good to miss?!

So, we are now about halfway through Sale-a-bration – the biggest sale in the Stampin’ Up! calender, and I have to say, I’m loving it! There are a great selection of FREE products available this year, just for spending £45! (or €60) with me.

Have I also mentioned that as well as choosing stamps or designer series paper, this year you can also choose one of the packs of Blendabilities from the annual catalogue – that means that there are 22 different items that you can get for FREE right up until the 31st of March! And there are great offers for hosting parties or becoming a demonstrator too.


So, I wanted to mention the great joining offer available during Sale-a-bration. For just £99 you can choose £130 worth of Stampin’ Up! products, from either the Annual or Spring/Summer catalogues, AND you can choose either a FREE project kit from the Spring/Summer catalogue OR two items from Sale-a-bration! AWESOME!

Stampin' Up! UK join NOWStampin' Up! UK Sale-a-bration join

but, there is more! There are many amazing things about being a Stampin’ Up! demonstrator, not least the great Stampin’ Friends you meet, the chance to attend some awesome Stampin’ Up! events (this year’s events are going to be amazing, trust me!), and some great demonstrator incentives and offers. PLUS, the normal 20% discount on all purchases, pre-order periods and free products just for being a demo!

Then there are the great things I can offer too! I have a growing number of demonstrators in my team, with our own downline blog, private facebook group, Pinterest board, and events, one to one sessions, and help with parties and events that you hold too! Oh, and there’s the small matter of joining a team that includes the world famous Pootles! (She’s my upline if you really want to know!)

Now, I know the idea of being a demonstrator is scary, and I’m not totally sure demonstrator is the right word for what we do either, but…. there are many different reasons to join Stampin’ Up!, maybe you just love the products and that 20% discount is really handy, or you love to get your hands on all that lovely new product before you friends, or maybe you need a bit of extra income for a family holiday, birthdays or Christmas, Stampin’ Up! could be for you!

For further information about Stampin’ Up! drop me a message.

Stampin' Up! UK Sale-a-bration best day ever

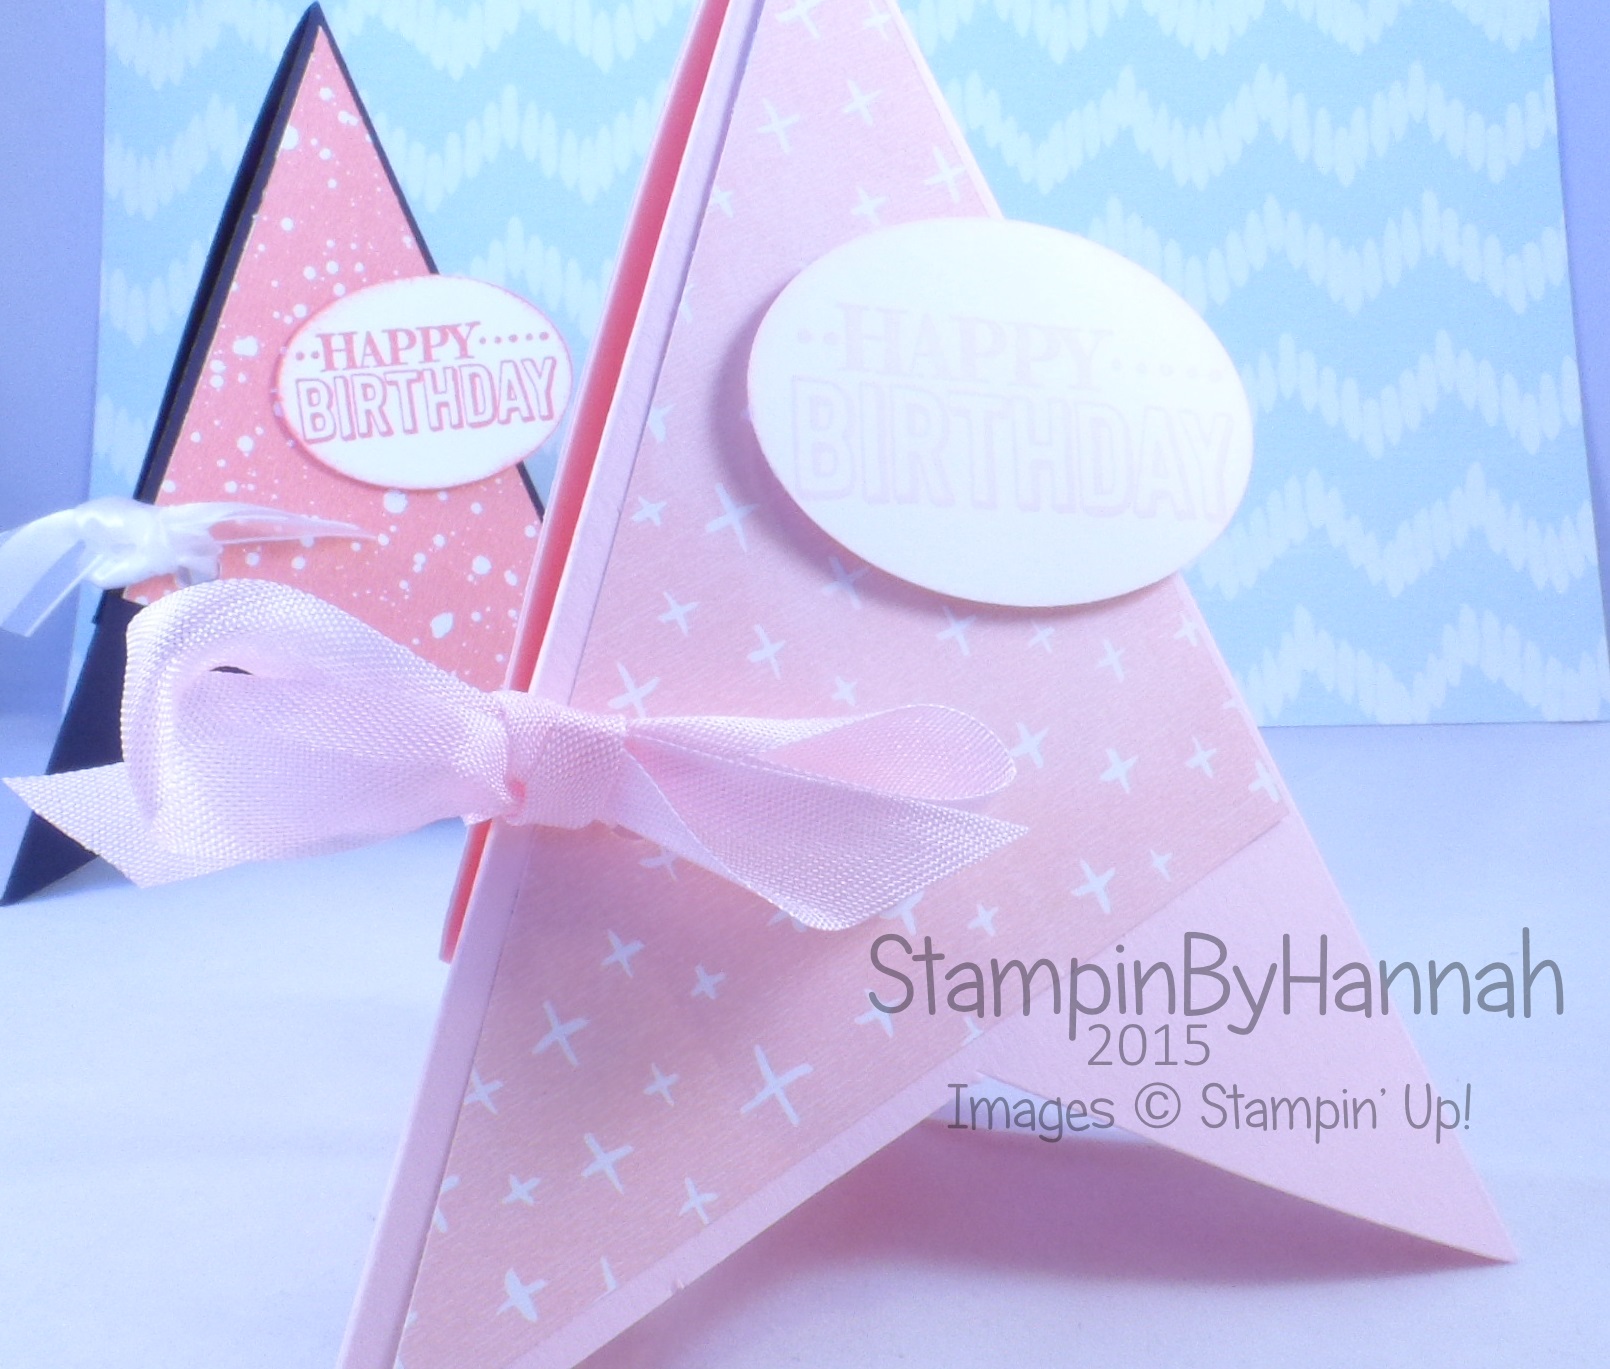
I couldn’t leave you without a card on Sale-a-bration Sunday could I! This uses a Coastal Cabana Card blank, stamped using the Best Day Ever stamp set, complete with a piece of the Best Year Ever designer series paper, and some fussy cut flowers from the same stamp set!


Hannah Wilks

Stampin’ Up! UK Independent Demonstrator

If you like the project, or any of the products used, would like a catalogue, or to join my team, please contact me, or click on the ‘Shop NOW’ button at the top of the page. You can also find me on Twitter, Facebook, YouTube, Google+, About.me, and Tumblr (Links in the sidebar)

Sign up to our newsletter here – http://eepurl.com/2if59

Thank you for stopping by www.www.stampinbyhannah.co.uk today

x

Fancy Fold Friday – Extended Thinlit Circle Card

I have previously used this Thinlit Circle Card die for a Fancy Fold Friday, but this time I’ve made a small alteration – creating an extended flap on one end.

Stampin' Up! UK Thinlit Circle Card extended Painted Petals

I love the Painted Petals Stamp set and Painted Blooms Designer Series Paper. I just think its great that you can look like a watercolour expert, just using a couple of stamps!

The Painted Blooms DSP features some lovely colours, but the colour that stood out on this piece was Blackberry Bliss and so I selected Blackberry Bliss cardstock as my card base.

The secret to making this card successfully is cutting your cardstock, the die creates a card that is 5 1/2″ tall, so your cardstock should be cut a hair shorter to ensure that it passes through the die allowing you to cut part of the die, leaving the trailing edge to create the extended portion.

Measurements:

Cardstock = 8 1/4 x 5 3/8

Insert your cardstock through the die, leaving one edge of the cardstock above the die when laid on your acrylic plate. Fold the extended side into the card, lining the edge up with the circle cut out in the centre.

Cut a 6×6″ piece of DSP with the die. Trim around all  4 edges, and cut along the score lines left by the die. Trim the larger piece to 2″ wide.

Whisper White piece for the insert measures 2 x 5″, cut a scallop circle from Whisper White using the Scallop Circle die from the die set.


Hannah Wilks

Stampin’ Up! UK Independent Demonstrator

If you like the project, or any of the products used, would like a catalogue, or to join my team, please contact me, or click on the ‘Shop NOW’ button at the top of the page. You can also find me on Twitter, Facebook, YouTube, Google+, About.me, and Tumblr (Links in the sidebar)

Sign up to our newsletter here – http://eepurl.com/2if59

Thank you for stopping by www.www.stampinbyhannah.co.uk today

x

Happy Zoo Babies!

I have had this card sat on my hard drive for a little while, neglected, and lonely. The last few weeks have been insanely busy around here, working 65 hour weeks, hen parties, classes, and running the blog, but I’m hoping I’m back on an even keel again now. I have come to see how much I can do, and I have a habit of saying yes to anything and everything, and I just can’t do it all. So, after having to pull out of a craft fayre last weekend, I took a step back and realised what I can fit into my life! and currently, craft fayres are not it!

So, after that ramble, I have a lovely card for you today.

Stampin' Up! UK Zoo Babies Hello You

I made this card before Christmas! for my cousin’s babies first birthday. I had just received my pre-order from the Spring/summer catalogue, so there are a few products used here.

For babies cards there is no stamp set better than Zoo Babies! I adore the cute animals and patterns, stamped in fun colours of course!

One of the first things to come out of my pre-order box was the lovely Hello You thinlits dies – four word dies; Happy, You, Thanks, and Hello, that work perfectly with the Crazy About You stamp set. So, well in fact that they come as a bundle! Crazy About You also comes in all 3 stamp types, Wood Mount, Clear Mount and Photopolymer! Awesome! These thinlit dies are fantastic, and so easy to cut and get back out of those dies! but I think my favourite thing about them is using the Transfer Adhesive Sheets to put them onto a card! If you haven’t experienced TAS yet, grab them now!

My favourite colour of the moment is still Lost Lagoon, and for a baby boy card it is perfect! paired with a piece of the Sweet Dreams DSP – lovely!


Hannah Wilks

Stampin’ Up! UK Independent Demonstrator

If you like the project, or any of the products used, would like a catalogue, or to join my team, please contact me, or click on the ‘Shop NOW’ button at the top of the page. You can also find me on Twitter, Facebook, YouTube, Google+, About.me, and Tumblr (Links in the sidebar)

Sign up to our newsletter here – http://eepurl.com/2if59

Thank you for stopping by www.www.stampinbyhannah.co.uk today

x

Valentines Seam Bag

Valentines isn’t as big a holiday in the UK as it is in the USA – in fact it barely registers at all. I don’t think I have ever been out for a Valentines dinner, there are two reasons for that; first restaurants appear to increase their prices on this one night of the year, and that I have been at work for most of the Valentines since James and I have been together (I’m on nights this year, passion killer or what!)

So, instead of going all out, we tend to have a quite night in with a nice dinner during the week. This year I have a couple of little things to make this evening a little more special, including this little table gift.

Stampin' Up! UK stacked with love Valentines treat bags

This bag uses the Stacked with Love Designer Series Paper Stack, a lovely selection of love themed papers in that lovely 6 1/2 x 4 1/2″ size, perfect for card fronts (and cute little bags!)

This DSP comes bundled with the You Plus Me stamp set, and I featured both as part of my February Techniques class.

Measurements:

DSP – 6 1/2 x 4 1/2″

Score the long side at 2 3/8″ and 4 1/8″

Score on the short side at 1 3/8 and 3 1/8″

I have also used the Sweetheart Punch, You Plus Me and Itty Bitty Accents Punch Pack.


Hannah Wilks

Stampin’ Up! UK Independent Demonstrator

If you like the project, or any of the products used, would like a catalogue, or to join my team, please contact me, or click on the ‘Shop NOW’ button at the top of the page. You can also find me on Twitter, Facebook, YouTube, Google+, About.me, and Tumblr (Links in the sidebar)

Sign up to our newsletter here – http://eepurl.com/2if59

Thank you for stopping by www.www.stampinbyhannah.co.uk today

x

Butterfly Basics – January Thanks!

I love sending thank you notes to customers, and I try to make a different card each month.

For those lovely ladies who shopped with me in January, these are the cards that should be sat on your shelves!

I have to give credit to Brandy Cox who I have CASE’d this idea from. She did a fab 10 cards in 20 minutes video based around this set. Lovely!

Stampin' Up! UK butterfly Basics thank you

I send cards out at the end of each month, and theses went out last week.

I used a Pool Party card base (have an A4 sheet cut in half, folded in half), with a piece of Whisper White for stamping.

The stamp set used here is Butterfly Basics, it is so pretty! saying that I haven’t included a butterfly! The ferns are triple stamped in Pear Pizzazz, with the other elements stamped in Crumb Cake.

The ‘Thank You’ sentiment is taken from Crazy About You.


Hannah Wilks

Stampin’ Up! UK Independent Demonstrator

If you like the project, or any of the products used, would like a catalogue, or to join my team, please contact me, or click on the ‘Shop NOW’ button at the top of the page. You can also find me on Twitter, Facebook, YouTube, Google+, About.me, and Tumblr (Links in the sidebar)

Sign up to our newsletter here – http://eepurl.com/2if59

Thank you for stopping by www.www.stampinbyhannah.co.uk today

x


Sale-a-bration on Sunday – Project Life edition!

I love Project Life, I have written several times about my 2015 Project Life album, and I’m also using the Project Life system to document my wedding.

Project Life is a scrapbooking system from Becky Higgins, brought to us by Stampin’ Up! In both the Annual and Spring/Summer catalogues there are larger Project Life kits, with coordinating accessory packs and stamps. But we also have a great 30 card pack as one of our Sale-a-bration Freebie choices! awesome!

Now, although I love doing Project Life, I also love being able to get several projects from any item I buy! and so I love using Project Life cards for cardmaking

Stampin' Up! UK sale-a-bration Project Life

This card collection features a range of lovely colours and patterns, and is themed around fun days and summer activities.

I trimmed a 6 x 4 card to fit the front of my card, and added a 3 x 4 card with dimensionals. I did pre-stamp the 3 x 4 card using Perpetual Birthday Calender and a sentiment from Painted Petals, adding a trio of jewels to finish.


Sale-a-bration is the biggest Stampin’ Up! sale of the year – not only can you choose a FREE item (from a selection) for every £45 spend, but you can earn more Hostess Credits by holding a party, AND get some great free items by choosing to become a demonstrator!


Hannah Wilks

Stampin’ Up! UK Independent Demonstrator

If you like the project, or any of the products used, would like a catalogue, or to join my team, please contact me, or click on the ‘Shop NOW’ button at the top of the page. You can also find me on Twitter, Facebook, YouTube, Google+, About.me, and Tumblr (Links in the sidebar)

Sign up to our newsletter here – http://eepurl.com/2if59

Thank you for stopping by www.www.stampinbyhannah.co.uk today

x

Fancy Fold Friday – TeePee Card

I’ve seen a lot of this card on various facebook groups recently, and I had to have a go at making one.

When I had a look through Pinterest looking at this type of card, I found two methods of making it. I prefer the method I will demonstrate here, I have tried it both ways.

Stampin' Up! UK TeePee cardThe other way is to cut 3 squares of cardstock, and fold diagonally in half. Apply glue to one half of each square, and stick them together. You should end up with a sort of chain of square that wrap around to form the TeePee.

Stampin' Up! TeePee card Sale-a-bration

Here I have used Basic Black cardstock, and the Best Year Ever Sale-a-bration designer series paper, and Pink Pirouette with the same DSP.

The stamp is from Big Day, another Sale-a-bration, offering, and is punched out using the Extra-large Oval punch.

Measurements:

Cardstock – 8 1/4 x 5 3/4″

Score on the long side at 4 1/8″ and fold, as if creating a standard fold card

place this folded card base onto the Simply Scored with the short side at the top, scoring at 4 1/8 down to approximately 2 1/2″

Cut this score line, and then cut from the end of that line to the bottom corner of the card – forming a triangle.

Open the card out, score from the middle score line to the outer bottom corner on both sides

DSP = 3 3/4″ x 3 3/4″, cut into two triangles


Hannah Wilks

Stampin’ Up! UK Independent Demonstrator

If you like the project, or any of the products used, would like a catalogue, or to join my team, please contact me, or click on the ‘Shop NOW’ button at the top of the page. You can also find me on Twitter, Facebook, YouTube, Google+, About.me, and Tumblr (Links in the sidebar)

Sign up to our newsletter here – http://eepurl.com/2if59

Thank you for stopping by www.www.stampinbyhannah.co.uk today

x