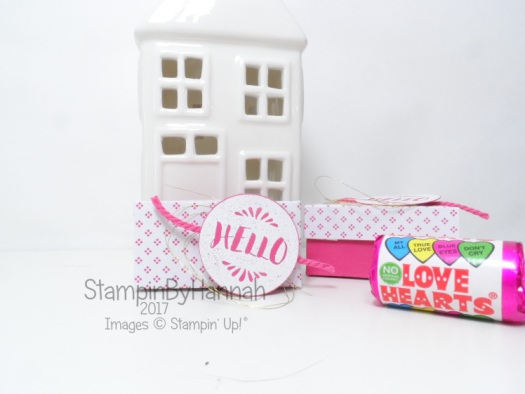
Oh my goodness, this box looks really complicated but it is SO easy! The tutorial I found for this was on the Gathering Beauty blog, and I have re-made it using 6 x 6 Designer Series Paper.

This cute box holds two mini rolls of Love Hearts, but you could make it with any size paper you like (as long as it is square) to hold what ever you like! how cool!
Instructions:
- Fold you piece of Designer Series Paper in half, turn and fold in half again. Then unfold and lay with the print you want on the outside, face down.
- Fold the bottom edge to meet the halfway mark, rotate and repeat on the opposite side. Unfold and lay flat, you should now see 8 rectangles
- Fold the bottom edge to meet the top fold line, rotate and repeat on the opposide side. Unfold and lay flat, you should now see a further 8 smaller rectangles
- Fold the top corners to meet the 2 fold line down, and the bottom corners to meet the 2nd fold line up
- Rotate your paper so the fold lines are vertical, and turn your paper over so you can now see the print you want on the outside of your box
- Fold the bottom edge to meet the halfway mark, rotate and repeat on the opposite side. Then fold the paper edge back
- You have now created two flaps, lift one flap, you should see two triangles, open up the triangle to make a rectangle. Do this on both sides
- Turn your paper over again so that the print you want on the outside of the box is face down
- You need to bring the flaps you created back over so you can see them. To do this you need to fold so that the edge of the flap meets the edge of the two rectangles that you can currently see (check the video for this bit, it is easier to demonstrate that explain)
- To construct the box; raise the flap to create the sides, you should then be able to fold the outside flaps to fold the lids of the box. You need to take the triangles on the flaps (that we got rid of before) and fold them to the second crease on the side of the box. This should pull the top of the box up. Repeat on all four triangles
- To close the box you can push one side of the lid into the triangles side the other side of the lid

You could make a bunch of these and store them flat (so stop at instruction 9). Right I am off to make a bigger one out of a full piece of 12 x 12! Now, which paper to choose…..
Question of the day: What has been your favourite project this week?
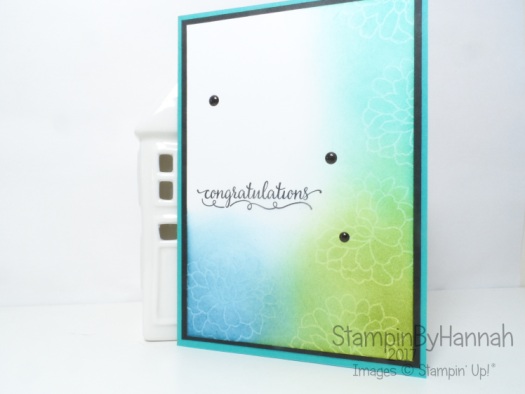
I love them all! I LOVE this box, but the ink technique from Wednesday is something I will be playing with again I am sure 🙂
Product List
To purchase any of the items featured in my projects please use the links above. To join my team of Stampin’ Friends select ‘Join My Team’ or send me a message!
Please support StampinByHannah, and enter MK42UXHG. For orders of over £150 please do not use this code, as you are entitled to your own Hostess benefits!
Sign up to my newsletter here – http://eepurl.com/2if59
Hannah McCurley
Stampin’ Up! UK Independent Demonstrator


