Way to go!

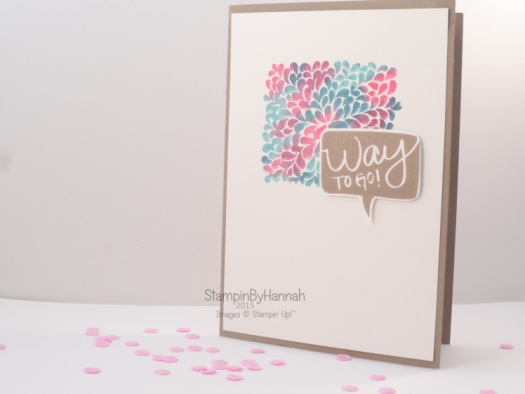
Stampin' Up! Way to go Congratulations card

I am trying really hard at the moment to send more cards. I love receiving handmade cards from other people, and would NEVER go and buy a birthday card, but I often forget to send ‘just because’ type cards. I love sending this type of ‘pick me up’ to friends, and have often send cards like this in the past, but some how have fallen out of the habit.

So when my wonderful up-line earned the 2017 Stampin’ Up! incentive trip a few weeks ago, I knew a card was in order
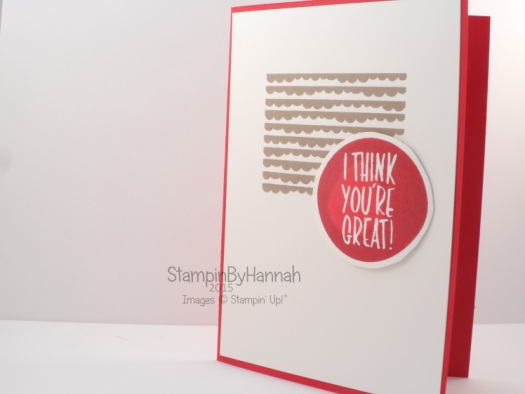
Stampin' Up! Way to go Congratulations card

I will admit to being a little sort of time recently, and Sam is well aware of my busy work/business/home schedule, so a quick and simple card was the order of the day.

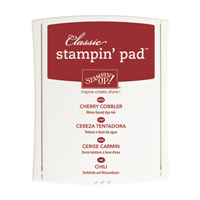
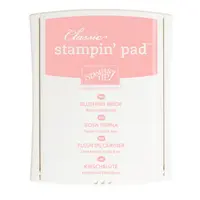
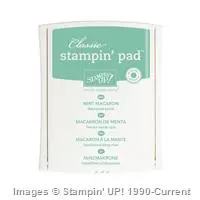
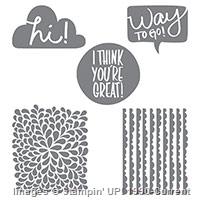
The card features the ‘I Think You’re Great’ stamp set from the Annual catalogue, along with Gorgeous Grunge. I’m also trying to branch out with colour, so this card uses a new-to-me colour combination – Cherry Cobbler, Blushing Bride and Mint Macaron.

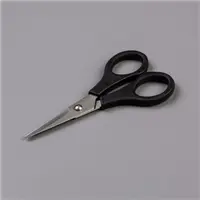
Saying the quick and simple was my aim, I still managed to add some fussy cutting to pop the sentiment off the front of the card.

I did get an email from Sam this week to say that this card, along with another card I made for her lovely mum and dad, arrived safely in Wales 🙂


Shop Now button-001Join my team button-001

To purchase any of the items featured in my projects please use the links above. To join my team of Stampin’ Friends select ‘Join My Team’ or send me a message!

Please support StampinByHannah, and join my Code Club, by using the Hostess code featured in the top right hand of my blog. For orders of over £150 please do not use this code, as you are entitled to your own Hostess benefits!

Sign up to my newsletter here – http://eepurl.com/2if59

Hannah McCurley

Stampin’ Up! UK Independent Demonstrator

Technique Tuesday | Stamp Rolling

Stampin' Up! UK Video tutorial class workshop

Oh dear, now this post is messy 🙁 really messy. The technique is inky yes, but there is no need to make as much of a mess as me! (check out the video tutorial to see what I mean!)

Stampin' Up! UK Stamp Rolling video tutorial

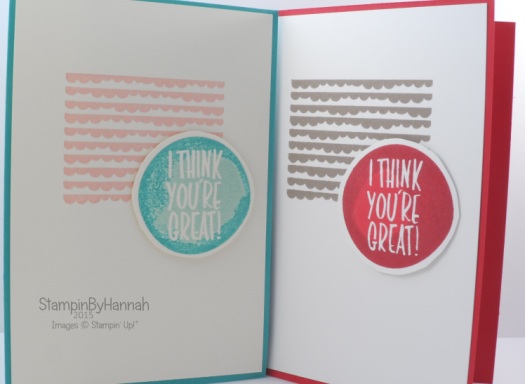
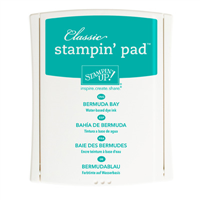
This is stamp rolling, adding more than one ink colour to a round stamp from two different ink pads. I needed a circular stamp for this and just had to use I Think You’re Great again! The first card uses Bermuda Bay and Pool Party to create a two-tone stamped image, while the card on the right uses Cherry Cobbler and Real Red.

See, isn’t it so super simple (if you manage to keep hold of your stamps, unlike me!)

Stampin' Up! UK Video tutorial class workshop

How to:

Ink you stamp with a light ink colour (I used Real Red for this card)

Take a hold of your stamp (firmly) and press the edges of the stamp into the darker ink pad in a rolling motion, ensuring you don’t touch the middle of the stamp into the ink pad

Always use the lighter colour first so you don’t get darker ink into your light ink pads


Shop Now button-001

Join my team button-001

To purchase any of the items featured in my projects please use the links above. To join my team of Stampin’ Friends select ‘Join My Team’ or send me a message!

Please support StampinByHannah, and join my Code Club, by using the Hostess code featured in the top right hand of my blog. For orders of over £150 please do not use this code, as you are entitled to your own Hostess benefits!

Sign up to my newsletter here – http://eepurl.com/2if59

Hannah Wilks

Stampin’ Up! UK Independent Demonstrator
Technique Tuesday|Layered Alphabet

Stampin' Up! UK Technique videos

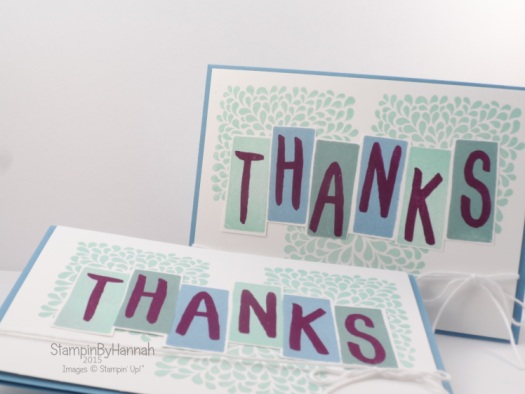
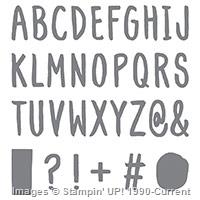
I have a slightly different Technique Tuesday for you this week. I have been loving the Layered Letters Alphabet, I’ve used it for all sorts the projects this month – Catalogue bookmarks, my swatch book, and now my customer Thank You cards for July!

If you have placed an order this month, this card will be coming to you in the post at the end of the month! If you haven’t ordered yet…. you better get ordering to get one!

Stampin' Up! UK Layered Letters Alphabet

Aren’t they cute! Check out the video for some great tips about using this stamp set!

Top tips:

– Stamp your layering pieces first! get those rectangles and ovals onto your card – using different colours for each one looks awesome!

-Lay your letters out onto a clear block, to check your spelling! (particularly important if your dyslexic like me!)

-Position your letters onto the layering spots, stamp side down, and pick them all up in one go with a large clear block – this way you can stamp them together like one big stamp!

Do you have any alphabet stamp tips? Let me know in the comments section below!


Supply List

Built for Free Using:  My Stampin Blog


Dont forget to shop using the Code Club Code to receive some great FREE product!

XEQGUA4P

I will be closing this order on the 30th July 2015


Shop Now button-001Join my team button-001

To purchase any of the items featured in my projects please use the links above. To join my team of Stampin’ Friends select ‘Join My Team’ or send me a message!

Please support StampinByHannah, and join my Code Club, by using the Hostess code featured in the top right hand of my blog. For orders of over £150 please do not use this code, as you are entitled to your own Hostess benefits!

Sign up to my newsletter here – http://eepurl.com/2if59

Hannah Wilks

Stampin’ Up! UK Independent Demonstrator
Watercolour Stamping with Stampin’ Write Markers

Stampin' Up! UK Watercolour stamping markers I think you're great

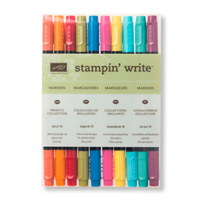
I find myself reaching for my Stampin’ Write markers often. They are the same ink as the Stampin’ Up! Classic Ink you’ll find in our ink pads, but in the convenience of a pen. There are so many techniques that use these pens; from watercolouring to stamping, using them like felt tips, or just a quick ink.

Stampin' Up! UK Watercolour stamping markers I think you're great

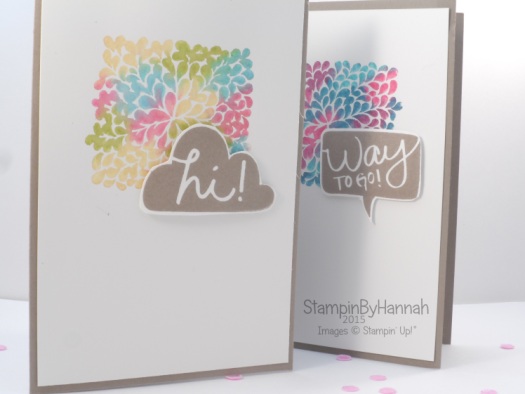
I use Stampin’ Write makers for technique like this one quite often, they are a great way to ink a stamp with several colours; whether you are colouring a bird or flower, or just creating a great background like this one.

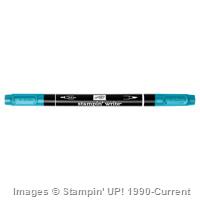
The Stampin’ Write makers have two tips; a fine point great for journalling in you Project Life albums, and a brush tip wonderful for colouring images or stamps.

How To:

Select a few Stampin’ Write markers; here I have used Melon Mambo, Rich Razzleberry, Bermuda Bay and Island Indigo.

Using the brush tip of your marker on its side, scribble the colour into your stamp

Once your stamp is covered in ink, spritz with water

Stamp onto your card stock (I used Whisper White for this card, but it works wonderfully with Watercolour paper too!), holding the stamp to the card stock for a few seconds to allow the ink to soak into the paper

Stampin' Up! UK I think you're great

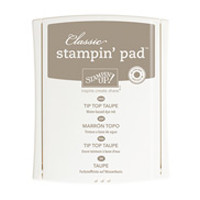
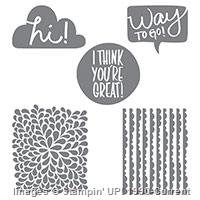
The sentiments used here are both from the I Think You’re Great stamp set, and are stamped in Tip Top Taupe before being fussy cut with my Paper Snips and added to the card with some Dimensionals

I think my favourite is the ‘Way to Go’ card, what about you?


Shop Now button-001Join my team button-001

To purchase any of the items featured in my projects please use the links above. To join my team of Stampin’ Friends select ‘Join My Team’ or send me a message!

Please support StampinByHannah by using the Hostess code featured in the top right hand of my blog. For orders of over £150 please do not use this code, as you are entitled to your own Hostess benefits!

Sign up to my newsletter here – http://eepurl.com/2if59

Hannah Wilks

Stampin’ Up! UK Independent Demonstrator
I Think You’re Great!

Stampin' Up! UK I think your great ink smooshing

I have been playing with ink a lot recently, making a great big mess, but having loads of fun too! I get a lot of inspiration from watching some of the wonderful card makers on YouTube (Jennifer McGuire and Kristina Werner are two of my all time favourites!) and I recently spotted this super cool technique, Ink Smooshing (I haven’t done a tutorial for this one, but check out this great video from Kristina)Stampin' Up! UK I think your great ink smooshingTo create this card I first heat embossed that great sentiment from I Think You’re Great using Clear embossing powder.
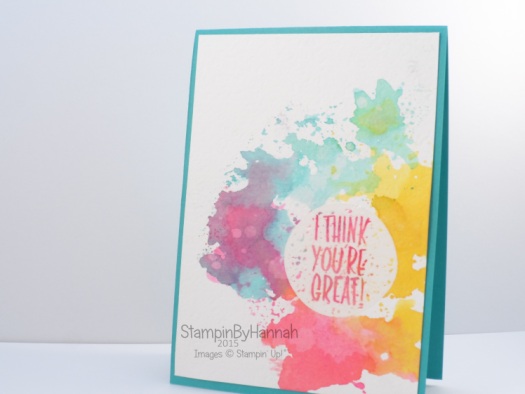
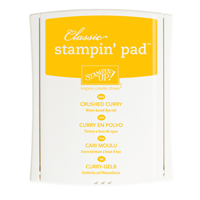
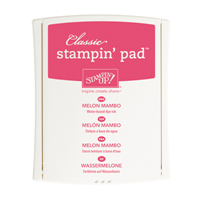
I used three colours of ink; Bermuda Bay, Crushed Curry, and Melon Mambo. I use either my ink pads or re-inkers to put ink onto a large clear block or the glass of my desk top, an add water using an water spritzer. One colour at a time I make my ink / water mixture and pick up the mix using the clear sheet that comes with our Photopolymer stamps – you could just as easily using a piece of window sheet or other packaging – and smoosh the ink onto the watercolour paper. I added the Crushed Curry first, then repeated the process with Melon Mambo, and finally Bermuda Bay.

One of the great things about Stmapin’ Up! inks is how they work with water. Not only can you water colour with them, but also once your ink has dried you can drop water onto the ink, and wick away some of the colour – creating this great effect.

What’s your favourite technique at the moment?


Shop Now button-001Join my team button-001

To purchase any of the items featured in my projects please use the links above. To join my team of Stampin’ Friends select ‘Join My Team’ or send me a message!

Please support StampinByHannah by using the Hostess code featured in the top right hand of my blog. For orders of over £150 please do not use this code, as you are entitled to your own Hostess benefits!

Sign up to my newsletter here – http://eepurl.com/2if59

Hannah Wilks

Stampin’ Up! UK Independent Demonstrator