We are at week 10 of our 12 tags of Christmas! That means there is only another 2 weeks to go! eeek! better get to Christmas shopping!
This tag is a 2 x 6″ piece of All is Calm DSP, punched at one end with the Scalloped Tag Topper punch.
I love the colour of this paper, its Pear Pizzazz. So, my tree is the same, with Lost Lagoon accents / baubles. I have also stamped the star from Festival of Trees in Lost Lagoon, and then added some of rhinestones. Can you tell there are a few in a different colour, that because I’ve used the darkest Old Olive Blendabilities marker again! (LOVE!)
If you like the project, or any of the products used, would like a catalogue, or to join my team, please contact me, or click on the ‘Shop NOW’ button at the top of the page. You can also find me on Twitter, Facebook, YouTube, Google+, About.me, and Tumblr (Links in the sidebar)
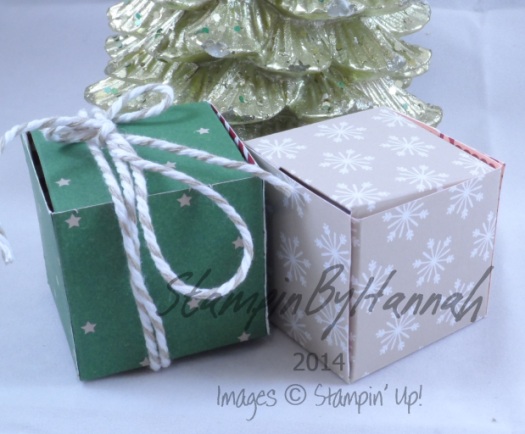
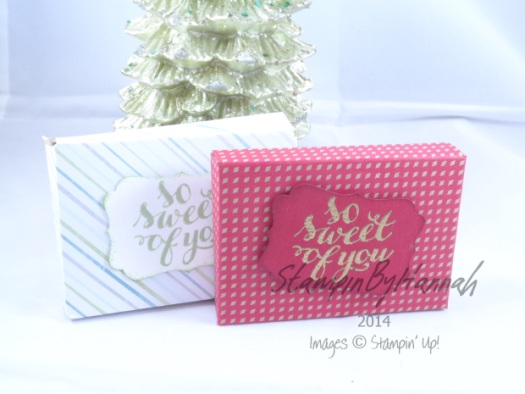
I have a series of posts for you for the last few Fridays before Christmas; and they are all little boxes perfect for table favours or stocking treats!
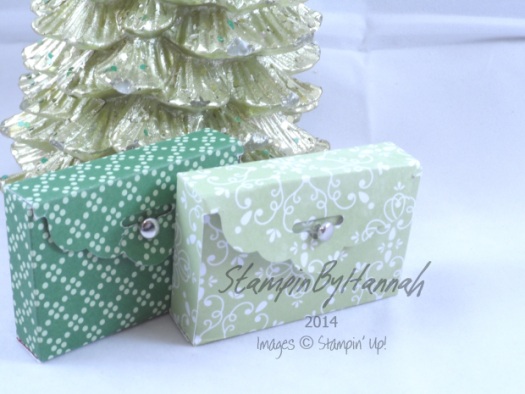
The first of these posts is an Envelope Punch Board project designed to hold a Galaxy Gift for You!
Measurements: The Envelope punch board works best in imperial so they are the measurements I will use:
Cardstock measures : 5 1/2 x 5 1/2″
Make the first punch and score at: 2 3/4″ and the second at: 3 1/2″
Use these first score lines as a guide to make the punch and scores on the other 3 sides
Cut away the little squares formed by the Punch board
Fold together around your chocolate and use Glue dots to hold together
Hope you enjoyed this project
Hannah Wilks
Stampin’ Up! UK Independent Demonstrator
If you like the project, or any of the products used, would like a catalogue, or to join my team, please contact me, or click on the ‘Shop NOW’ button at the top of the page. You can also find me on Twitter, Facebook, YouTube, Google+, About.me, and Tumblr (Links in the sidebar)
The Santa is fussy cut from the paper and mounted on a 1 1/4″ scallop circle punched from Real Red cardstock. I coloured some of rhinestone with the darkest Old Olive Blendability marker, and formed a triangle.
and there we have… Crazy Dancing Santa!
Hannah Wilks
Stampin’ Up! UK Independent Demonstrator
If you like the project, or any of the products used, would like a catalogue, or to join my team, please contact me, or click on the ‘Shop NOW’ button at the top of the page. You can also find me on Twitter, Facebook, YouTube, Google+, About.me, and Tumblr (Links in the sidebar)
I LOVE Christmas! to be honest with you I love the build up to Christmas more than the day itself!
I particularly love Advent! Now, I don’t know if that is just because of the piles of Chocolate, or that it is part of the whole event that is Christmas!
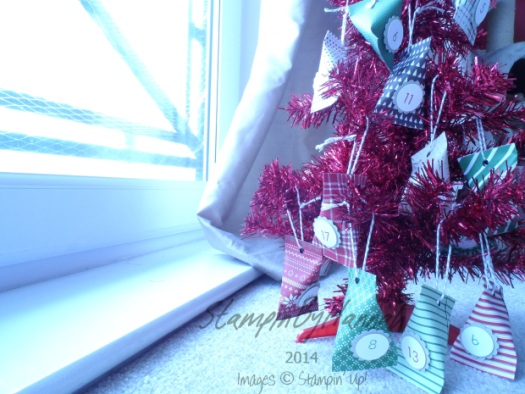
So, this year, my first year of blogging, I thought I would make an Advent Calender! Next year, who know you may get some advent gifts, but this year, its a lovely project!
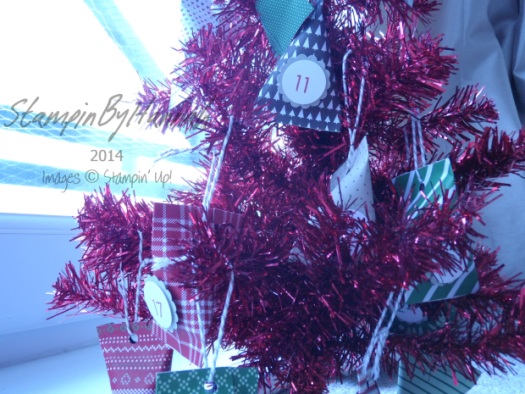
I loved making the Halloween Gift Treat bags in October, and thought they would make perfect little tree ornament (or advent chocolate hanging devices if you will!). And so made 24 miniature treat bags with the Stampin’ Up! Trim the Tree DSP stack (LOVE!!!), some bakers twine (from the Tag a Bag Accessory kit!) and the Back to Basics Alphabet!
Measurements =
DSP – 3 1/2 x 4 1/2″ (9 x 12 cm) which is one of the pieces of the DSP from the Trim the Tree DSP stack cut in half!
Apply sticky strip to one end and both long sides, remove the backing from the sticky strip at the end and roll the DSP into a tube.
Then remove the backing from the sticky strip on one side and pinch together.
Insert your chocolate!
Remove the backing of the sticky strip on the other side and pinch together, at right angles to the other side.
Using a hole punch make a hole in one end and feed through your bakers twine, tying it in a knot to create a loop (so you can hang your treat pouch on the tree!).
Add numbers to each pouch by stamping the numbers 1 – 24 on cardstock (I used the Back to Basics Alphabet for this) and punching out with a 1″ circle punch.
Punch 24 1 1/4″ scallop circles and add one to the back of each number with a dimensionals.
Attach each number to a treat pouch with dimensionals.
James is super excited about opening each pouch to find the chocolate inside! (Yes, he’s 24! and my husband to be, and Yes, he is just a big kid! We love Christmas!)
If you like the project, or any of the products used, would like a catalogue, or to join my team, please contact me, or click on the ‘Shop NOW’ button at the top of the page. You can also find me on Twitter, Facebook, YouTube, Google+, About.me, and Tumblr (Links in the sidebar)
Oh yes, We are still working our way though the 12 tags of Christmas!
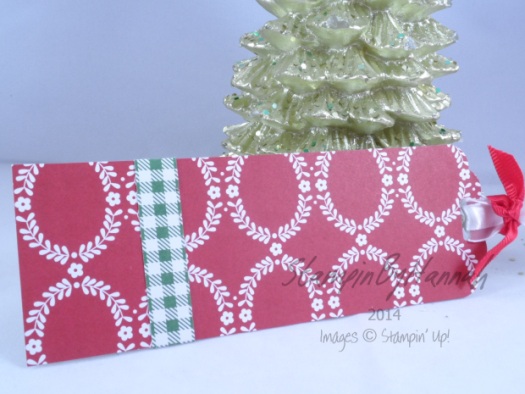
Here I cut a 2 x6″ piece of DSP from the Trim the Tree Designer Series Paper Stack (there are so many cute patterns in there!), and punched the top with the Scalloped Tag Topper Punch.
The band around the tag is just a scrap of the same piece of DSP, wrapped around and attached with some Snail.
The ribbons on the top are the Real Red 3/8″ Satin Woven Ribbon tied around a piece of 5/8″ Organza Ribbon.
If you like the project, or any of the products used, would like a catalogue, or to join my team, please contact me, or click on the ‘Shop NOW’ button at the top of the page. You can also find me on Twitter, Facebook, YouTube, Google+, About.me, and Tumblr (Links in the sidebar)
I hope you read my post last week about Gift Packaging (its HERE if you want it!), I love our selection of boxes and bags, including the selection of dies and boards so you can design and make your own.
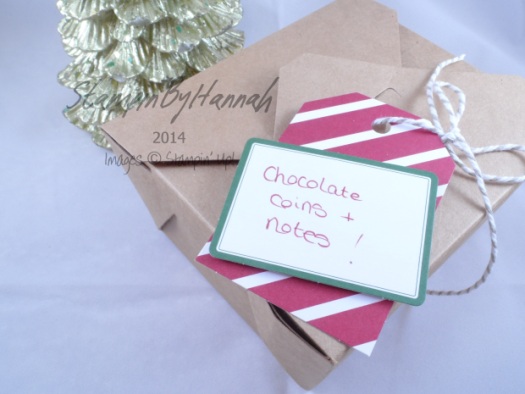
Our pre-made boxes and bags are all in Kraft card (or paper) and can be a little dull – so, I’ve dressed them up!
This is our Tiny Treat box, that I have dressed up with some DSP (All is Calm), and some punches. I have also added a box made with the Lost Lagoon Silky Taffeta Ribbon (LOVE!).
This is the Petite Cafe Bag, with some added extras. Once again I’ve just All is Calm DSP (isn’t it just beautiful!) and I’ve simply attached it with some staples!
So, I have an offer for you: If you join my team before Christmas, I will send you both of these project (complete with some goodies), as well as all the usual things that you would expect from me (and Stampin’ Up! UK). For more information about Joining me CLICK HERE!
If you like the project, or any of the products used, would like a catalogue, or to join my team, please contact me, or click on the ‘Shop NOW’ button at the top of the page. You can also find me on Twitter, Facebook, YouTube, Google+, About.me, and Tumblr (Links in the sidebar)
The Under the Tree paper is coloured on one side, and kraft with a white pattern on the other. For this tag I used the Kraft side, and inked the tag with Old Olive Ink and a sponge. The white printed pattern acts as a resist, meaning that the Kraft cardstock takes the colour of the ink, but the pattern doesn’t! (this sort of thing always reminds me of some Tim Holtz products, and just screams to ink and spritz and alter). I then stamped the snowflake stamp from Trendy Trims in Early Espresso ink.
The tag was then finished with the Natural and Old Olive Two-Tone Trim (extra chunky bakers twine! LOVE!)
So, check back next time for another installment of our 12 Tags of Christmas!
and sign up for the StampinByHannah newsletter by hitting the Subscribe to Newsletter button —->
If you like the project, or any of the products used, would like a catalogue, or to join my team, please contact me, or click on the ‘Shop NOW’ button at the top of the page. You can also find me on Twitter, Facebook, YouTube, Google+, About.me, and Tumblr (Links in the sidebar)
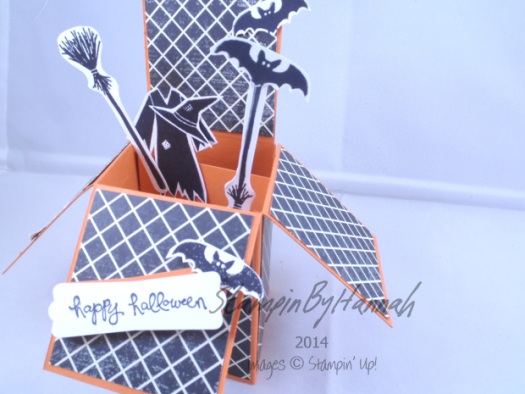
This week I thought I would knock things up a gear and give you a card in a box!
I love these cards! When I’ve made them for people, everyone is always stunned by them!
Isnt it fab!
Ok, So the measurements for this fab project:
Cardstock = 9 x 5 inches (23 x 13 cm) and two pieces measuring 3 x 2″ (8 x 5cm)
DSP = 4 3/4 x 1 7/8″ (12 x 4 1/2cm), 4 pieces that measure 2 x 2 1/8″ (5 x 5.2cm) and 3 pieces that measure 2 x 2 5/8″ (5 x 6.5cm)
Score the Cardstock on the short edge at 2 3/4″ (7cm) and on the long side at 2 1/8″, 4 1/4″, 6 3/8″ and 8 1/2″ (thats every 5.2cm!)
I’ve used Tangelo Twist (I LOVE that orange!) and Flashback DSP for this box, and have fussy cut the images from the Tee-Hee-Hee stamp set for the embellishments! (how cute are those bats!) All the stamping is done using Staz-on Ink
Check the video for full instructions!
DISCLAIMER – I work in Inches, all metric measurements are approximate!
The sentiment used on this card is from Good Greetings – which is still available for FREE with an qualifying order placed before the end of October!
If you like the project, or any of the products used, would like a catalogue, or to join my team, please contact me, or click on the ‘Shop NOW’ button at the top of the page. You can also find me on Twitter, Facebook, YouTube, Google+, About.me, and Tumblr (Links in the sidebar)
I have a card for you today! and something slightly different – a 6 x 6″ square card!
Ok, So, this card is made from half a sheet of 12×12 Whisper White cardstock, folded to make a 6 x 6 card base.
The DSP (Motley Monsters!) is cut to 5 3/4 x 5 3/4″, with that lovely Burmuda Bay star print piece cut to 5 3/4 x 2″. I have then stamped the Bats from Tee-Hee-Hee and the sentiment from Good Greetings in Staz-on Ink – to get that true Black!
Then we get to the “pom pom”. Now, I followed a YouTube tutorial to make a Bakers Twine pom pom for this – but really, its nothing like a pom pom! I dont know if I just didnt have enough twine, or if I’ve make some sort of mistake along the way, but this is what I have! I actually quite like it! It means though, that this is definitely a ‘hand deliver’ sort of card!
To create the ‘Pom Pom’:
I took a length of Thick Bakers Twine (this one is White and Tangerine Tango!) and wrapped it around 3 of my fingers. Tied the middle together with white bakers twine, and snipped all the ends. I’ve attached it to the card with some more Thick Bakers Twine, and covered the tied middle with a fussy cut Bat!
Hope you like the card for today – check out the blog of Friday for a super cool Fancy Fold Friday Halloween Card!
If you like the project, or any of the products used, would like a catalogue, or to join my team, please contact me, or click on the ‘Shop NOW’ button at the top of the page. You can also find me on Twitter, Facebook, YouTube, Google+, About.me, and Tumblr (Links in the sidebar)