Week in Review – Weekly deals and a bonus project!

Stampin' Up! UK chocolate gift bag

This weeks Week in Review is a little different this week. As usual I have my top picks of this weeks Weekly deals, but I have a bonus project for you! (which is why this post is a little late!)

My wonderful upline is featuring 6×6 projects this week, and I thought I would jump on the bandwagon! So, lets get the Weekly deals over with first, and then I’ll show you a super cute bag!
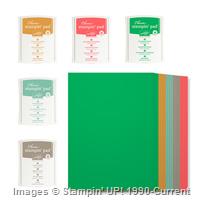
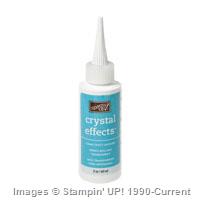
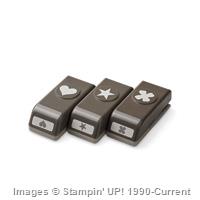
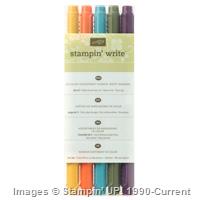
Weekly Deals

Stampin' Up! UK Weekly Deals Bonus Deals

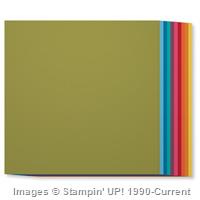
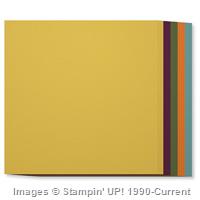
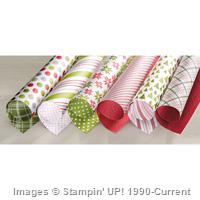
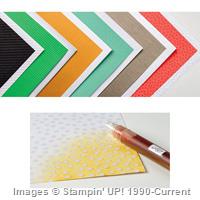
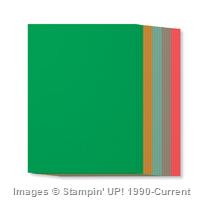
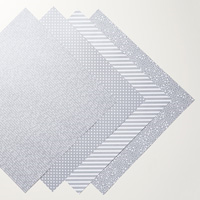
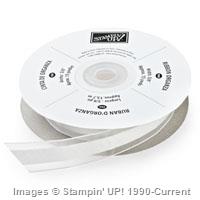
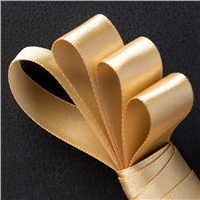
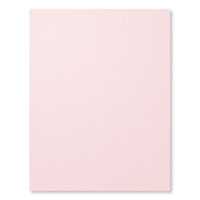
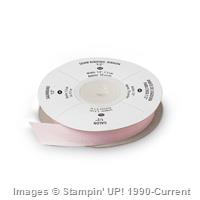
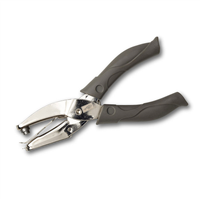
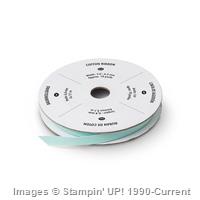
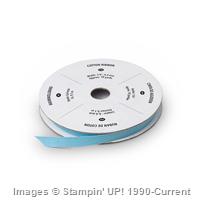
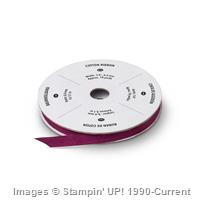
There are heaps of deals again this week, but there is a catch – they are only available in limited quantities, so if you see something you like – grab it now!

Sale: £2.06

Price: £2.75

Sale: £13.50

Price: £18.00

Sale: £3.38

Price: £4.50

Sale: £25.20

Price: £36.00

Sale: £3.38

Price: £4.50

Sale: £16.50

Price: £22.00

Sale: £3.85

Price: £5.50

Supply List

Built for Free Using:My Stampin Blog

 What a great selection! I adore my magnetic platform, it is the greatest addition to the Big Shot and makes lining dies and stamping up so easy! I have featured Gold Glimmer paper on a project this week and I LOVE it!
My other top pick is the Stampin’ Trimmer Rotary Addition which is definitely coming home with me!

What have I been up to?

Heaps! This week I am free from the day job, so I’m taking advantage and getting lots of blog work done! I spent all of yesterday filming and I plan to do something very similar today. I also managed to grab a couple of days off with James last week, and took advantage of the great weather for a picnic in the park!

StampinbyHannah Weekly deals bonus project

I also have plans for getting this Wedding prep sorted by the end of the week! I managed to grab 10 minutes yesterday to cut and score my Orders of Service, so I just have to print and assemble. As well as create the bouquets, finish the seating plan, and fill the favours! One month to go today! eeeeek!
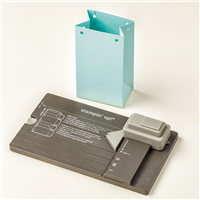
Bonus Project!

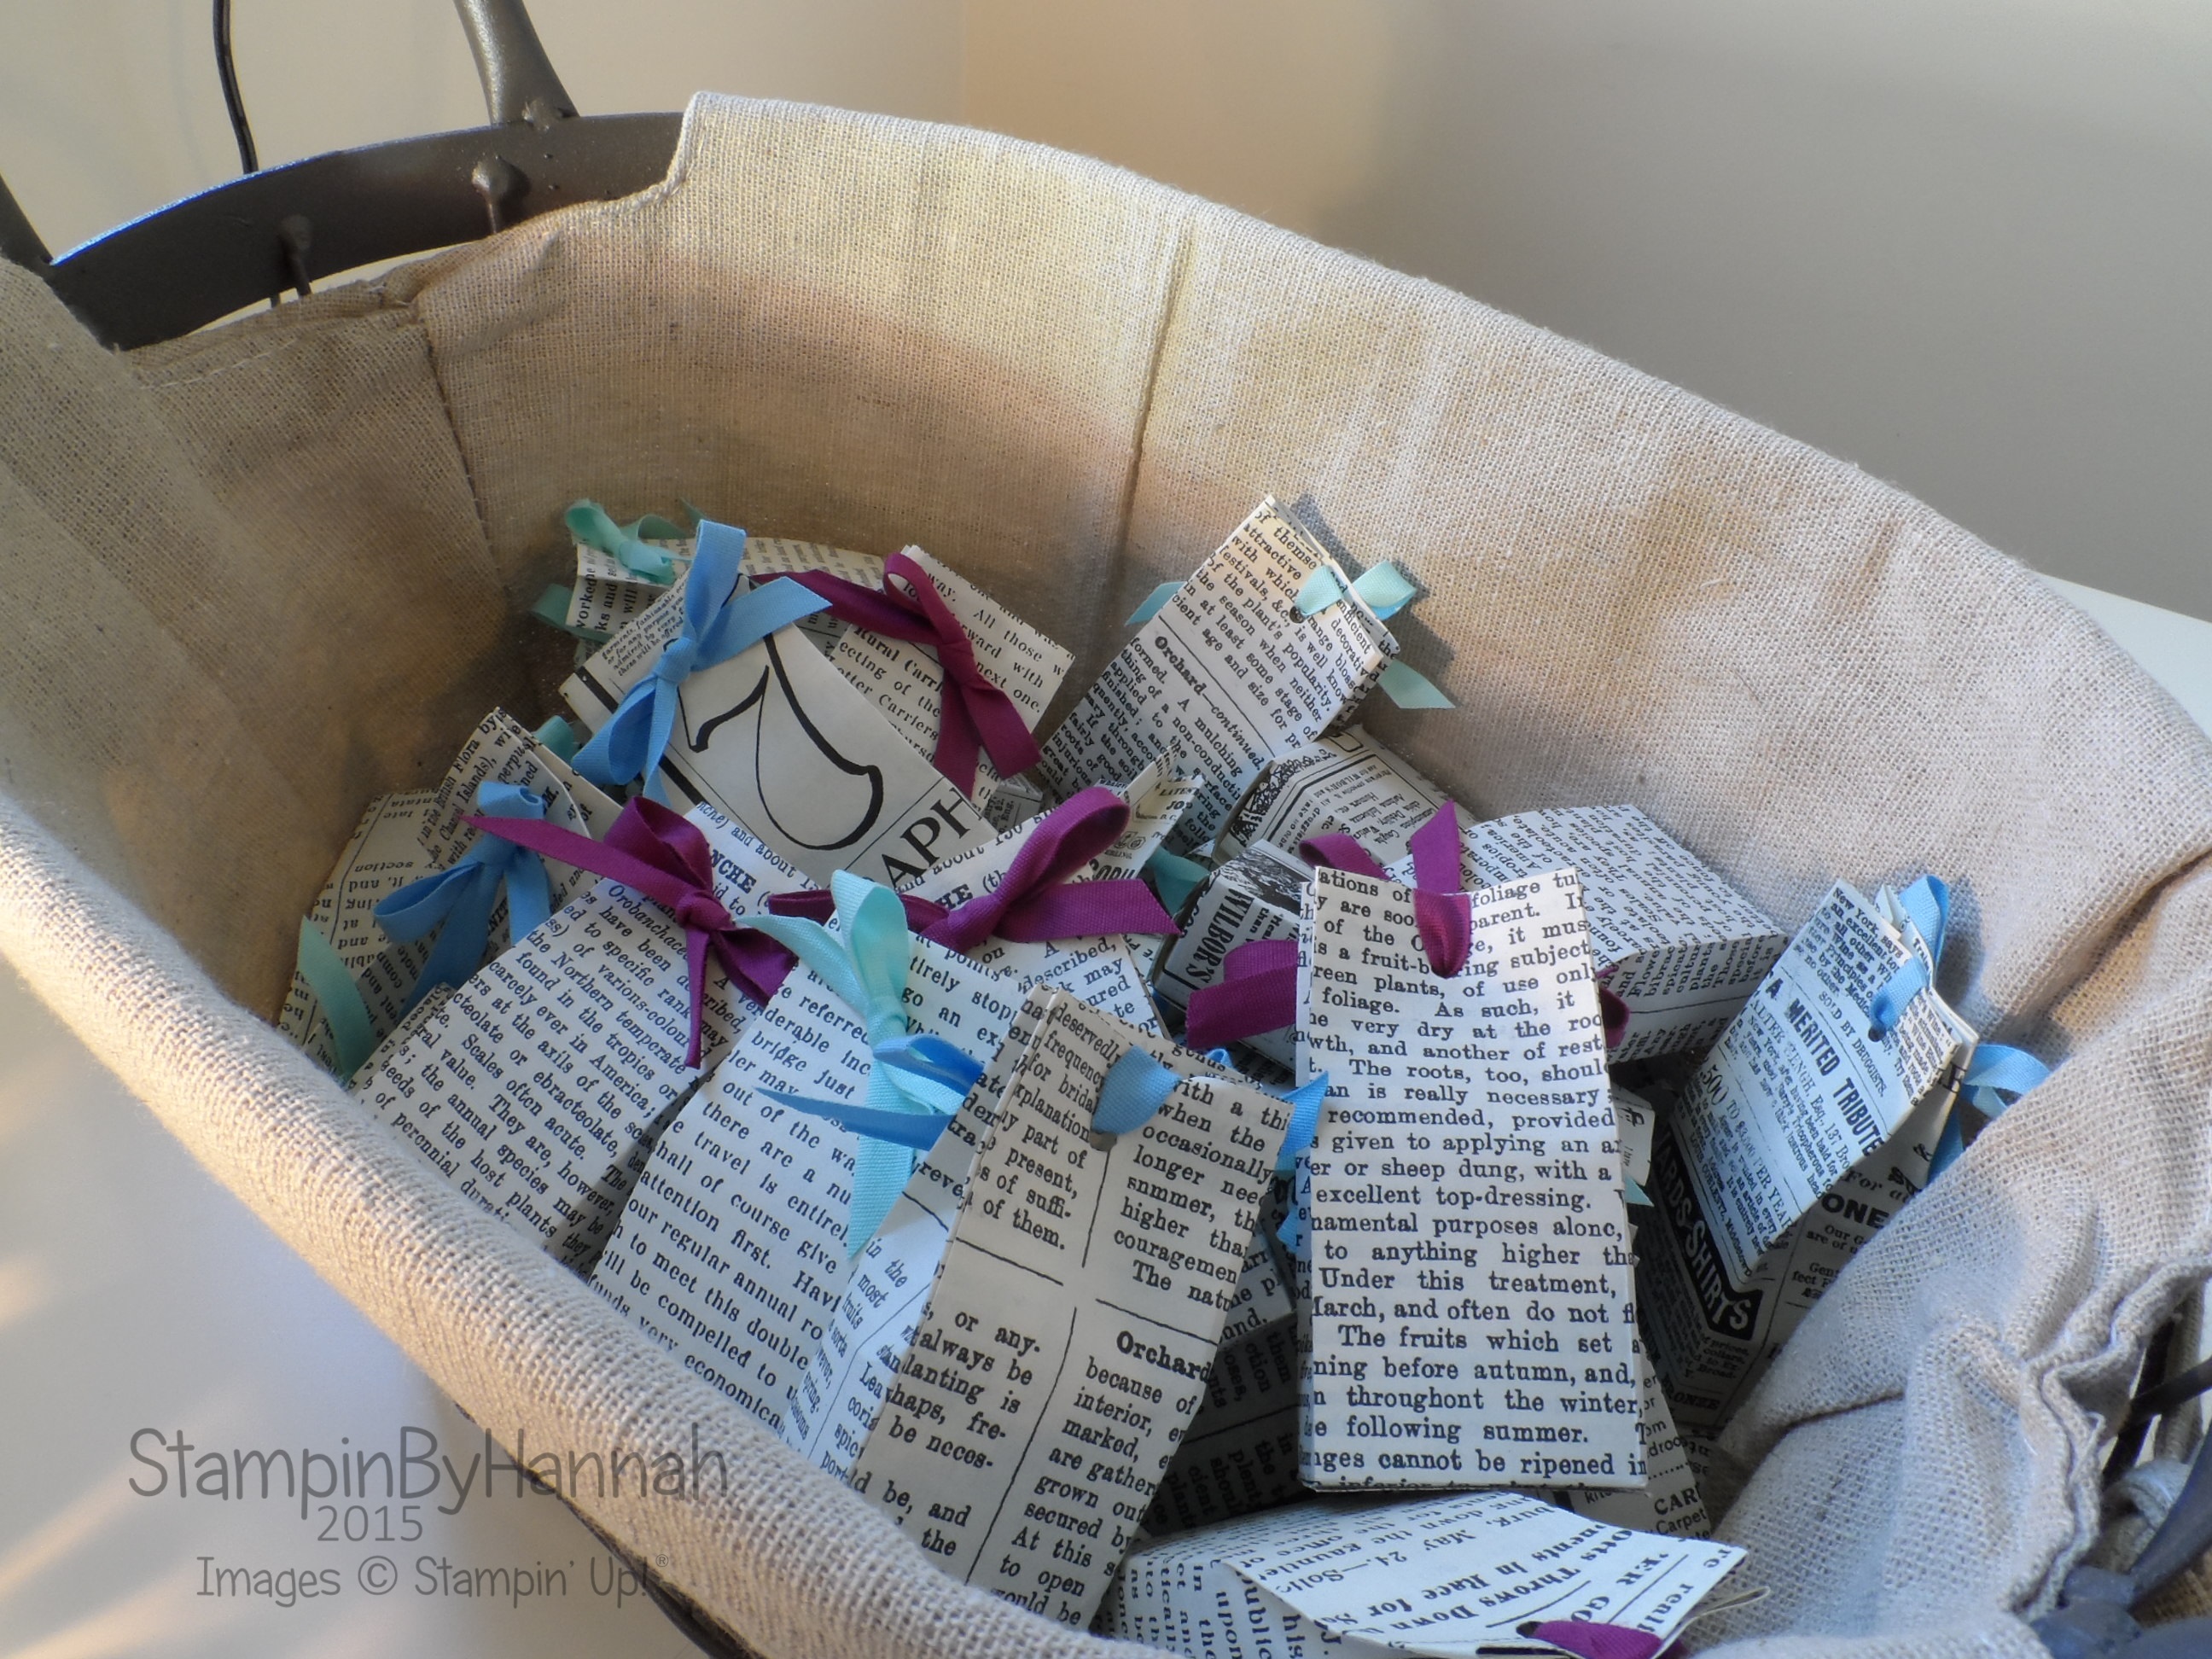
So, I don’t normally include a crafty project on a Wednesday! But, this week my gorgeous upline is running 6×6 week – and I’m jumping on her bandwagon!

Stampin' Up! UK 6x6 week

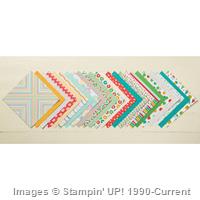
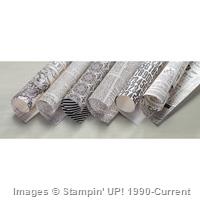
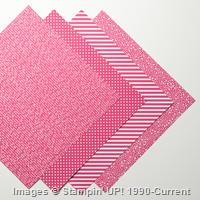
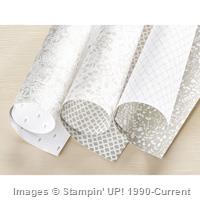
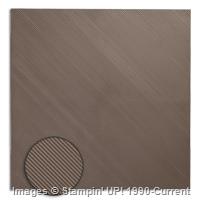
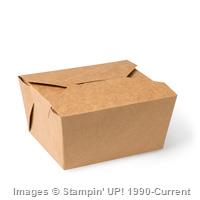
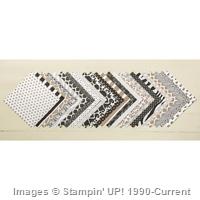
How cute are these! The left hand bag uses the lovely Go Wild Designer Series Paper, while the other uses Bohemian (two sets of DSP I totally wasnt sure about, but have completely fallen in love with! )
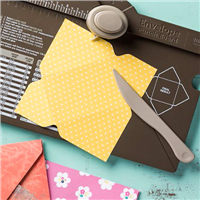
Measurements:

Designer Series Paper – 6 x 6″ (15 x 15 cm)

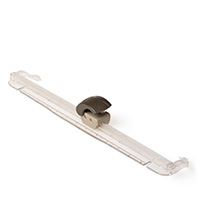
Score on the first side at – 2 1/8, 2 7/8, 5, 5 3/4″ (5.3, 7.3, 12.6 and 14.6 cm)

Score on the second side at 3/4″ (2 cm)

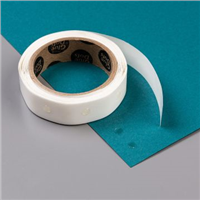
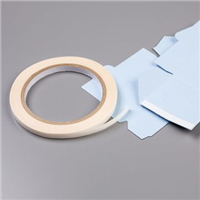
I am sorry for the tiny strip down the side, but as you can see on the video our Tear and Tape fits in the gap well.

What do you think?

Code Club

XEQGUA4P

Don’t forget about my Code Club. Shop in my online store using this code, and I will be sending you some special gifts at the start of next month!


Shop Now button-001Join my team button-001

To purchase any of the items featured in my projects please use the links above. To join my team of Stampin’ Friends select ‘Join My Team’ or send me a message!

Please support StampinByHannah, and join my Code Club, by using the Hostess code featured in the top right hand of my blog. For orders of over £150 please do not use this code, as you are entitled to your own Hostess benefits!

Sign up to my newsletter here – http://eepurl.com/2if59

Hannah Wilks

Stampin’ Up! UK Independent Demonstrator

Card Storage Box

Stampin' Up! UK card storage box cherry on top DSP

There are a stack of these floating around on Pinterest, but I just had to put my own spin on it. The Classic Card Box. I wanted a box specifically to hold cards and envelopes while they wait to go to customers. Did you know that I always send a ‘Thank You’ card when you place an order in my store? If you have ordered and haven’t received a card it may be that you have selected ‘No Contact’ drop me an email if you think I’ve missed you.

Stampin' Up! UK card storage box video tutorial

The first box uses Lost Lagoon card stock, and a piece of that lovely Neutrals Designer Series Paper Stack. Whereas the video version is in Bermuda Bay with a piece of Cherry on Top Designer Series Paper. I grabbed the Cherry on Top DSP during demonstrator Pre-Order, purely because it was available to me! Demonstrators get the chance to order from a sample of product before the big launch! and I have to say, looking at the pictures in the Catalogue, I’m not sure that I would have ordered if it hadn’t been in that pre-order selection. And I would have missed out! Because it is fabulous! Featuring Bermuda Bay, Cucumber Crush, Crushed Curry, Pool Party, Tip Top Taupe and Watermelon Wonder, and a collection of birthday themed papers with some great patterns; it would look fab as part of a Project Life album! I might even have to order a second pad!

Measurements:

Card stock – 12 x 8″ (30.5 x 20.5 cm)

Score on the long side at – 4 1/2, 5 3/4, 10 1/4, and 11 1/2″ (11.5, 14.5, 26, and 29 cm)

Score on the short side at – 1 1/4″ (3 cm) turn the card stock around and score in the wide section nearest the skinny flap at 1 1/2″ (4 cm)

Designer Series Paper – 4 1/4 x 5″ (11 X 12.5 cm)


Shop Now button-001Join my team button-001

To purchase any of the items featured in my projects please use the links above. To join my team of Stampin’ Friends select ‘Join My Team’ or send me a message!

Please support StampinByHannah by using the Hostess code featured in the top right hand of my blog. For orders of over £150 please do not use this code, as you are entitled to your own Hostess benefits!

Sign up to my newsletter here – http://eepurl.com/2if59

Hannah Wilks

Stampin’ Up! UK Independent Demonstrator


The best is yet to come…

Stampin' Up! UK Best Thoughts

I love this sentiment, it is so true! I am loving my journey as a Stampin’ Up! demonstrator, and I know the best is yet to come!

Stampin' Up! UK Best Thoughts blender pen on vellum

The flower here is stamped in Stazon Black on Vellum, and then coloured using Watermelon Wonder and Cucumber Crush using my Blender Pens. The blender pens work amazingly on Vellum, because its a very smooth surface the ink takes longer to dry which means you have longer to blend them with the blender pen. Let me know if you fancy a tutorial video on this!

The vellum is mounted on Whisper White card stock, but with the stamped image facing the card stock, giving a softer look. The sentiment is also stamped in Stazon ink but on the outside of the vellum, so its darker than the lines of the flower. The Vellum is stuck onto the card stock using Fast Fuse – Fast Fuse is completely clear and so is great for using with vellum, still I always try and apply it under a coloured section or embellishment

I love the designer series paper mount too, its a sheet from the Cherry on Top DSP stack, and the card is finished with a couple of pieces of Cherry on Top Washi Tape


Just before I go, you only have a few more days to book onto my latest Technique Class using An Open Heart – Class costs £10 – Booking closes on Monday!

Stampin' Up! UK July Technique Class 2015 An Open Heart


Shop Now button-001Join my team button-001

To purchase any of the items featured in my projects please use the links above. To join my team of Stampin’ Friends select ‘Join My Team’ or send me a message!

Please support StampinByHannah by using the Hostess code featured in the top right hand of my blog. For orders of over £150 please do not use this code, as you are entitled to your own Hostess benefits!

Sign up to my newsletter here – http://eepurl.com/2if59

Hannah Wilks

Stampin’ Up! UK Independent Demonstrator

Freshly Made Sketches #191 – It’s Your Birthday

Stampin' Up! UK Freshly Made Sketches Endless Birthday Wishes

Oh yes, It’s that time again! Playing along with Freshly Made Sketches again this week with #191!

Freshly Made Sketches 191

This sketch scared the pants off me! So much white space! I love white space, I really do, and most of my cards feature expanses of white space, but to see a sketch with so much white was just frightening!

Stampin' Up! UK Freshly Made Sketches Endless Birthday Wishes

I’ve had a stack of card stock sat out on my shelf this week, and the Real Red piece shouted at me for this card. As soon as I saw the two little strips on the sketch I knew I wanted to use some Designer Series Paper, so I pulled Typeset – I love this paper, its so pretty but I hadn’t used it on a card before! I know, its shocking, but putting DSP on cards is something I struggle with – I am a total stamper at heart.

Initially I grabbed Guy Greetings for my sentiment, but I quickly changed my mind to the lovely new Endless Birthday Wishes. I uses a ruler and pencil to draw a line across the piece of Very Vanilla card stock, and I stamped the sentiment in Real Red on the line. Sometimes I find this way to get a straight line quicker than pulling out my Stamp-a-ma-jig!

I almost thought the card was finished, but it just felt a little too clean! I’ve been playing with the Birthday Blossoms preparing for my Stamp-a-Stack for July, so pulled it again for these awesome flowers punched with the Pansy Punch.

Thanks for stopping by today, see you again soon

x


Shop Now button-001Join my team button-001

To purchase any of the items featured in my projects please use the links above. To join my team of Stampin’ Friends select ‘Join My Team’ or send me a message!

Please support StampinByHannah by using the Hostess code featured in the top right hand of my blog. For orders of over £150 please do not use this code, as you are entitled to your own Hostess benefits!

Sign up to my newsletter here – http://eepurl.com/2if59

Hannah Wilks

Stampin’ Up! UK Independent Demonstrator

How to use the Stampin’ Up! Gift Bag Punch Board

Stampin' Up! UK Gift bag punch board tutorial

I love a simple gift bag, and with the Gift Bag Punch Board Stampin’ Up!® has made making super cute bags super easy! I know I will be using this punch board lots in the coming months (and even more around Christmas!) but I wanted to give you a quick guide to using the board before we drive into more complex projects with it!

How To:

The gift box punch board has the instructions printed onto it so you can refer back at each use, but I thought I would share some tips.

The punch board includes a great scoring tool / bone folder – always store it back into the board so you don’t loose it! It is so easy to loose a great tool like this in your crafty mess

The width of the paper or card stock is important: a small gift back uses 10″ (25.4 cm) wide DSP, and the S line on the board. A medium sized bag uses 11″ (27.9 cm) wide DSP and the M line on the board. A Large bag uses 12″ (30.5 cm) wide DSP and the L line on the board. The length of the DSP (or card stock) is not important, and just varies the height of the final bag, the board suggests using lengths between 4″ (10 cm) and 12″ (30.5 cm) In the video the card stock that I used was 10 x 6″ (25.4 x 15 cm)

The punch may be a little stiff, use the board on a table and stand to punch.

Have fun!


Shop Now button-001Join my team button-001

To purchase any of the items featured in my projects please use the links above. To join my team of Stampin’ Friends select ‘Join My Team’ or send me a message!

Please support StampinByHannah by using the Hostess code featured in the top right hand of my blog. For orders of over £150 please do not use this code, as you are entitled to your own Hostess benefits!

Sign up to my newsletter here – http://eepurl.com/2if59

Hannah Wilks

Stampin’ Up! UK Independent Demonstrator


Hexagonal Gift Bag

Stampin' Up! UK candle gift designer series paper stack

These candles fell into my bag a few months ago during a mad dash around Ikea. I love Ikea candles, and this scent in particular is one of my very favourites – Vanilla Ice Cream, Yum! I often give them as gifts, but trying to package them is always a little awkward. Or it was, how cute is this gift bag!

Hexagonal gift bag


I adore the new Designer Series Paper Colour Collections, these use the Neutrals in Basic Grey and Sahara Sand. The collections have been re-configured this year, changing the patterns, so now each collection contains 40 sheets, 2 of each of 2 double sided designs in 10 colours (or 4 of each of 2 double-sided designs in 5 colours for the In-Colour collections). The designs are stunning; a diagonal stripe, a little floral print, a bold polka dot, and my favourite a wonderful script. They are fab!

Stampin' Up! UK candle gift designer series paper stackThese bags are quick and easy to make, as well as holding a good amount of whatever you choose. They are strong too, these both contain candles, without any danger of the bottom giving way! The base of the bag has 6 layers of DSP, making them super strong.

Measurements:

Designer Series Paper, or card stock; 11 x 8″ (28 x 20.5 cm)

Score on the long side at: 1 3/4, 3 1/2, 5 1/4, 7, 8 3/4 and 10 1/2″ (4.5, 9, 13.5, 18, 22.5 and 27 cm)

Score on the side side at: 3 and 6″ (7.5 and 15 cm)

Fold and burnish all the score lines

Holding the DSP in the landscape direction, with the fatter bit at the bottom, cut off the skinny end section, and cut up each one of the score lines to the first horizontal score.

Apply Fast Fuse to the skinny end section and fold to create a tube. This seam with be the back of the bag. Then apply Fast Fuse to 3 of the bottom sections and fold each section in to form the base.

Turn the bag so it is the right way up, pinch in the top, and make holes with the 1/8″ handheld punch.

Feed your ribbon through the holes, starting from the front of the bag and working your way around

Finish with a bow


Shop Now button-001Join my team button-001

To purchase any of the items featured in my projects please use the links above. To join my team of Stampin’ Friends select ‘Join My Team’ or send me a message!

Please support StampinByHannah by using the Hostess code featured in the top right hand of my blog. For orders of over £150 please do not use this code, as you are entitled to your own Hostess benefits!

Sign up to my newsletter here – http://eepurl.com/2if59

Hannah Wilks

Stampin’ Up! UK Independent Demonstrator

Wedding Week – Wedding Favours

Stampin' Up! UK lided box video tutorial

I have recently put together my wedding favours, and I wish I could say that these are they, but they’re not. They are super cute little milk cartons, and I absolutely love them, but they are not these.

These would be perfect as Wedding Favours, and would hold a good amount of sugared almonds or other confectionery. I have once again pulled out the Something Borrowed Designer Series Paper – this paper retires on the 2nd June (that’s next Tuesday!) so grab it now while you still have the chance.

Stampin' Up! UK wedding favours something borrowed designer series paper

I love a monotone look for weddings, simple colours to make sure people are looking in the right place i.e.: at the bride and groom! and this paper is just perfect for that, detailed enough to be stunning, but not too complex that it shouts too loud.

Measurements:

Base – Card stock = 6 x 6 ” (15 x 15 cm)

score on all 4 sides at 2 ” (5 cm)

Lid – Designer Series Paper = 5 1/16 x 5 1/16″ (12.8 x 12.8 cm)

score on all 4 side at 1 1/2″ (3.8 cm)

Stampin' Up! UK lided box video tutorial


Shop Now button-001Join my team button-001

To purchase any of the items featured in my projects please use the links above. To join my team of Stampin’ Friends select ‘Join My Team’ or send me a message!

Please support StampinByHannah by using the Hostess code featured in the top right hand of my blog. For orders of over £150 please do not use this code, as you are entitled to your own Hostess benefits!

Sign up to my newsletter here – http://eepurl.com/2if59

Hannah Wilks

Stampin’ Up! UK Independent Demonstrator

Wedding Week – Create your own Envelopes

Stampin' Up! UK Envelope Punch Board Something Borrowed

I think the Envelope Punch Board is awesome! I really do, it’s such a great tool and I use it all the time; not only for envelopes but boxes and bows too! I was putting together the blog posts for this week, and realised how perfect it would be to have all your wedding stationary completely coordinating – even down to the envelopes. And then I thought, we have the most perfect tool for that! So, here we are; How to Make an Envelope using the Envelope Punch Board!

Stampin' Up! UK Envelope Punch Board Something Borrowed

What great Designer Series Paper to work with too, I have been loving this Sahara Sand / Whisper White combination recently, and I think it makes great neutral wedding stationary. In fact I have some of this paper hoarded away ready for the Wedding Album! (Its getting rather close now!)

Measurements:

To create an envelope perfectly sized for a A6 card, you will need a piece of Designer Series Paper that measures 8 1/4 x 8 1/4″.

Now, I know, normally I try to give you both metric and imperial measurements, however, when your using the Envelope Punch Board, the imperial measurements are much easier to see and use, so this time, I’m sticking with inches!

Insert you Designer Series Paper into your punch board punch, and line the left hand side of the paper up with the 3 5/8″ mark.

Punch and score using the scoring tool provided.

Turn your Designer Series Paper a quarter turn and line the previously made score line up with the guide on the punch, and punch and score again. Repeat this on all 4 sides.

Turn your Envelope Punch Board around and use the reverse side of the punch to round the corners of your envelope.

Fold and burnish your score lines using the side of the scoring tool.

Use your adhesive of choice to stick your envelope together, using a glue dot to secure the top flap (once your handmade card is inside, of course!)


Shop Now button-001Join my team button-001

To purchase any of the items featured in my projects please use the links above. To join my team of Stampin’ Friends select ‘Join My Team’ or send me a message!

Please support StampinByHannah by using the Hostess code featured in the top right hand of my blog. For orders of over £150 please do not use this code, as you are entitled to your own Hostess benefits!

Sign up to my newsletter here – http://eepurl.com/2if59

Hannah Wilks

Stampin’ Up! UK Independent Demonstrator


Freshly Made Sketches #187 – Just For You!

Hello!

I am so sorry I missed my challenge Saturday last week, but I was at Stampin’ Up! Regional Training (having heaps of fun!) and in my excitement I completely forgot! Shocking I know, But I am back this week playing along with Freshly Made Sketches #187, and this fabulous sketch:

FMS Final 187-001


I love this sketch, it really pushed me. I’ve been stuck in a bit of a craft rut recently, or, as my darling mother said the other day “your cards are always muted!” (thanks mother!), and so I grabbed for a set of super bright colours; the new In Colours Watermelon Wonder and Cucumber Crush!

I will admit to being a little scared of the brightness of these two; Watermelon Wonder is an almost Neon Corally Orange, while Cucumber Crush is a vivid green, definitely not colours I would have chosen of my own accord, but absolutely one of the reasons I love Stampin’ Up! and playing along with challenges, so….

The Card!

Stampin' Up! UK Freshly Made Sketches Cherries on top

I decided seeing as I was using new colours, I might as well go the whole hog and use new stamps and Designer Series Paper too!

The Designer Series Paper is Cherry on Top; and is a fabulous mix of bright colours and birthday prints, paired with the coordinating Washi Tape. While the stamp set is called You’re So Sweet – I love this set, its great for adding a special something to a present, or using as a card accent, and it coordinates (and is available bundled with….) the Mini Treat Bag Thinlits dies! Awesome!

The heart is punched from Watermelon Wonder card stock and adhered with half a dimensional before I covered it in Crystal Effects for a super shiny look.

All these products will be available to purchase from the 2nd June (or now if you choose to become a demonstrator!). I will be sending catalogues this coming week, to get your FREE copy (UK only – sorry) fill in this form!

speak again soon


Shop Now button-001Join my team button-001

To purchase any of the items featured in my projects please use the links above. To join my team of Stampin’ Friends select ‘Join My Team’ or send me a message!

Please support StampinByHannah by using the Hostess code featured in the top right hand of my blog. For orders of over £150 please do not use this code, as you are entitled to your own Hostess benefits!

Sign up to my newsletter here – http://eepurl.com/2if59

Hannah Wilks

Stampin’ Up! UK Independent Demonstrator

Stampin’ Up! UK Regional Training Swaps

One of the many many great things about being a demonstrator for Stampin’ Up! is the opportunity to attend Stampin’ Up! organised events. This past weekend I drove the 180+ miles to Telford for this years demonstrator training event. I will share the full details with your soon (well, as much as I can!) but for now, I thought I would share what I made for my Swaps!

Stampin' Up! UK Telford swaps 2015

Swapping is another great part of being a demonstrator. Each time we get together we make things to share; they are a great way of getting inspiration when you’ve lost your crafty mojo, and are a wonderful way of meeting new people. I found some cute little chocolates during a recent dash to Home Bargains (there’s one at the end of my road, perfect for those chocolate emergencies! they sell other stuff to, but chocolate is my main reason for a visit!) and knew they would have to be part of my swap!

Stampin' Up! UK Telford swap mini chocolate gift bag

Aren’t they just adorable! I loved making them, although the Typeset Designer Series Paper is interesting to work with! Its a lovely thin weight, and acts a little bit like vellum when you score it. You have to keep a tight hold otherwise it has a habit of moving and shifting – resulting in wonky bags!

Measurements:

Designer Series Paper – 4 3/4 x 3 1/2″ (12 x 9 cm)

Score on the long side first with the print facing the right way at 1 3/8, 2 1/8, 3 1/2 and 4 1/4″ (1, 4.5, 6.5 ad 10 cm)

Score on the short side at 3/4″ (2 cm)

Cut the little rectangle from the bottom corner, and cut up the other score lines just to the horizontal score

Use Fast Fuse to stick your bags together, applying the glue along the long thin edge. Then work out which side is the back (the one with the seam), fold in the bottom – sides first, then the back, then the front – applying Fast Fuse to the inside of the front flap.

Insert your chocolates

Use the 1/8″ Handheld punch to create a hole in the middle near the top.

Thread your ribbon from the inside through to the front, and then over the top and in through the back and through to the front. You should end up with both ends of the ribbon at the front.

Tie a bow! (I know, that makes it sound a whole lot easier than it is!)

Stampin' Up! Telford swaps basket

I couldn’t leave you without showing you my swaps basket (it doubles as my Bargain Basket!), don’t they look cute!


Shop Now button-001Join my team button-001

To purchase any of the items featured in my projects please use the links above. To join my team of Stampin’ Friends select ‘Join My Team’ or send me a message!

Please support StampinByHannah by using the Hostess code featured in the top right hand of my blog. For orders of over £150 please do not use this code, as you are entitled to your own Hostess benefits!

Sign up to my newsletter here – http://eepurl.com/2if59

Hannah Wilks

Stampin’ Up! UK Independent Demonstrator