Stamp Thumping

Its Tuesday, Technique Tuesday! and I have a great technique for you this week!

Stamp Thumping

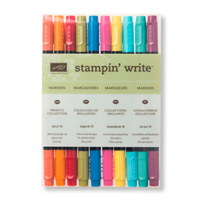
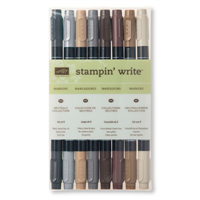
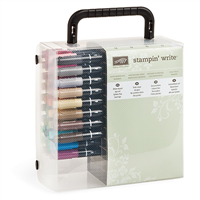
Now, I do not want you to go around hitting your stamps. Love them, treasure them, treat them well (clean them and condition them with Stampin’ Mist, please!) but this thumping technique is a great way to use your stamps with your Stampin’ Write Markers.

Stampin' Up! UK petal Potpourri

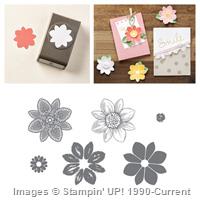
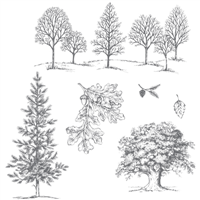
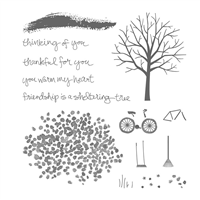
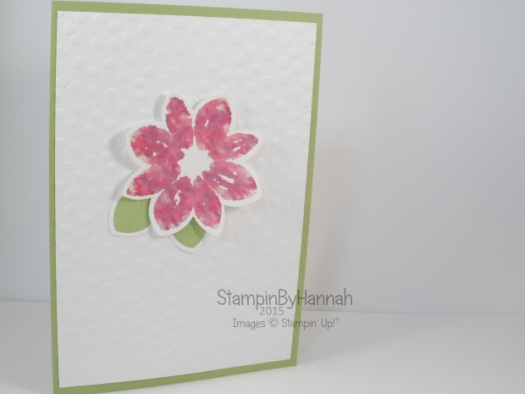
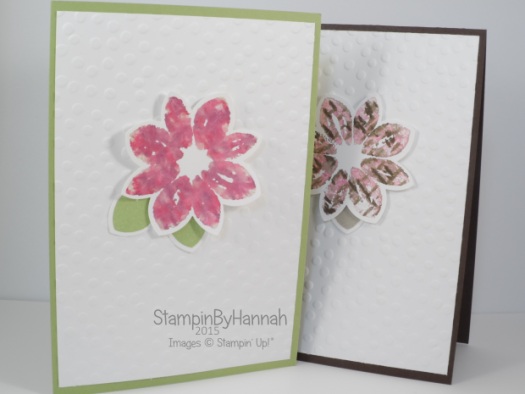
I love being about to get a variety of colour on one stamp. This technique works especially well with tree stamps (I think it would be gorgeous with Sheltering Tree or Lovely as a Tree), but I didn’t have any to hand, so I went with flowers instead. I adore this stamp, I love the whole set actually, Petal Potpourri is a great collection of flowers (and a doily) that coordinated with the fabulous Flower Medallion punch.

How to:

Select 3 colours of Stampin’ Write Marker – the image above uses Rose Red, Rich Razzleberry and Melon Mambo, whereas the video uses Crumb Cake, Soft Suede and Early Espresso

Make sure your stamp is clean (this is the step I missed! silly me!)

Select your lightest colour first, remove the cap from the brush top of your Stampin’ Write Marker and hold the marker near the cap of the opposite end between your index finger and your thumb.

Bounce (or thump) the side of the brush tip off of the stamp.

Repeat with other colour, misting the stamp with water lightly before stamping onto Whisper White card stock

Stampin' Up! UK stamp thumping technique tuesday


Shop Now button-001

Join my team button-001

To purchase any of the items featured in my projects please use the links above. To join my team of Stampin’ Friends select ‘Join My Team’ or send me a message!

Please support StampinByHannah by using the Hostess code featured in the top right hand of my blog. For orders of over £150 please do not use this code, as you are entitled to your own Hostess benefits!

Sign up to my newsletter here – http://eepurl.com/2if59

Hannah Wilks

Stampin’ Up! UK Independent Demonstrator
Partial Die Cutting Zig Zag Card

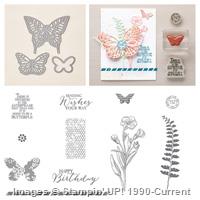
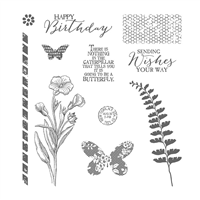
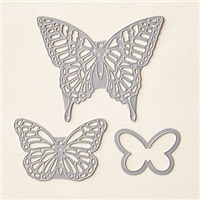
Welcome to Technique Tuesday – the day of the week where I show you how to create a card using a new technique! This week, I’m using Partial Die Cutting to create this lovely card with Butterfly Basics!

Stampin' Up! UK partial die cutting technique video butterfly basics

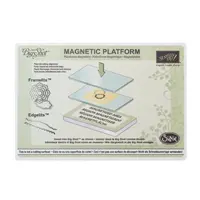
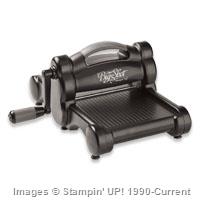
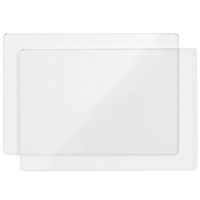
This card is really simple to make. The trick comes when running your die cutting sandwich through your Big Shot. Create your die cutting sandwich as normal – Magnetic Platform, Cutting Plate, card stock, die – but position your top cutting plate carefully – aligning the edge of the plate with where you want your die cut to stop. Remember your die will only cut where there is pressure – no plate = no pressure! Check out the video to see what I mean.

Instructions:

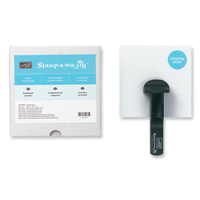
Cut a piece of A4 card in half, and fold in half to create your card base. Then open your card base, and mark a centre line down the inside front cover. Stamp your butterflies down this line – using a Stamp-a-ma-jig to ensure correct positioning.

Create your die cutting sandwich, lining up your die with your stamped butterflies, and lining the edge of your top place up with your centre line. Run this sandwich through your Big Shot. Repeat for all three butterflies, before finishing the card by stamping the insides or adding any desired embellishments.


Shop Now button-001Join my team button-001

To purchase any of the items featured in my projects please use the links above. To join my team of Stampin’ Friends select ‘Join My Team’ or send me a message!

Please support StampinByHannah by using the Hostess code featured in the top right hand of my blog. For orders of over £150 please do not use this code, as you are entitled to your own Hostess benefits!

Sign up to my newsletter here – http://eepurl.com/2if59

Hannah Wilks

Stampin’ Up! UK Independent Demonstrator
 

Ghost Stamping

Ok, So, I think I’ve got a reasonable posting schedule plan for the time being, I’m trying two video’s a week – a Technique Tuesday, and Fun Friday! with my regular card projects between. Currently the only days I haven’t got a scheduled post planned are Wednesdays and Sundays; however, I’m leaving these free so I have some time to share the Weekly Deals and other exciting news!

With that said, it’s Technique Tuesday – so I probably should share my technique with you.

Ghost Stamping!

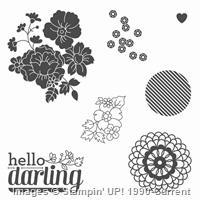
Stampin' Up! UK Hello Darling Ghost Stamping

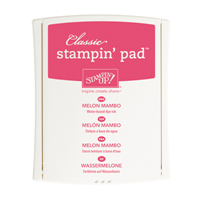
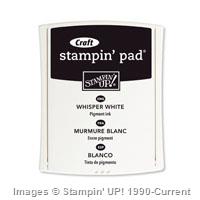
I loved playing with this technique, and its super simple! Here I have used a Sahara Sand card base, with a 3″ square of Melon Mambo card stock, and a 2 3/4″ piece of Sahara Sand for stamping. The image is first stamped in Stampin’ Up! White Craft Ink. This ink is a pigment ink, and so takes a little while to dry – be warned! I tend to stamp, go away and make another card or a coffee (or check Facebook / Pinterest) and by the time I come back its dry. You can encourage the drying process with your Heat Tool too.

Then stamp your image again in your coloured ink – I’ve used Melon Mambo here. Off-set the two stamped imaged slightly to create the ghostly effect. I find that more solid stamps work better, creating that white halo, and I always use my Stamp-a-ma-jig for perfect placement when using Wood or Clear mount stamps.


Shop Now button-001Join my team button-001

To purchase any of the items featured in my projects please use the links above. To join my team of Stampin’ Friends select ‘Join My Team’ or send me a message!

Please support StampinByHannah by using the Hostess code featured in the top right hand of my blog. For orders of over £150 please do not use this code, as you are entitled to your own Hostess benefits!

Sign up to my newsletter here – http://eepurl.com/2if59

Hannah Wilks

Stampin’ Up! UK Independent Demonstrator