Everything Eleanor

Stampin' Up! UK Everything Eleanor Thank you card

Unless you are brand new here you will know that my Wedding is fast approaching (actually, its on Saturday!!!!) and I have been busy making Thank You cards, gifts and boxes like a mad woman for weeks (and months!), but I have also been super busily working away on some really cool things that are going to be going on on my blog and my Facebook page while I’m away; including my Free On-line Workshop for August!

Seeing as when the workshop goes live I will be lying on a beach on my honeymoon, I thought I would share some of my Wedding related projects this month; thank you cards, my Wedding favours that sort of thing. While I was playing around with stamps and ink, and planning the workshop this card appeared as if by crafty magic on my desk.

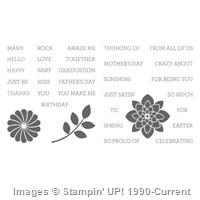
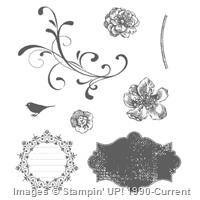
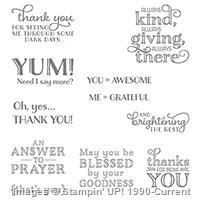
Stampin' Up! UK Everything Eleanor Thank you cardThis card uses two stamp sets actually – Everything Eleanor which I will be featuring in that On-line Workshop, and Me = Grateful (also coming to some classes near you soon!)

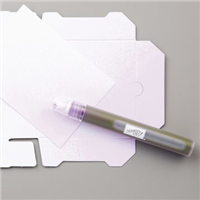
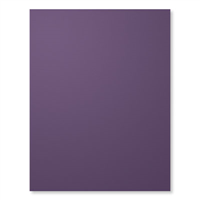
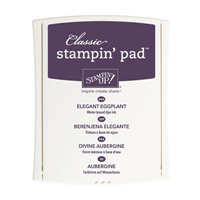
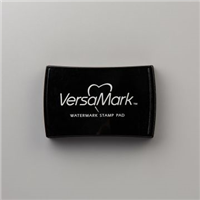
The swirl from Everything Eleanor is stamped in Elegant Eggplant onto Whisper White card stock, and matted onto a card base of Elegant Eggplant too. That ‘Thank You’ sentiment is gorgeous isn’t it? It actually is part of a bigger stamp in the Me = Grateful Stamp set, the whole stamp says – Thank You for seeing me through some dark days…’ – and while that is lovely, it isn’t really appropriate for our Wedding themed card. There are two ways of stamping part of a sentiment stamp – both of which is use often – either; mask off part of the stamp with Washi tape or a Sticky note, or grab for your marker pens! Well, this sentiment is heat embossed in Gold, and while our Stampin’ Up!® inks do hold embossing powder, I grabbed my Versamark pen (unfortunately not sold by SU, but you can find it HERE) and just inked the part of the stamp I wanted.

A super quick and simple, elegant Thank You card.

What do you think? (let me know in the comments section below!)


Shop Now button-001Join my team button-001

To purchase any of the items featured in my projects please use the links above. To join my team of Stampin’ Friends select ‘Join My Team’ or send me a message!

Please support StampinByHannah, and join my Code Club, by using the Hostess code featured in the top right hand of my blog. For orders of over £150 please do not use this code, as you are entitled to your own Hostess benefits!

Sign up to my newsletter here – http://eepurl.com/2if59

Hannah Wilks

Stampin’ Up! UK Independent Demonstrator

Watercolour Wings

Stampin' Up! UK Watercolor Wings class

I have a great card for you today, I really really love this one! I have been having so much fun making loads of cards with the Watercolour Wings stamp set.

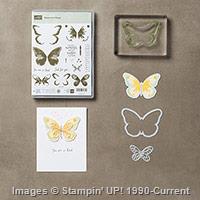
I recently took part in the Pootlers Blog Hop where I used this stamp set and die bundle to create 3 colourful cards, but today I’m keeping things a little more monotone.

Stampin' Up! UK Watercolor Wings class

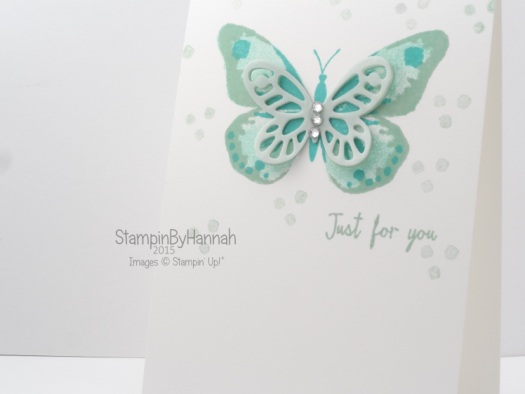
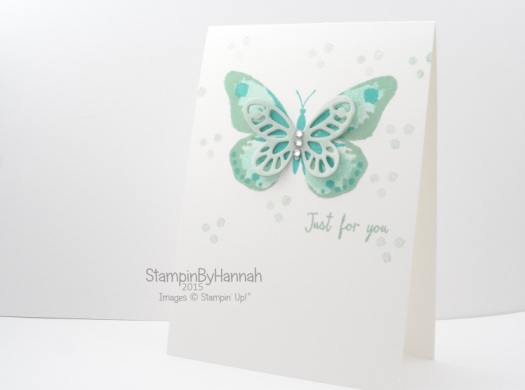
I tried really hard to get this card to photograph properly, but white on white is tricky! The card base uses the brand new Thick Whisper White card stock – this card is great for card bases, and is exactly same colour as the regular Whisper White card stock, and it is lovely! but photographing, not so much!

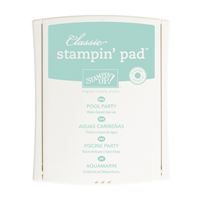
I am loving me a bit of monotone this week (I hadn’t released that Tuesdays cards were the same colours until I sat down to write this post!) The butterfly is stamped using all three of the butterfly layers in the set, the large background butterfly is in Pool Party, the outer edges are in Mint Macaron, and the body and details are in Bermuda Bay.

Stampin' Up! UK Watercolour Wings

I love the detail stamps that come in this stamp set; that trio of dots is just so handy. Here I have used it to create a background in Mint Macaron (stamped off once). The card is finished with that lovely sentiment stamped in Mint Macaron, and the addition of two of the smaller Bold Butterflies in Mint Macaron and Vellum along with three rhinestones.

What do you think? Do you have any white on white photography tips for me? I know I have plenty more cards using my Thick Whisper White!


Dont forget to shop using the Code Club Code to receive some great FREE product! 

XEQGUA4P

I will be closing this order on the 30th July 2015 (that’s tonight!)


Shop Now button-001Join my team button-001

To purchase any of the items featured in my projects please use the links above. To join my team of Stampin’ Friends select ‘Join My Team’ or send me a message!

Please support StampinByHannah, and join my Code Club, by using the Hostess code featured in the top right hand of my blog. For orders of over £150 please do not use this code, as you are entitled to your own Hostess benefits!

Sign up to my newsletter here – http://eepurl.com/2if59

Hannah Wilks

Stampin’ Up! UK Independent Demonstrator
 

Technique Tuesday | Colour Me Irresistible

Stampin' Up! UK Sprinkles of life colour me irresistible;l

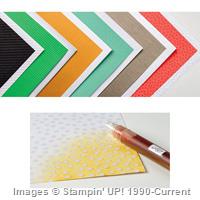
I’m a bit concerned that this fantastic Designer Series Paper may have passed you by in the Annual Catalogue this year! It can be found at the very top of page 142, it just looks like a series of coloured chevrons – but take a closer look! Its the most wonderful Designer Series Paper – do you remember the Irresistibly Yours DSP from Sale-a-bration this year? Well, its like that – but better! You get 12 sheets, all with fabulous patterns in ink resist embossing, but some are pre-coloured, while others are white – all ready for you, a sponge and your favourite ink!

Stampin' Up! UK Sprinkles of life colour me irresistible;l

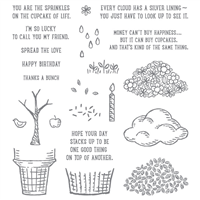
Paired here with the wonderful Sprinkles of Life Stamp set, I can’t choose which version of the paper is my favourite! The one on the left uses the pre-coloured Colour Me Irresistible paper, while the right had card features the DSP that has been coloured by me with my trusty sponge and some Mint Macaron Ink!

Have I mentioned about the Sprinkles of Life stamp set by the way? Not only is it super cute! but also £2 is donated to Ronald Macdonald House Charities here in the UK for each stamp set sold! Awesome right! RMHC do fantastic work, keeping parents and sick children close together during some of the worst times, providing houses near to hospitals.

Stampin' Up! Colour me Irresistable Color

What’s your favourite version of this card?


Shop Now button-001Join my team button-001

To purchase any of the items featured in my projects please use the links above. To join my team of Stampin’ Friends select ‘Join My Team’ or send me a message!

Please support StampinByHannah, and join my Code Club, by using the Hostess code featured in the top right hand of my blog. For orders of over £150 please do not use this code, as you are entitled to your own Hostess benefits!

Sign up to my newsletter here – http://eepurl.com/2if59

Hannah Wilks

Stampin’ Up! UK Independent Demonstrator
Layered Letters

Stampin' Up! UK Layered Letters Work of Art

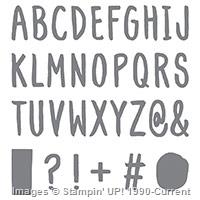
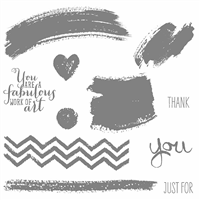
I have had great fun playing with the Layered Letters Alphabet Stamp set! but there are other stamp set that sit on my shelves, that I LOVE but just don’t seem to get the ‘mat time’ that they deserve! Work of Art is one of these stamp sets, I love it, but I really struggle to use it as often as I should – but I thought it might work well with Layered Letters

And guess what….

Stampin' Up! UK Layered Letters Work of Art

It does!

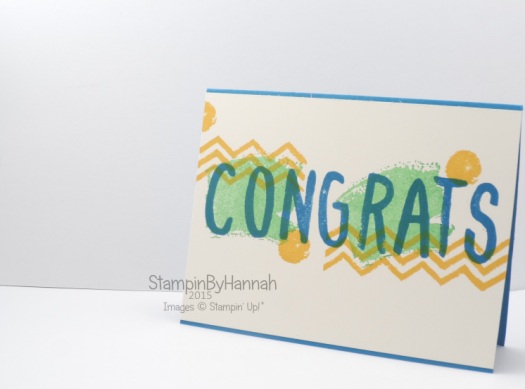
A nice, simple card for a Monday! We are in the middle of school leaver / exam / results season and Congrats cards are always a handy thing to have on stand-by!

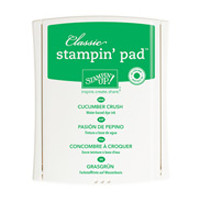
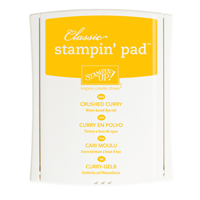
The stamping is in Cucumber Crush, Crushed Curry and Pacific Point, onto a layer of Very Vanilla, and a card base of Pacific Point. I have to say, I don’t know where this colour combination came from, I’m trying to experiment with colour at the moment – just pulling a few random ink pads out and stamping away – and what is so great about Stampin’ Up! inks is that they ALL work together, even combinations you wouldn’t expect!

What’s your favourite colour combinations this week?


Dont forget to shop using the Code Club Code to receive some great FREE product! 

XEQGUA4P

I will be closing this order on the 30th July 2015


Shop Now button-001Join my team button-001

To purchase any of the items featured in my projects please use the links above. To join my team of Stampin’ Friends select ‘Join My Team’ or send me a message!

Please support StampinByHannah, and join my Code Club, by using the Hostess code featured in the top right hand of my blog. For orders of over £150 please do not use this code, as you are entitled to your own Hostess benefits!

Sign up to my newsletter here – http://eepurl.com/2if59

Hannah Wilks

Stampin’ Up! UK Independent Demonstrator
 

Cardmaking 101 – Lets Make a Card!

Stampin' Up! UK Freshly Made Sketches

Hello!

Did you catch my mistake last week? I have complete wedding brain at the moment and managed to film this video on the wrong week! magic! but its ok, because I’ve filmed another tutorial for you this week!

I love using sketches as a quick and easy way to make a card, I will often hit Pinterest or check the latest challenges on some of my favourite challenge blogs. Sketches make card making so super quick and easy, and also stretch my card making into areas I would never have explored. Do you ‘get’ how much I love sketches! and I would love you to love sketches too!

So, this is a Cardmaking 101 – but one with a difference, because today we are actually going to make a card! So far we have explored tools, adhesives, and accessories. We have talked about stamps and stamping. But we have never actually made a card! until today. This is also the last Cardmaking 101 for a couple of months, but it will return bigger and better than ever in the Autumn – is there something you really want to learn? or a technique you would love to try but just don’t know where to start? Let me know so I can feature them as part of my next Cardmaking 101 series (or should that be Cardmaking 102?!)

Ok, so shall I stop waffling and get on with making a card!

Freshly Made Sketches #196 Cardmaking  101

This is our sketch for today, Sketch #196 from Freshly Made Sketches!

I always start by looking at the sketch, turning it around and changing the shapes. The key to using sketches is not to think of the shapes as boxes (or flowers, or butterflies) but just as shapes, shapes that your stamps can fill

Next I turn to my stamp shelves, trying to place my stamps into that shape. Sometimes I will use a stamp and punch combination for this, or sometimes I just use my current favourite!

Once I have collected my supplies and grab the sketch again. Cut my card stock, and begin to assemble my card

Stampin' Up! UK Cardmaking 101 Watercolour thank you

Here I have used the Watercolor Thank You, along with a piece of the Neutrals Designer Series Paper. I recently received a pack of the Metal Rimmed Peals, and just HAD to find away of using them!

So, what do you think? I would love to see your latest make, show me on my Facebook page!


Shop Now button-001Join my team button-001

To purchase any of the items featured in my projects please use the links above. To join my team of Stampin’ Friends select ‘Join My Team’ or send me a message!

Please support StampinByHannah, and join my Code Club, by using the Hostess code featured in the top right hand of my blog. For orders of over £150 please do not use this code, as you are entitled to your own Hostess benefits!

Sign up to my newsletter here – http://eepurl.com/2if59

Hannah Wilks

Stampin’ Up! UK Independent Demonstrator
 

Tag a bag…… of a card!

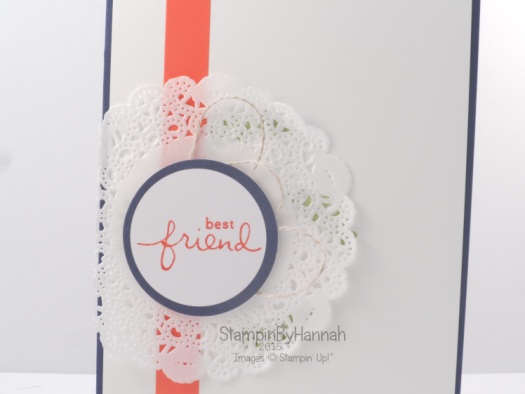
Stampin' Up! UK tag a bag endless thanks

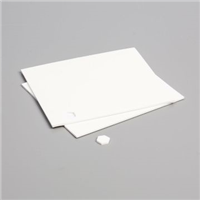
I have previously mentioned my love for the Tag A Bag Accessories kits, I even have a video on the latest one (available HERE!).

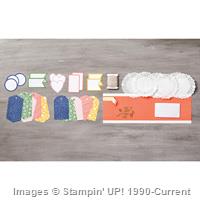
They are just so versatile. Not only do I use them to label gifts, but I use them to label things in my craft room (those sticky strips are awfully handy!) and I even use them to make cards! And they only cost £7.25!

Stampin' Up! UK tag a bag card accessory kit

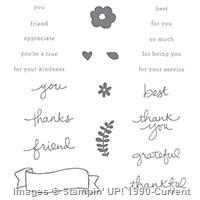
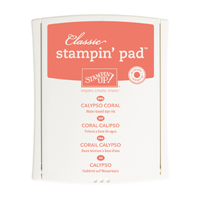
This card also features the Endless Wishes Stamp set, with the sentiment stamped in Calypso Coral onto one of the pieces from the kit. I also stamped some leaves behind the doily but they are a bit tricky to see, even up close.

Stampin' Up! UK tag a bag endless thanks

What a simple, cute, quick card!

Love it!


Dont forget to shop using the Code Club Code to receive some great FREE product!

XEQGUA4P

I will be closing this order on the 30th July 2015


Shop Now button-001Join my team button-001

To purchase any of the items featured in my projects please use the links above. To join my team of Stampin’ Friends select ‘Join My Team’ or send me a message!

Please support StampinByHannah, and join my Code Club, by using the Hostess code featured in the top right hand of my blog. For orders of over £150 please do not use this code, as you are entitled to your own Hostess benefits!

Sign up to my newsletter here – http://eepurl.com/2if59

Hannah Wilks

Stampin’ Up! UK Independent Demonstrator


Technique Tuesday | Blender Pens on Vellum

Stampin' Up! UK Blender Pens on vellum

Hello and welcome to another Technique Tuesday, I have recently been playing with my Blender Pens, and thought I would share the easiest way to use them!

I love the Blender Pens, they make colouring images so super quick and easy, but they take a little bit of practice particularly on Whisper White card stock. However, they are really easy to use on vellum.

So, what is a Blender Pen?

A Blender Pen is a pen that contains a special clear solution, that helps inks to move on paper. They create a similar effect to watercolouring, but without the mess of water everywhere. These pens work best on smooth surfaces; Whisper White card stock, Shimmery White card stock, or Vellum. This is because the ink still needs to be a little wet for the solution to move the ink. I find that they work best on vellum, this is because the ink takes longest to dry, giving you plenty of time to get a smooth colour blend

Stampin' Up! UK Blender Pens on vellum

I had some issues during the filming of this one! So, as usual you get a couple of ‘live bloopers!’ My camera ran out of battery (I’d filmed about 8 videos in one day!), but I hope it doesn’t effect your enjoyment of the tutorial

Top Tips for using Blender Pens on Vellum;

– I prefer to use Stazon Black on Vellum, as it is designed for smooth surfaces and dries to a nice crisp Black

– Use on colour at a time, here I coloured all the leaves first, then the flower centres and then the petals

– Scribble off your Blender Pen onto some scrap paper between each colour. The tip of your Blender Pen may stain, but this won’t effect the colour once you have scribbled off the excess

– Play and have fun!

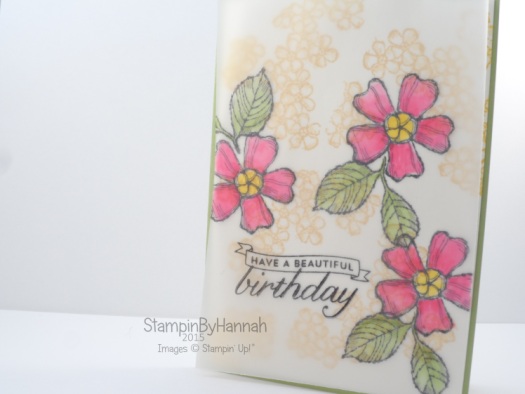
Stampin' Up! UK Birthday Blossoms Vellum

Once the vellum is coloured I turn the vellum over, and use Fast Fuse Adhesive to stick the vellum to the card. I love Fast Fuse for this, because it is a clear tape you can’t see it, but I also apply the tape to the coloured areas. This way you can’t see when it is attached, I like the look of the vellum loose at the edges, but you could use glue dots in each corner and cover them with Candy Dots or Pearls.

What’s your favourite way of attaching Vellum to your cards?


Dont forget to shop using the Code Club Code to receive some great FREE product!

XEQGUA4P

I will be closing this order on the 30th July 2015


Shop Now button-001Join my team button-001

To purchase any of the items featured in my projects please use the links above. To join my team of Stampin’ Friends select ‘Join My Team’ or send me a message!

Please support StampinByHannah, and join my Code Club, by using the Hostess code featured in the top right hand of my blog. For orders of over £150 please do not use this code, as you are entitled to your own Hostess benefits!

Sign up to my newsletter here – http://eepurl.com/2if59

Hannah Wilks

Stampin’ Up! UK Independent Demonstrator
Awesomely Melon Mambo…

Stampin' Up! UK awesomely artistic modern

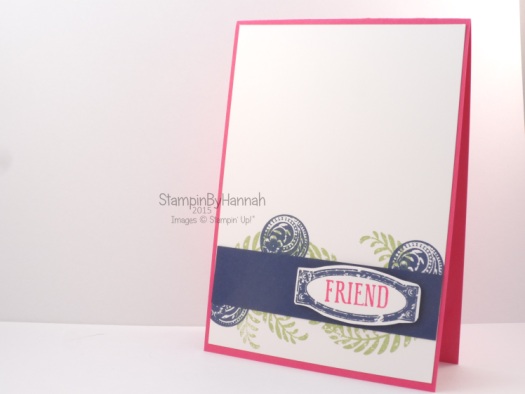
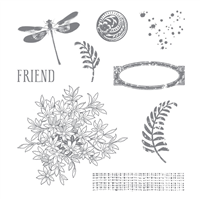
Don’t you love it when you find a stamp set that you can use over and over again, and get a different look every time? Well, I do, and I have found on in Awesomely Artistic! You may remember my Telford Make and Take from May? that was more of a layered stamped look, I wanted to try and get a more of a clean modern look using the same stamp set.

Stampin' Up! UK awesomely artistic modern

I love this stamp set though, it has the potential to create a mountain of different looks, and all so pretty.

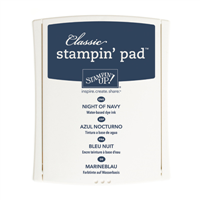
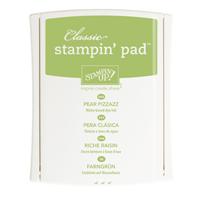
This time I’ve used a card base of Melon Mambo, with a strip of Night of Navy. The Stamping uses Night of Navy, Melon Mambo and Pear Pizzazz (my all time favourite green!) for some variation.

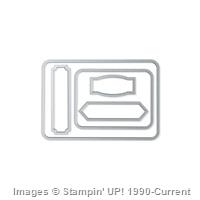
Oh, and that Friend label, well that coordinates with the Project Life Cards and Labels Framelits if you don’t want to fussy cut it (like I have here!)

Awesome!


Shop Now button-001Join my team button-001

To purchase any of the items featured in my projects please use the links above. To join my team of Stampin’ Friends select ‘Join My Team’ or send me a message!

Please support StampinByHannah, and join my Code Club, by using the Hostess code featured in the top right hand of my blog. For orders of over £150 please do not use this code, as you are entitled to your own Hostess benefits!

Sign up to my newsletter here – http://eepurl.com/2if59

Hannah Wilks

Stampin’ Up! UK Independent Demonstrator
Freshly Made Sketches 195 – Cardmaking 101 Process video

Stampin' Up! UK Freshly Made Sketches Crazy About You Video tutorial


Disclaimer: I got totally ahead of myself this week, and planned this video as the final part of my Cardmaking 101 series (my brain is complete mush right now, call it Wedding brain!) I am planning something else for next weeks Cardmaking 101 (probably another process video) but I am compiling a list of card making FAQ’s, do you have a burning card making question, let me know in the comments section below and I’ll answer it next Sunday!


I thought I would show you my card making process, using a sketch from Freshly Made Sketches. I have been really enjoying using sketches in card making recently, generally because it makes me make cards I wouldn’t normally make!

Stampin' Up! UK Freshly Made Sketches

This is the sketch for this week. I always try and modify the sketch a little, and not use it completely literally – for example here I have rotated the card by 90 degrees, but I might choose a different shape, or move the sentiment a little, just to convert the sketch in to something a little more my style.

Stampin' Up! UK Freshly Make Sketches Cardmaking 101 Crazy About You

I had loads of fun making this card, even though I made several mistakes (all in the video!). I swapped the circles for these scallop circle flowers from Crazy About You, and added the leaves in the background.

Don’t forget to ask your card making questions in the comments section below.


Shop Now button-001Join my team button-001

To purchase any of the items featured in my projects please use the links above. To join my team of Stampin’ Friends select ‘Join My Team’ or send me a message!

Please support StampinByHannah, and join my Code Club, by using the Hostess code featured in the top right hand of my blog. For orders of over £150 please do not use this code, as you are entitled to your own Hostess benefits!

Sign up to my newsletter here – http://eepurl.com/2if59

Hannah Wilks

Stampin’ Up! UK Independent Demonstrator

Birthday Blossoms

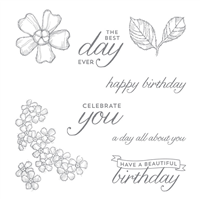
Stampin' Up! UK birthday blossoms

I am in love with this stamp set! I know there are a few videos and posts coming with this one – but that’s because I love it, and I only use what I love!

Stampin' Up! UK birthday blossoms

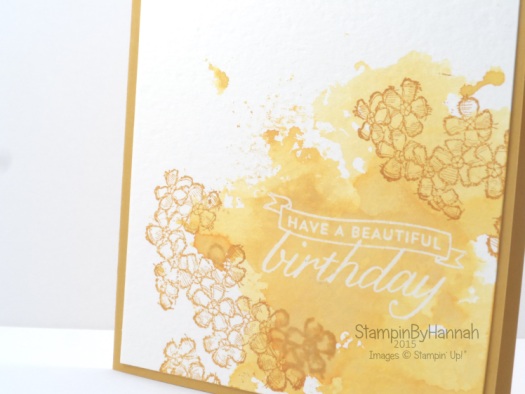
This card uses that lovely Ink Smooshing technique that I used a few weeks ago  (on this card!) I am planning a technique video on this one because I just love it! Its so super simple.

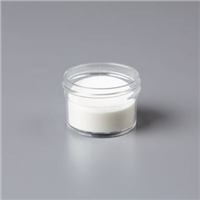
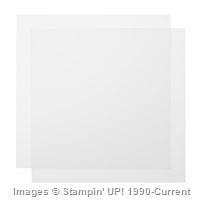
First stamp the sentiment in Versamark onto Watercolour Paper, and heat emboss with clear or white Stampin’ Emboss Powder. Grab your largest clear block (or tile, glass counter top etc.) and press your ink pad onto it! Spritz with water. Using a piece of Window Sheet, or the acetate panels that come with your photopolymer stamps, pick up the ink and water mixture and apply to your Watercolour Paper. Repeat until you have the effect desired. Here I picked up the ink and water mixture several times to get this dark colour.
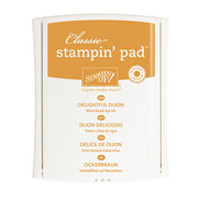
stampin' Up! Uk delightful Dijon birthday blossoms

When you mix your ink and water, you are diluting the colour, so the final result will be lighter, so the more you add, the darker the final result.

You can see the difference in colour tone between the ink smooshing and the stamped flowers – its all the same ink pad!


Shop Now button-001Join my team button-001

To purchase any of the items featured in my projects please use the links above. To join my team of Stampin’ Friends select ‘Join My Team’ or send me a message!

Please support StampinByHannah, and join my Code Club, by using the Hostess code featured in the top right hand of my blog. For orders of over £150 please do not use this code, as you are entitled to your own Hostess benefits!

Sign up to my newsletter here – http://eepurl.com/2if59

Hannah Wilks

Stampin’ Up! UK Independent Demonstrator