12 Weeks of Christmas – Gift Card Gift Box!

Stampin' Up! UK Gift Card Gift Box video tutorial

Stampin' Up! 12 weeks of Christmas

Welcome to my Christmas project series this year! Each and every Sunday between now and the Big Day I be sharing a fun Christmas project; from cute gift packaging, to cards and even some home decor!

I love giving the gift of shopping (especially to awkward 15 year old girls! or boys who just want Games consoles!) but sticking a gift card into a card is super boring! Last year I made pop up gift card cards, but they just didn’t have the right amount of wow factor for me. I wanted a box, and that is what I have for you today.

Stampin' Up! UK Gift Card Gift Box video tutorial

Actually, this box is a really handy size for home-made chocolates, tealights or soaps too – just leave out the gift card insert. Check out the video tutorial for complete instructions, although the measurements can be found at the bottom of this post.

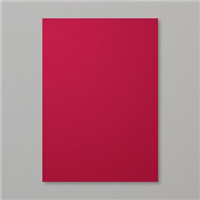
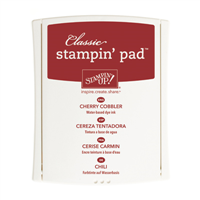
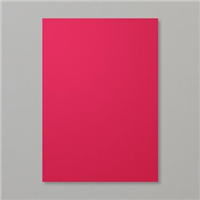
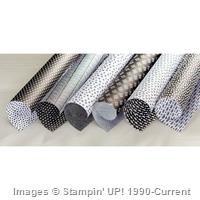
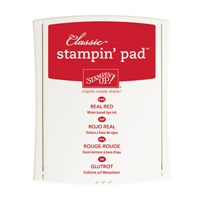
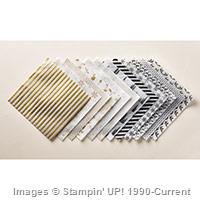
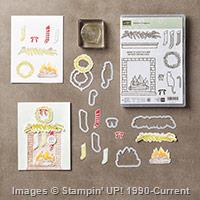
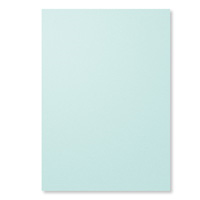
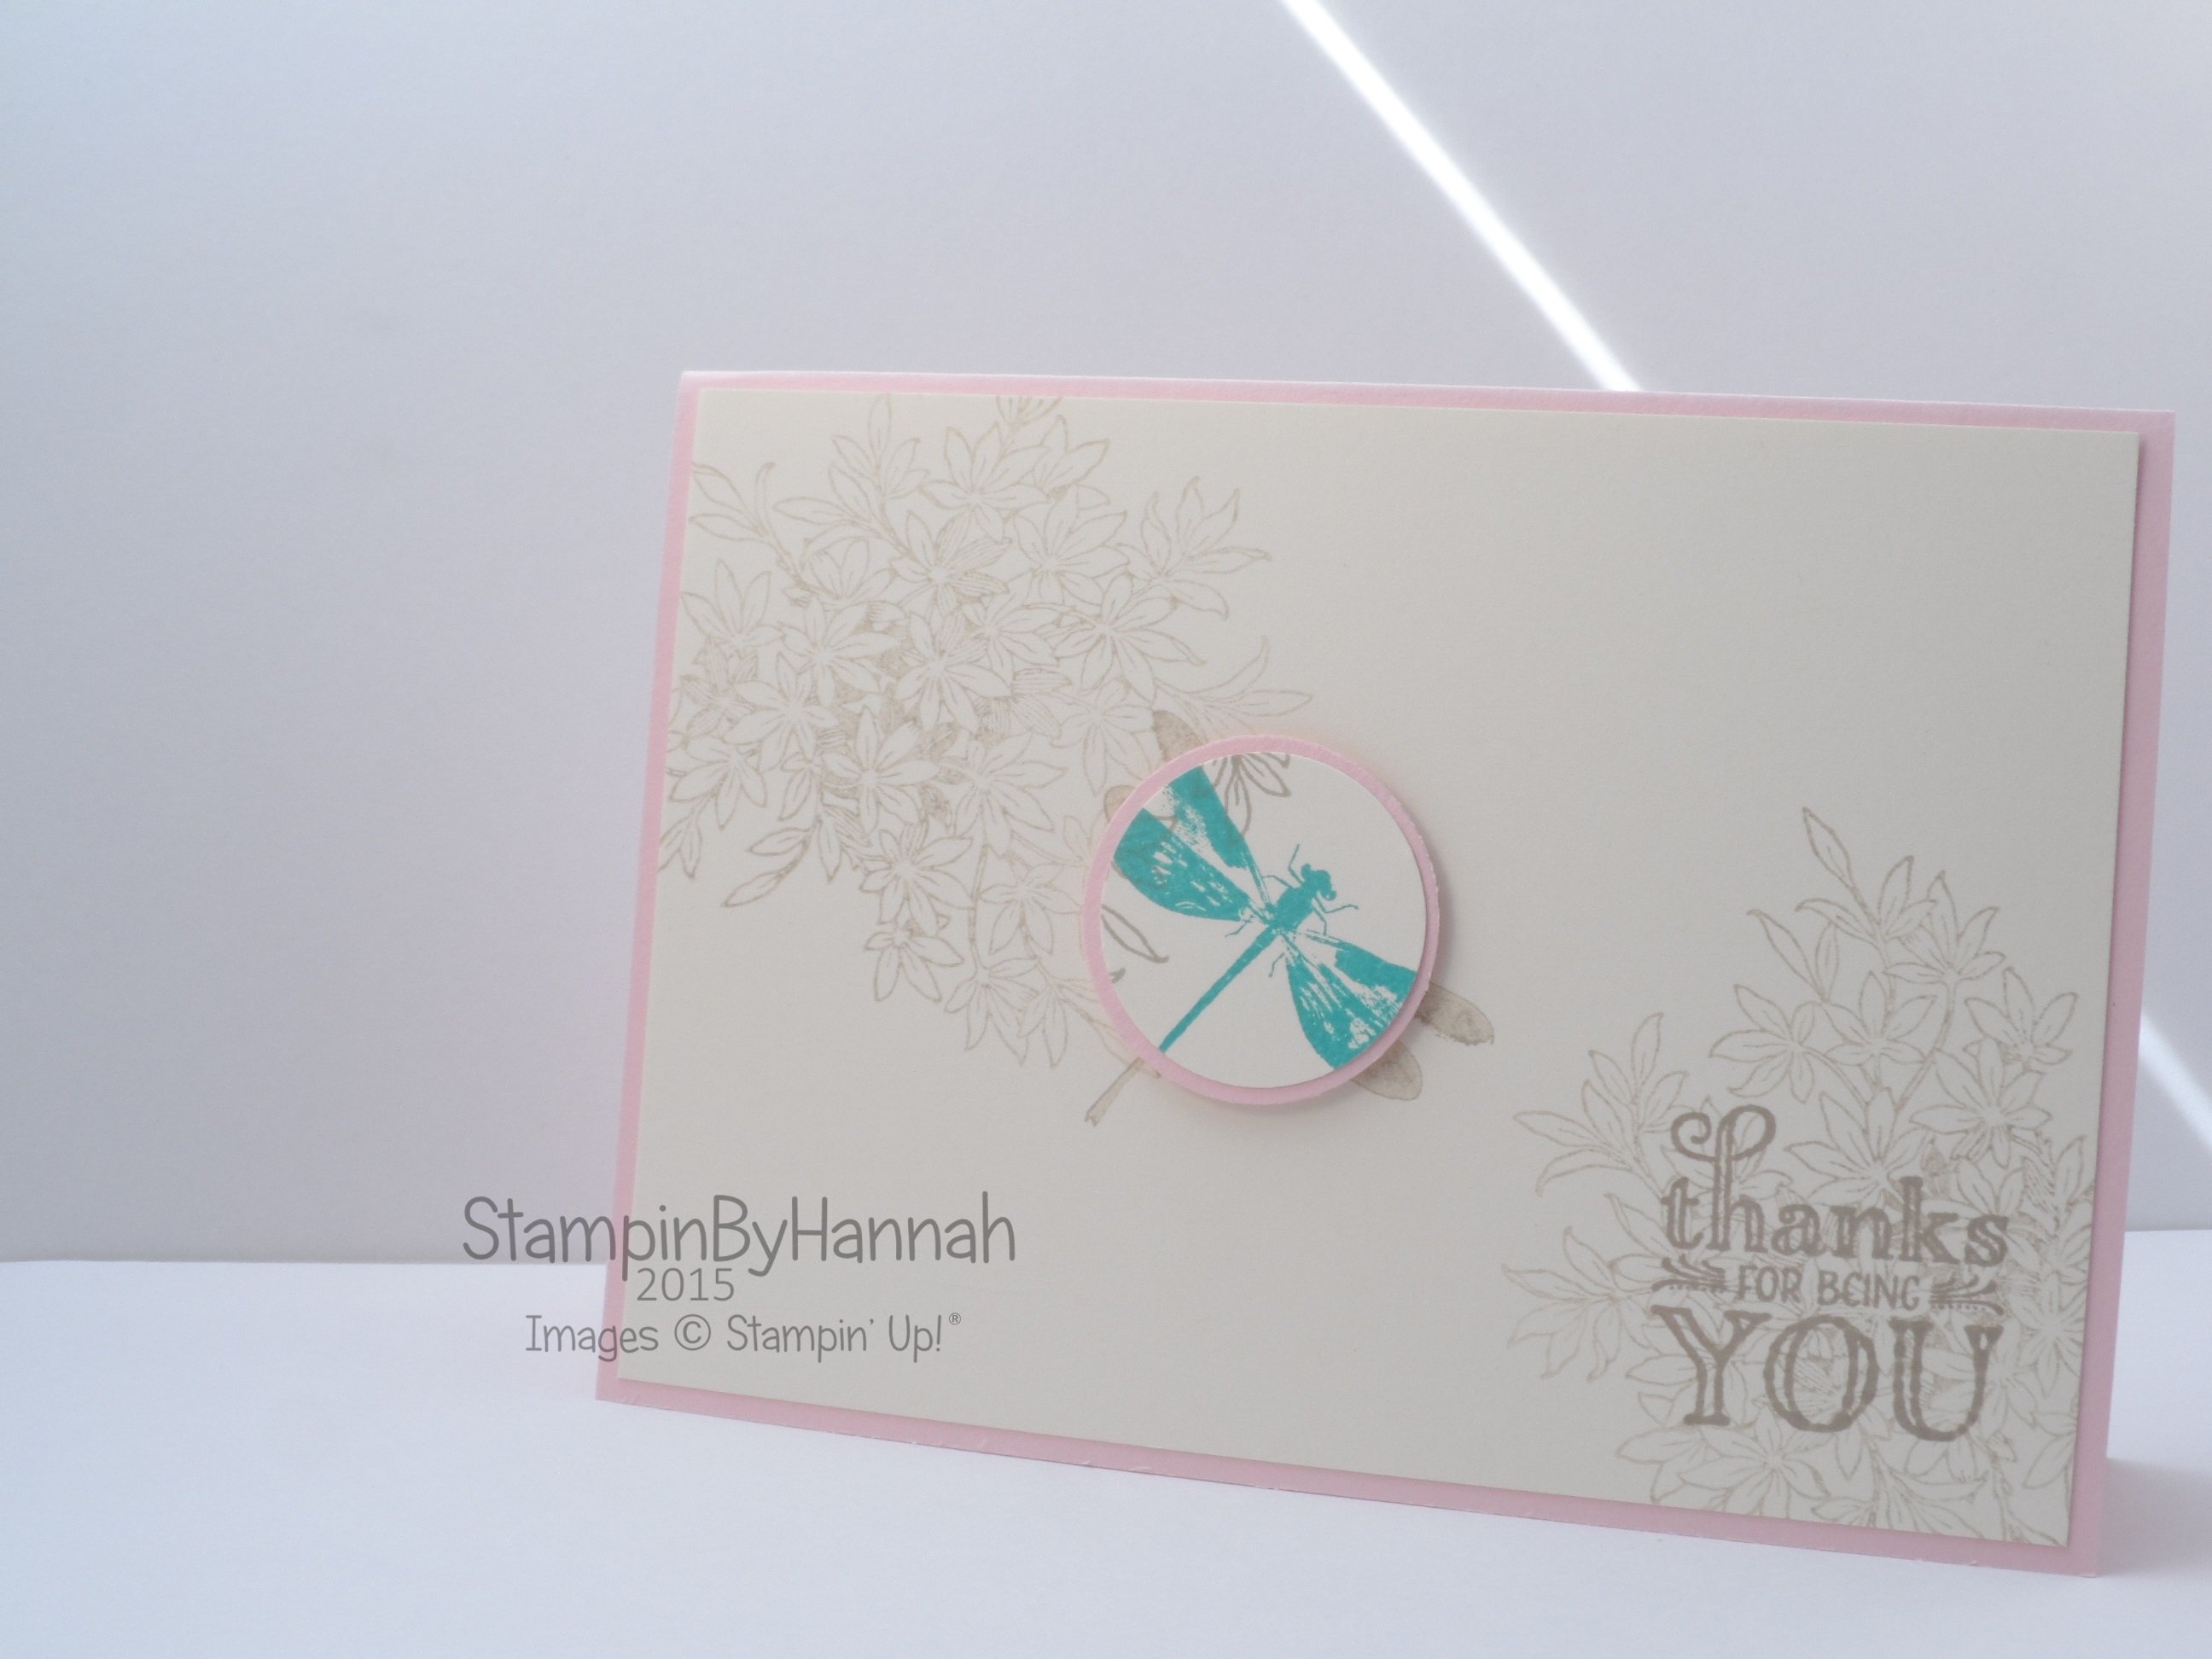
I’ve kept the decoration on this one fairly simple, with a piece of Designer Series Paper. Timeless Elegance on the Cherry Cobbler version, and Everyday Chic on the Real Red one. With some stamped and punched accent pieces (Don’t you just LOVE that bow!)

I’ve loving a bit of red this Christmas, but choosing between Real Red and Cherry Cobbler is proving to be a bit of a problem – they are both so beautiful! – so I have used them both here. The Cherry Cobbler Version is also made as a fold flat variation, to allow you to make a few of these and have them stored flat ready for assembly when needed.

Stampin' Up! UK Christmas gift card box

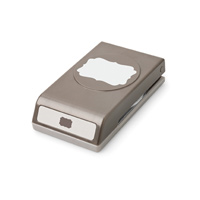
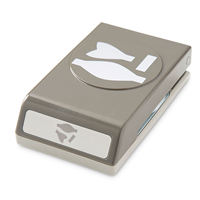
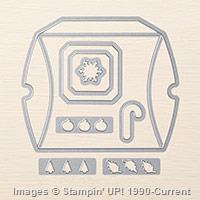
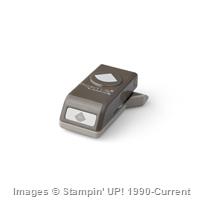
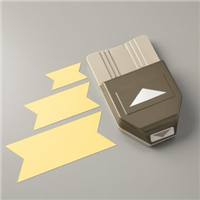
The gift card holder section of this box is an insert, punched with the Decorative Label punch to hold the card.
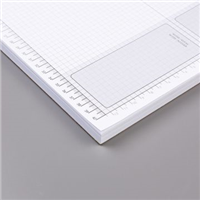
Measurements:

Box:

Card stock – 11 x 6″ (27.5 x 15 cm)

Score on the long side at 1, 5, 6 and 10″ (2.5, 12.5, 15, and 25 cm)

Score on the short side at 1 and 5″ (2.5 and 12.5 cm)

Insert:

Card stock – 10 x 4″ (25 x 10 cm)

Score on the long side at 3 and 7″ (7.5 x 17.5 cm)

Flip the cardstock over, and score again at 5″ (12.5 cm)

Designer Series Paper – 3 3/4 x 3 3/4″ (9.5 x 9.5 cm)


Shop Now button-001Join my team button-001

To purchase any of the items featured in my projects please use the links above. To join my team of Stampin’ Friends select ‘Join My Team’ or send me a message!

Please support StampinByHannah, and join my Code Club, by using the Hostess code featured in the top right hand of my blog. For orders of over £150 please do not use this code, as you are entitled to your own Hostess benefits!

Sign up to my newsletter here – http://eepurl.com/2if59

Hannah Wilks

Stampin’ Up! UK Independent Demonstrator

Vellum Pillow Box

I am still loving the Square Pillow Box die! I could make these all day, they are so simple and quick to put together. I was sat in my craft room the other day thinking of other variations of this great die, and realised that I hadn’t made an all vellum version! Shocking!

Stampin' Up! UK Square Pillow box top tips

This vellum is stunning (my photo does not do it justice!). I have been playing around with my photo skills again, and am trying natural light and some props at the moment, still needs work I think!

Ok, so Square Pillow Box top tips!

  • The die will cut two pieces of Designer Series Paper or Vellum, but only one piece of card stock at a time.
  • Fold and burnish the pieces well with your fingers, and a bone folder on the straight edges
  • Use Tear & Tape to ensure the whole length of the tabs are covered with adhesive
  • Lie the two pieces of the Pillow Box face down on your desk next to each other, and line up one edge at a time
  • Use Glue dots to stick the flaps together if needed
  • Make them super pretty by using the extra dies and coordinating stamp set!


Shop Now button-001Join my team button-001

To purchase any of the items featured in my projects please use the links above. To join my team of Stampin’ Friends select ‘Join My Team’ or send me a message!

Please support StampinByHannah, and join my Code Club, by using the Hostess code featured in the top right hand of my blog. For orders of over £150 please do not use this code, as you are entitled to your own Hostess benefits!

Sign up to my newsletter here – http://eepurl.com/2if59

Hannah Wilks

Stampin’ Up! UK Independent Demonstrator

Technique Tuesday | Faux In-lay Die Cutting

I have recently fallen head of heals in love with my Big Shot machine again. My Big Shot was one of those big ticket items I bought when I started crafting 5 years ago, and I have to admit it didn’t get the love and attention it deserved. However, since becoming a Stampin’ Up! demonstrator last year, the amount of use my Big Shot gets keeps increasing, and I am the first to admit that its starting to get tired through over use! I am in desperate need of new cutting plates since my current set are now sporting the ‘stained glass’ effect, and I am forever tightening the handle. I might have to buy it some Christmas presents this year!

Stampin' Up! UK Faux InLay Die Cutting Technique Tuesday

I really enjoy the In-lay die cutting technique, but trying to get all those pieces back into the paper can be a bit of a pain. I have recently tried a few different types of Faux In-Lay Die Cutting, using both the big shot AND punches!

There is a Big Shot add on that is a must for this one, the Premium Crease Pad. Designed to help form the creases when using Bigz Dies, the crease pad stops the die from cutting all the way through your card stock, leaving an embossed effect. This works on both detailed dies, like the Hello You Thinlits, and Butterflies Thinlit dies (love those!) as well as framelit dies, like the Flower Fayre dies that coordinated with the Flower Patch stamps

Stampin' Up! UK Faux In Lay Die cutting video tutorial

In-layed punching is super simple, and is really effective with stamped images, or Designer Series Paper. Keep your eyes on a blog for some more of this technique for sure!


Don’t forget to shop using the Code Club Code to receive some great FREE product!

JNUHVBUJ

I will be closing this order on the 30th September 2015


Supply List

Built for Free Using:  My Stampin Blog


Shop Now button-001Join my team button-001To purchase any of the items featured in my projects please use the links above. To join my team of Stampin’ Friends select ‘Join My Team’ or send me a message!

Please support StampinByHannah, and join my Code Club, by using the Hostess code featured in the top right hand of my blog. For orders of over £150 please do not use this code, as you are entitled to your own Hostess benefits!

Sign up to my newsletter here – http://eepurl.com/2if59

Hannah Wilks

Stampin’ Up! UK Independent Demonstrator

Festive Fireplace Week – Tealight Holder

Stampin' Up! UK Festive Fireplace Tealights

Stampin Up! Festive Fireplace Week

Welcome to the final post in my Festive Fireplace week blog series, I do hope you have enjoyed it and found some inspiration. You can find all the other projects in this weeks worth of posts by searching for ‘Festive Fireplace’ in my search bar

Stampin' Up! UK Festive Fireplace Candles cat Christmas

This project comes with a bit of a disclaimer – DO NOT put real tealights inside! Please use electric tealights for this, I will not be held responsible for any accidents caused by this project!

Right, with that out of the way, fancy making one?

They are really simple to make, and I am loving the cat with the bow collar too. The Chocolate Chip version uses Very Vanilla, Cherry Cobbler and Tip Top Taupe, while the Soft Sky version uses Whisper White, Pear Pizzazz and Sahara Sand

Stampin' Up! UK Festive Fireplace Tealights

Measurements:

Card stock – 11 3/4 x 3″ (29 x 7.5 cm)

Score on the long side at 5″ (12.5 cm) rotate by 180 degrees and score 5″ again

Stamp your fireplace on both sides, lining the bottom edge up with the score lines you have just made, and cut out the centre of the fireplaces with a craft knife and metal ruler

Use Tear’n’Tape to attach vellum behind the fireplaces, and add mantle pieces, cats and any other decor items.

Form into a tent shape, rounding the corner with the Project Life by Stampin’ Up! corner punch, and joining the tops together with a staple.

Cover the staple with a bow, and insert your electric tealight


Stampin' Up! Uk at home class Wonderland vellum cardmaking workshop


Shop Now button-001Join my team button-001

To purchase any of the items featured in my projects please use the links above. To join my team of Stampin’ Friends select ‘Join My Team’ or send me a message!

Please support StampinByHannah, and join my Code Club, by using the Hostess code featured in the top right hand of my blog. For orders of over £150 please do not use this code, as you are entitled to your own Hostess benefits!

Sign up to my newsletter here – http://eepurl.com/2if59

Hannah Wilks

Stampin’ Up! UK Independent Demonstrator

Alternative Uses for the Watercolour Wishes Card Kit

Stampin' Up! UK Watercolour wishes gift packaging

The Watercolour wishes kit is awesome! I can’t remember if I have mentioned it much before, but this years Stampin’ Up!® kits are amazing. We have instant crafting satisfaction 8 times in the annual catalogue and 3 times in the brand new Autumn/Winter book too! That’s a whole lot of crafting! From cards, to stationary, to home decor there is something for everyone.

Stampin' Up! UK Watercolour Wishes Thanks Card

My favourite kit by far is the Watercolour Wishes card kit, which makes 20 unique cards all featuring the totally on trend Watercolour look but without any of the mess! I have got to mention the stamp set that comes with this kit, it features 12 stamps covering all your most important everyday card making occasions

The great folks at Stampin’ Up!® have made a video to show you what’s in the kit and what the cards look like if you follow the instructions

However, I had to find some alternative uses for this kit. I just don’t need all that many cards (not when I make cards for my blog, and customers, and custom orders!), but I do use cute bits of packaging for gifts and things

Stampin' Up! UK Watercolour wishes gift packaging

Aren’t they cute! I will admit to using the kit to make a different card, but I could not resist making that heart card into a sweet card for my new husband (not that there was an old one!) I also used one of the larger cards in the kit to make a handy folder style gift, just adding some of our lovely Watermelon Wonder Dotted Lace Trim as a closure.

That box is such a handy size. Taking one of the larger cards score at 1″ on all four cards, before creating the box base from a piece of Thick Whisper White card stock.

Measurements:

Lid – 8 1/2 x 5 1/2

scored on all four sides at 1″

Base – 9 7/16th x6 7/16th

scored on all four sides at 1 1/2″

The belly band was created by cutting a 1 1/2″ strip off the long side of a piece of A4 Watermelon Wonder card stock, and helps to hide the score line on the top of the box (it should have been a card remember!)

All three projects were finished using a couple of the embellishments from the kit; Washi Tape, Wooden Elements and Sequins!


Shop Now button-001Join my team button-001

To purchase any of the items featured in my projects please use the links above. To join my team of Stampin’ Friends select ‘Join My Team’ or send me a message!

Please support StampinByHannah, and join my Code Club, by using the Hostess code featured in the top right hand of my blog. For orders of over £150 please do not use this code, as you are entitled to your own Hostess benefits!

Sign up to my newsletter here – http://eepurl.com/2if59

Hannah Wilks

Stampin’ Up! UK Independent Demonstrator

Technique Tuesday | Ink Blending

Stampin' Up! UK Wonderland Ink Blending

This weeks Technique is one I have used a lot recently, I have a small pile of cards that all feature this same technique, and I love it!

Stampin' Up! UK Wonderland Ink Blending

This technique uses ink, ink and more ink! be prepared for inky fingers with this one!

To create this card you will need; several shades of a similar colour and a Stampin’ Sponge. This card uses Pink Pirouette, Melon Mambo, Rich Razzleberry, Blackberry Bliss, along with the Wonderland Stamp set and the brand new Archival Basic Black Ink.Stampin' Up! UK ink blending technique tuesday wonderland

Top Tips:

  • I chop my sponges into between 4 and 6 pieces, and label each one with a piece of card stock to help keep my fingers clean
  • Tap your sponge in your ink pad to load it with ink, starting off your card stock, rub your sponge in circles, working the ink onto the card stock
  • Start with the lightest colour first, and slowly blend in each additional colour.

I’m loving this stamp set, those trees are simply stunning! why not check out my Stampin@Home class this month featuring the same stamp set!


Stampin' Up! Uk at home class Wonderland vellum cardmaking workshop


Shop Now button-001Join my team button-001

To purchase any of the items featured in my projects please use the links above. To join my team of Stampin’ Friends select ‘Join My Team’ or send me a message!

Please support StampinByHannah, and join my Code Club, by using the Hostess code featured in the top right hand of my blog. For orders of over £150 please do not use this code, as you are entitled to your own Hostess benefits!

Sign up to my newsletter here – http://eepurl.com/2if59

Hannah Wilks

Stampin’ Up! UK Independent Demonstrator


Chocolate Wrappers using Merry Moments DSP

Stampin' Up! UK chocolate wrapper merry moments

Ok, so we have finally launched the Autumn / Winter Stampin’ Up!® catalogue, and it is jam crammed packed full of great Christmas project ideas, awesome stamps, and some lovely ideas of autumn and winter birthdays too! I have a series of amazing projects, classes and videos coming for you in the next couple of months and I hope you love this catalogue as much as I do!

Stampin' Up! UK chocolate wrapper merry moments

I have to say though, no one love chocolate as much as I do (seriously, there is a reason I am touch over weight!), and when I spotted these chocolate bars in the supermarket a few months ago, I knew they had to come home with me and feature on my blog! Believe me they didn’t last long after this photo was taken!

Measurements:

Card stock – 7 3/4 x 6 3/4″ (20 x 17 cm)

Score on the long side first at 3 1/8, 3 5/8, 6 3/4 and 7 1/4″ (8, 9.5, 17.5 and 19 cm)

Score on the short side at 1/2″ (1.5 cm)

Designer Series Paper – 6 x 2 7/8″ (15 x 7 cm)

What’s your favourite Designer Series Paper from the new Autumn / Winter catalogue? Not seen it yet, click the link in the side bar on the right to download your copy, or request a paper one by clicking the link in the top menu!


Shop Now button-001Join my team button-001

To purchase any of the items featured in my projects please use the links above. To join my team of Stampin’ Friends select ‘Join My Team’ or send me a message!

Please support StampinByHannah, and join my Code Club, by using the Hostess code featured in the top right hand of my blog. For orders of over £150 please do not use this code, as you are entitled to your own Hostess benefits!

Sign up to my newsletter here – http://eepurl.com/2if59

Hannah Wilks

Stampin’ Up! UK Independent Demonstrator


Christmas Countdown | White Christmas

Stampin' Up! Uk White Christmas Watercolour Video tutorial

This is another one of those stamp sets that carried over from last years Autumn/Winter release, and I am so pleased I just love it! The new Autumn / Winter catalogue goes live on Tuesday! I have posted out catalogues to those who received a Annual one, but if you haven’t got yours yet, let me know by requesting on using the button at the top of the page!

Stampin' Up! UK White Christmas

How cute is this polar bear! I masked him off and applied a watercolour wash of Soft Sky to get this cute watercolour card. Check out the video below for full details

What do you think? I’m loving that pop of Pear Pizzazz myself!


Shop Now button-001Join my team button-001

To purchase any of the items featured in my projects please use the links above. To join my team of Stampin’ Friends select ‘Join My Team’ or send me a message!

Please support StampinByHannah, and join my Code Club, by using the Hostess code featured in the top right hand of my blog. For orders of over £150 please do not use this code, as you are entitled to your own Hostess benefits!

Sign up to my newsletter here – http://eepurl.com/2if59

Hannah Wilks

Stampin’ Up! UK Independent Demonstrator

Divided Sweetie Box

Stampin' JUp! divided sweetie box video tutorial

I just LOVE this box! I think it would be great for Christmas or Easter gift giving and you could totally dress it up with some cute ribbon or a bit of punch work.

Stampin' Up! UK sweetie box video tutorial

The sweeties in the box are some I bought from Amazon for the sweetie bar at out Wedding, but they just weren’t quite right – but they found there use! I still have a heap of them left so you never know who might be receiving some soon (maybe some lovely Stampin@Home participants, maybe!).

Measurements:

Box Base –

card stock; 6 x 6″ (15.2 x 15.2 cm)

Score at 1″ (2.5 cm) on all four sides

Box Lid –

card stock; 5 9/16th x 5 9/16th (14.1 x 14.1 cm) I know these measurements are a little awkward but they make for the perfect lid that doesn’t fall off!

Score on all four sides at 3/4″ (2cm)

Now we need to cut that hole in the lid. My Stampin’ Trimmer is a European version, and only has metric measurements on the trimmer arm, so sorry but I only have metric measurements for this bit.

Insert the box lid into the trimmer and line up the first side at 10.2 cm, using the cutting blade on the trimmer to cut from 4 cm to 10.2 cm. Repeat this on all four sides and the centre square should just pop out!

Box Inserts –

I’ve used a different colour of card stock for the insides to add contrast, you could keep all the pieces the same colour if desired!

One piece of card stock measuring 4 x 5 1/2″ (10 x 14 cm)

Score on the long side at 2″ (5 cm) on both sides, flip over at score at 2 3/4″ (7 cm)

One piece of card stock measuring 2 x 5 1/2″ (5 x 14 cm)

Score on the long side at 2″ (5 cm) on both sides, flip over at score at 2 3/4″ (7 cm)

Stampin' JUp! divided sweetie box video tutorial

What do you think? Is there a tutorial you would really like to see, let me know in the comments section below


Don’t forget to shop using the Code Club Code to receive some great FREE product! 

2JTHMV6W

I will be closing this order on the 30th August 2015


Shop Now button-001Join my team button-001

To purchase any of the items featured in my projects please use the links above. To join my team of Stampin’ Friends select ‘Join My Team’ or send me a message!

Please support StampinByHannah, and join my Code Club, by using the Hostess code featured in the top right hand of my blog. For orders of over £150 please do not use this code, as you are entitled to your own Hostess benefits!

Sign up to my newsletter here – http://eepurl.com/2if59

Hannah Wilks

Stampin’ Up! UK Independent Demonstrator


Technique Tuesday | Spotlight Stamping

Stampin' Up! UK Technique Tuesday Awesomely Artisitic

Are you enjoying Technique Tuesday? you know if you make one of my projects I would LOVE to see it, why not share it with me on my Facebook page.

I spotted a card using this technique on a Facebook group a few weeks ago, and I’m really super sorry that I can’t remember who it was, so if it was you – please comment below so I can give you credit!

Stampin' Up! UK Technique Tuesday Awesomely Artisitic
Oh yes, I’ve been using Awesomely Artistic again! this time I’ve paired it with Me = Grateful to make some lovely Thank You cards.

How to:

Using Awesomely Artistic, stamp the background of the card using a pale ink. I’ve used Sahara Sand on Very Vanilla, and Smoky Slate on Whisper White here, stamped off once

Add you sentiment using Me = Grateful

On a scrap piece of card stock, the same colour as your background piece stamp the background image again, this time in full strength ink. I have stamped the floral arrangement in Sahara Sand or Smokey Slate, and the added the Dragonfly in a bold colour.

The trick here is to carefully stamp the dragonfly so the images line up with the background piece when you’ve punched them out.

Stampin' Up! Awesomely Artistic Spotlight Stamping


Shop Now button-001Join my team button-001

To purchase any of the items featured in my projects please use the links above. To join my team of Stampin’ Friends select ‘Join My Team’ or send me a message!

Please support StampinByHannah, and join my Code Club, by using the Hostess code featured in the top right hand of my blog. For orders of over £150 please do not use this code, as you are entitled to your own Hostess benefits!

Sign up to my newsletter here – http://eepurl.com/2if59

Hannah Wilks

Stampin’ Up! UK Independent Demonstrator