Stampin’ Up! UK Regional Training Swaps

One of the many many great things about being a demonstrator for Stampin’ Up! is the opportunity to attend Stampin’ Up! organised events. This past weekend I drove the 180+ miles to Telford for this years demonstrator training event. I will share the full details with your soon (well, as much as I can!) but for now, I thought I would share what I made for my Swaps!

Stampin' Up! UK Telford swaps 2015

Swapping is another great part of being a demonstrator. Each time we get together we make things to share; they are a great way of getting inspiration when you’ve lost your crafty mojo, and are a wonderful way of meeting new people. I found some cute little chocolates during a recent dash to Home Bargains (there’s one at the end of my road, perfect for those chocolate emergencies! they sell other stuff to, but chocolate is my main reason for a visit!) and knew they would have to be part of my swap!

Stampin' Up! UK Telford swap mini chocolate gift bag

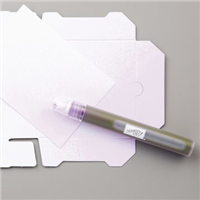
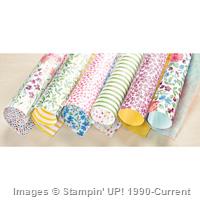
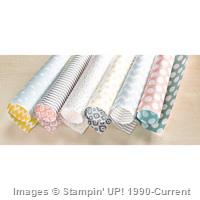
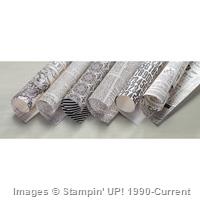
Aren’t they just adorable! I loved making them, although the Typeset Designer Series Paper is interesting to work with! Its a lovely thin weight, and acts a little bit like vellum when you score it. You have to keep a tight hold otherwise it has a habit of moving and shifting – resulting in wonky bags!

Measurements:

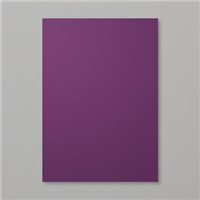
Designer Series Paper – 4 3/4 x 3 1/2″ (12 x 9 cm)

Score on the long side first with the print facing the right way at 1 3/8, 2 1/8, 3 1/2 and 4 1/4″ (1, 4.5, 6.5 ad 10 cm)

Score on the short side at 3/4″ (2 cm)

Cut the little rectangle from the bottom corner, and cut up the other score lines just to the horizontal score

Use Fast Fuse to stick your bags together, applying the glue along the long thin edge. Then work out which side is the back (the one with the seam), fold in the bottom – sides first, then the back, then the front – applying Fast Fuse to the inside of the front flap.

Insert your chocolates

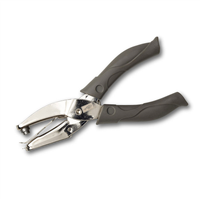
Use the 1/8″ Handheld punch to create a hole in the middle near the top.

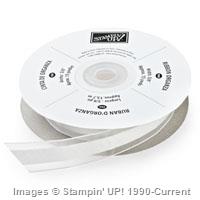
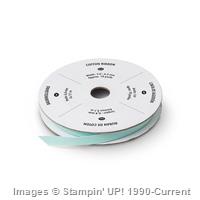
Thread your ribbon from the inside through to the front, and then over the top and in through the back and through to the front. You should end up with both ends of the ribbon at the front.

Tie a bow! (I know, that makes it sound a whole lot easier than it is!)

Stampin' Up! Telford swaps basket

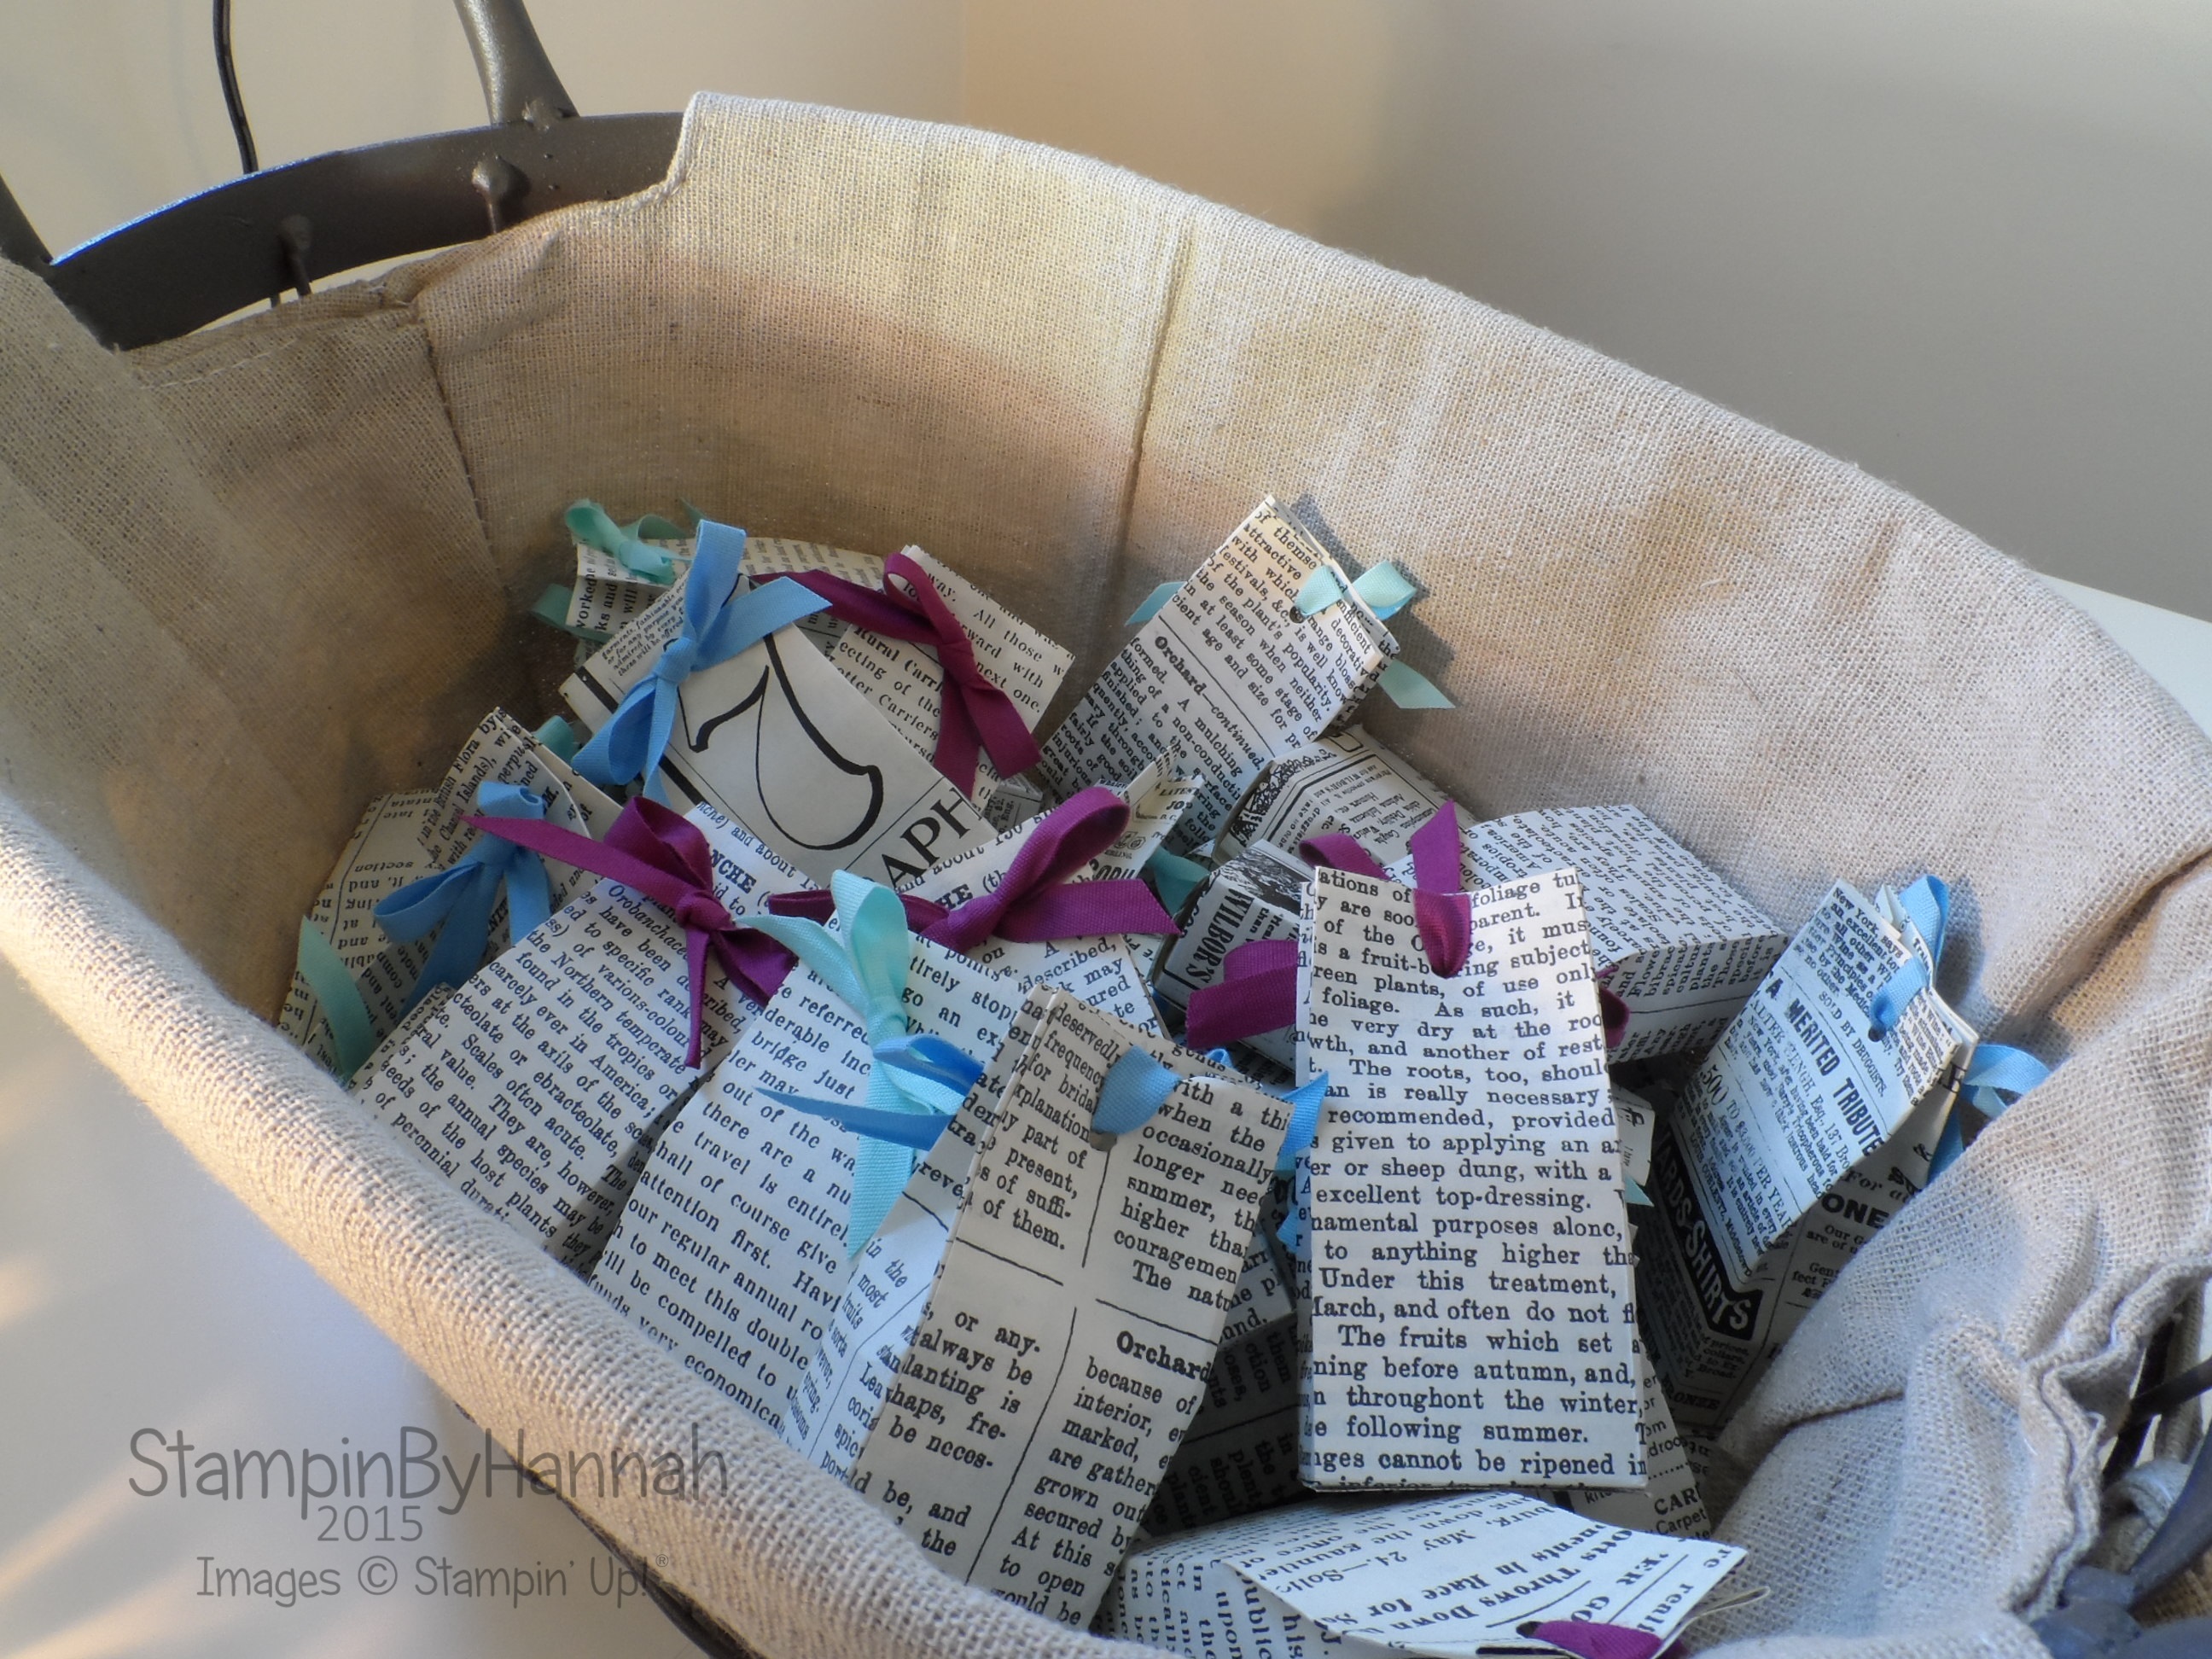
I couldn’t leave you without showing you my swaps basket (it doubles as my Bargain Basket!), don’t they look cute!


Shop Now button-001Join my team button-001

To purchase any of the items featured in my projects please use the links above. To join my team of Stampin’ Friends select ‘Join My Team’ or send me a message!

Please support StampinByHannah by using the Hostess code featured in the top right hand of my blog. For orders of over £150 please do not use this code, as you are entitled to your own Hostess benefits!

Sign up to my newsletter here – http://eepurl.com/2if59

Hannah Wilks

Stampin’ Up! UK Independent Demonstrator

Collage stamping

One of my favourite stamp sets from the current Spring/Summer catalogue is Butterfly Basics. I have created a whole heap of cards with this set, and I’m sure I have plenty more cards with this set left to create (yes, it’s in the new Annual Catalogue too! Yay!)

Stampin' Up! UK butterfly basics collage

I have really enjoyed the pieces of this stamp set, both individually and collaged together  – like the card here. Almost all the stamps from the set are stamped on this 5 x 5″ square card in Sahara Sand. The only different colour used is Early Espresso for the Happy Birthday.

The card is finished with a beautiful butterfly die cut from Early Espresso from the Butterflies Thinlits dies. I usually bend the wings of these butterflies to create some dimension, however, this time I decided to use my bone folder to create a curved wing. To create this look run the wings of the butterfly around the bone folder as if you were curling ribbon. I love the effect this gives.


Shop Now button-001Join my team button-001

To purchase any of the items featured in my projects please use the links above. To join my team of Stampin’ Friends select ‘Join My Team’ or send me a message!

Please support StampinByHannah by using the Hostess code featured in the top right hand of my blog. For orders of over £150 please do not use this code, as you are entitled to your own Hostess benefits!

Sign up to my newsletter here – http://eepurl.com/2if59

Hannah Wilks

Stampin’ Up! UK Independent Demonstrator

Watercolour Stamping

As you may be able to tell I love watercolouring with my stamps; either sprintzing water onto my inked stamp, adding water to a stamped image or using my inks to colour an image, and I just couldn’t let this card onto the blog without a very short video!

Stampin' Up! UK watercolour butterfly basics

Isn’t this card just so pretty!

I do have a bit of a top tip for using that sentiment; use the top edge of the stamp to ensure your stamp is stamped straight, if you line the top edge of the stamp up with the top of you block when positioning, you can then line the block up with your card stock to ensure your sentiment is straight.

Stampin' Up! UK butterfly basics video tutorialHow to:

Cut your sheet of Early Espresso card stock in half, and fold in half to create your card base. Measure the front or your card and cut a piece of Stampin’ Up! watercolour paper to half a centimetre (or 1/4″) shorter and narrower

Ink the fern stamp up with Sahara Sand ink and stamp 3 times in the bottom right hand corner of your watercolour paper.

Ink you flower stamp up with Rich Razzleberry, and mist with water, the amount of water you mist the more the ink will move, causing the two different effects as seen above, stamp over the top of the ferns. Allow this to dry, either naturally or with the assistance of a heat tool.

Ink the postage label in Early Espresso and stamp three times around the flowers.

Stamp the sentiment in the bottom left using Early Espresso.

Mount the watercolour paper to the front or your card base using Fast Fuse adhesive.


Shop Now button-001Join my team button-001

To purchase any of the items featured in my projects please use the links above. To join my team of Stampin’ Friends select ‘Join My Team’ or send me a message!

Please support StampinByHannah by using the Hostess code featured in the top right hand of my blog. For orders of over £150 please do not use this code, as you are entitled to your own Hostess benefits!

Sign up to my newsletter here – http://eepurl.com/2if59

Hannah Wilks

Stampin’ Up! UK Independent Demonstrator


Big News…. It’s Your Birthday!

Big News being the name of the stamp set I’ve used here.

Stampin' Up! UK Big News Birthday card

I recently managed to order a second ink pad in this colour; Tempting Turquoise – very unlike me as I almost always consult my marked catalogue before ordering, in fact it didn’t even register as a colour I already owned until I tired to put it away! I keep all my inks in a Colour Caddy, in alphabetical order by colour family, so it was really easy to spot that I had managed to duplicate! Oops!

Anyway, the card. I just love the Big News stamp set, it has a great collection of useful sentiments for birthdays, weddings, and just being awesome! And so the ‘its your birthday’ is stamped in Tempting Turquoise, while the candles are in Pacific Point, coloured with Soft Sky, Pumpkin Pie and Rose Red Stampin’ Write Markers

A great, simple, birthday card. Perfect for those awkward men!


Shop Now button-001Join my team button-001

To purchase any of the items featured in my projects please use the links above. To join my team of Stampin’ Friends select ‘Join My Team’ or send me a message!

Please support StampinByHannah by using the Hostess code featured in the top right hand of my blog. For orders of over £150 please do not use this code, as you are entitled to your own Hostess benefits!

Sign up to my newsletter here – http://eepurl.com/2if59

Hannah Wilks

Stampin’ Up! UK Independent Demonstrator

Large Gift Bag Video Tutorial!

Hello! It’s finally Friday! I’m all set for a weekend of crafts and fun at Stampin’ Up! regional training tomorrow! I am so excited!

I love attending Stampin’ Up! events, they are always so much fun! And we always come away with heaps of inspirational ideas (as well as some free swag! Yay!)

Anyway, on with this weeks Friday Tutorial…..

I made this bag (and filmed it) back in February! I needed a bag quickly to gift a friend a bottle of her favourite tipple (a spirit that comes in a rectangular bottle) and came up with this.

Stampin' Up! UK large gift bag video tutorial

I apologise for the state of that photo, but they were just too tall to fit into my light box!

Measurements:

Designer Series Paper – 12 x 12″ (30.5 x 30.5 cm)

Score on the first side at 2 1/4″ (5.5 cm)

Score on the second side at 2 1/4, 5 1/4, 7 1/2 and 11″ (5.5, 13.5, 19 and 27 cm)


Shop Now button-001Join my team button-001

To purchase any of the items featured in my projects please use the links above. To join my team of Stampin’ Friends select ‘Join My Team’ or send me a message!

Please support StampinByHannah by using the Hostess code featured in the top right hand of my blog. For orders of over £150 please do not use this code, as you are entitled to your own Hostess benefits!

Sign up to my newsletter here – http://eepurl.com/2if59

Hannah Wilks

Stampin’ Up! UK Independent Demonstrator12

There is nothing in the Caterpillar….

That tells you it is going to be a butterfly, however, there are no Caterpillars in sight here, just beautiful butterflies!

Stampin' Up! UK Butterfly Basics die cut butterflyWe are just a few short weeks away from launching our brand new set of In-Colours, I thought I would use one of the current In-Colours – just to prove that I still love them! This is Blackberry Bliss, a gorgeous rich purple (I am still totally in love with this colour). I have to say, I have already seen the next set of In-Colours, and by the time you read this I will have them in my inky fingers, and I think they are great additions to our colour line. In-Colours stick around for 2 years, so Blackberry Bliss (and Hello Honey, Lost Lagoon, Mossy Meadow, and Tangelo Twist) is still around for another 12 months! Yay!

This card uses the Butterfly Basics bundle (that’s carrying over into the new Annual catalogue by the way!). The Butterfly is die cut from BlackBerry Bliss card stock, and Vellum, while the other elements are stamped in Blackberry Bliss ink onto Very Vanilla card stock.

So pretty, and really simple to stamp to!


Shop Now button-001Join my team button-001

To purchase any of the items featured in my projects please use the links above. To join my team of Stampin’ Friends select ‘Join My Team’ or send me a message!

Please support StampinByHannah by using the Hostess code featured in the top right hand of my blog. For orders of over £150 please do not use this code, as you are entitled to your own Hostess benefits!

Sign up to my newsletter here – http://eepurl.com/2if59

Hannah Wilks

Stampin’ Up! UK Independent Demonstrator


Stamp Thumping

Its Tuesday, Technique Tuesday! and I have a great technique for you this week!

Stamp Thumping

Now, I do not want you to go around hitting your stamps. Love them, treasure them, treat them well (clean them and condition them with Stampin’ Mist, please!) but this thumping technique is a great way to use your stamps with your Stampin’ Write Markers.

Stampin' Up! UK petal Potpourri

I love being about to get a variety of colour on one stamp. This technique works especially well with tree stamps (I think it would be gorgeous with Sheltering Tree or Lovely as a Tree), but I didn’t have any to hand, so I went with flowers instead. I adore this stamp, I love the whole set actually, Petal Potpourri is a great collection of flowers (and a doily) that coordinated with the fabulous Flower Medallion punch.

How to:

Select 3 colours of Stampin’ Write Marker – the image above uses Rose Red, Rich Razzleberry and Melon Mambo, whereas the video uses Crumb Cake, Soft Suede and Early Espresso

Make sure your stamp is clean (this is the step I missed! silly me!)

Select your lightest colour first, remove the cap from the brush top of your Stampin’ Write Marker and hold the marker near the cap of the opposite end between your index finger and your thumb.

Bounce (or thump) the side of the brush tip off of the stamp.

Repeat with other colour, misting the stamp with water lightly before stamping onto Whisper White card stock

Stampin' Up! UK stamp thumping technique tuesday


Shop Now button-001

Join my team button-001

To purchase any of the items featured in my projects please use the links above. To join my team of Stampin’ Friends select ‘Join My Team’ or send me a message!

Please support StampinByHannah by using the Hostess code featured in the top right hand of my blog. For orders of over £150 please do not use this code, as you are entitled to your own Hostess benefits!

Sign up to my newsletter here – http://eepurl.com/2if59

Hannah Wilks

Stampin’ Up! UK Independent Demonstrator

Stampin’ In Colour with Embossing Folders

Hi there! I shared this technique with you last week – Stamping with Embossing Folders – I made this card while I was playing around with the technique.

Stampin' Up! UK fun frames bouquet toss

I have been trying really hard not to use anything that is retiring – but I could not pass up the chance to use this stamp set just one more time! Bouquet Toss is one of my favourites from the retiring list this year. I have used it heaps, not just for wedding themed projects but also Thank You cards and my Swaps from the Stampin’ Up! Sale-a-bration events last year. Here is is stamped inside a frame stamped with one of the Fun Frames Embossing folders.

I urge you to check out the retiring list, there are loads of great stamp sets and accessory available with some amazing discounts, but remember that everything will leave us on 2nd June 2015!


Shop Now button-001Join my team button-001

To purchase any of the items featured in my projects please use the links above. To join my team of Stampin’ Friends select ‘Join My Team’ or send me a message!

Please support StampinByHannah by using the Hostess code featured in the top right hand of my blog. For orders of over £150 please do not use this code, as you are entitled to your own Hostess benefits!

Sign up to my newsletter here – http://eepurl.com/2if59

Hannah Wilks

Stampin’ Up! UK Independent Demonstrator

Everyday Occasions….

Stampin' Up! UK Retiring List 2015

I just wanted to pop in today and mention about one of my favourite retiring products, its not one I’ve ever really mentioned on the blog, but its one of the most useful things in the catalogue!

The Everyday Occasions Card Kit

Stampin' Up! UK everyday occasions

I love kits, have I mentioned that. I just love kits! They make creativity so easy; Take everything out of the packed, read the instructions, stick a few pieces together, and there you have a beautiful completed project! They are great for crafting in front of the TV, or taking on a plane (or camping, or a long car journey), or for a quick crafting session with a friend, or (and this is why I love this kit so much) a super quick and easy way to get 20 hand-stamped cards for – you guessed it – Everyday Occasions!

Stampin' Up! UK Everyday Occasions Congratulations

So, Everyday Occasions is on the Retiring List (I’m hoping it hasn’t gone before I finish this post and get it posted!), which means that its a limited supply, while stocks last, chance to get this great kit before it leaves us FOREVER!

Stampin' Up! UK Everyday Occasions Happy BirthdayIt comes complete with 7 stamps; Happy Birthday, Congratulations, Thinking of you, Thank You, For You, Made for You, and Love. As well as 2 Stampin- Spots (mini inkpads) in Basic Grey (another retiring item!) and Island Indigo, and a clear block to mount the stamps on!

Stampin' Up! UK Everyday Occasions Card stackSee, 20 cards, made in a flash! Did I mention that you get the envelopes for all these cards as well!
Stampin' Up! UK Everyday Occasions Happy Birthday mini

So, 20 cards with envelopes, 7 stamps, 2 Stampin’ Spots, a mountain of die cuts, bakers twine and Dimensionals! all for £26.95! Isn’t that the most awesome deal! I think so!

Stampin' Up! UK Everyday Occasions spares

And, have you seen this heap of stuff I had left over! I see even more cards in this piles future. Stampin' Up! UK Everyday Occasions Thinking of youHave I convinced you yet? I have good, go and grab it now before its gone for good!


Shop Now button-001Join my team button-001

To purchase any of the items featured in my projects please use the links above. To join my team of Stampin’ Friends select ‘Join My Team’ or send me a message!

Please support StampinByHannah by using the Hostess code featured in the top right hand of my blog. For orders of over £150 please do not use this code, as you are entitled to your own Hostess benefits!

Sign up to my newsletter here – http://eepurl.com/2if59

Hannah Wilks

Stampin’ Up! UK Independent Demonstrator

Freshly Made Sketches #185 – Vivid Vases

I’m still loving playing along at Freshly Made Sketches and this weeks sketch is awesome…

Freshly Made Sketches 185

This card took me a while, mainly because I took it in a completely different direction to start with! I stamped the Vivid Vases onto Whisper White card stock first, and started to colour it with my Stampin’ Write markers – but something just wasn’t right, and currently when something’s not quite right, where do I go? Water! well, water on Whisper White doesn’t really work, well, not as well as it does on Watercolour paper anyway. So, I started again, this time stamping on watercolour paper and using my Stampin’ Write Markers to watercolour the vases.

Stampin' Up! UK Vivid Vases Freshly Made Sketches

I used Bermuda Bay, Melon Mambo, Tempting Turquoise, Rich Razzleberry, and Marina Mist, to watercolour the vases, before using the same markers directly onto the paper to colour the flowers. I added some Pear Pizzazz for some added greenery before trimming and mounting onto some Dimensionals.

The two painted lines are from Work of Art, and are stamped in Bermuda Bay and Marina Mist. And I finished the card by stamping the sentiment from Vivid Vases using Memento Black ink


Shop Now button-001Join my team button-001

To purchase any of the items featured in my projects please use the links above. To join my team of Stampin’ Friends select ‘Join My Team’ or send me a message!

Please support StampinByHannah by using the Hostess code featured in the top right hand of my blog. For orders of over £150 please do not use this code, as you are entitled to your own Hostess benefits!

Sign up to my newsletter here – http://eepurl.com/2if59

Hannah Wilks

Stampin’ Up! UK Independent Demonstrator