 Its that time again, I am so excited to see what everyone has made based on the sketch this month! I have chosen to use some Designer Series Paper that is on the retiring list and will sadly leave us on 31st May, but I am sure that some of the girls will show me some sneaky peaks of new products, and I cannot wait!

This months awesome Sketch is brought to us by Kathleen from lilypopcrafts.

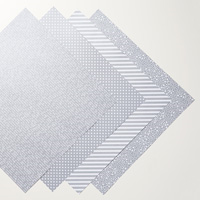
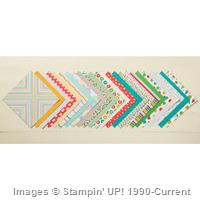
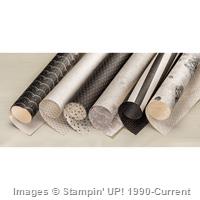
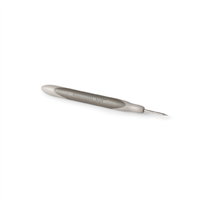
My challenge with this sketch was the diagonal element. I selected the Designer Series Paper – English Garden – based on the flowers on the sketch, but new I didn’t want to cut the corner off my paper. I had a little play around with the paper before coming up with this paper curl idea. I curled the Designer Series Paper around my paper piercer (you could use a pencil or a paint brush, anything round would work to be honest) and held the curl with a few Mini Glue Dots.
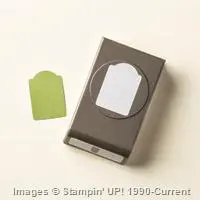
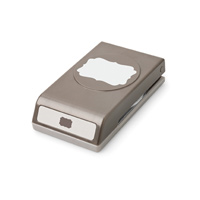
The Happy Birthday is from the Tin of Cards stamp set, and fits perfectly into the Decorative Label punch. I really wanted to create a boarder around the sentiment, and so cut apart a further 2 decorative label punch pieces (in Melon Mambo) to create a boarder.
 Once I had created the card I realised that it wouldn’t fit in a standard envelope, and so grabbed another piece of the same Designer Series paper and my Envelope Punch Board to create custom envelope.
Instructions:
Designer Series Paper – 8 7/8 x 8 7/8″ (I’m sticking to Imperial Measurements today, because I find them easier on the Envelope Punch Board)
Punch and Score on the first side at 3 3/8, and on the same sideat 4 1/8″
Rotate the paper by 90 degrees, line up the previous score lines with the marker on the punch board, punch and score. Repeat on all four sides.
Fold and burnish on the score lines, to create your envelope
 I completed the envelope with a belly band of Night of Navy card stock (26 x 5 cm, Scored on the long side at 11, 12.5, 23.5 and 25 cm). The sentiment is heat embossed in white, and the flowers and butterfly are taken from the Garden in Bloom Stamp set.
Thanks so much for visiting StampinByHannah today, don’t forget to subscribe to my blog and Weekly Inspiration Email! and hop on to the next blog in our challenge


Don’t forget to shop using the Code Club Code to receive some great FREE product!
BZNJV4Y4
I will be closing this order on the 30th May 2016
Product List


To purchase any of the items featured in my projects please use the links above. To join my team of Stampin’ Friends select ‘Join My Team’ or send me a message!
Please support StampinByHannah, and join my Code Club, by using the Hostess code featured in the top right hand of my blog. For orders of over £150 please do not use this code, as you are entitled to your own Hostess benefits!
Sign up to my newsletter here – http://eepurl.com/2if59
Hannah McCurley
Stampin’ Up! UK Independent Demonstrator


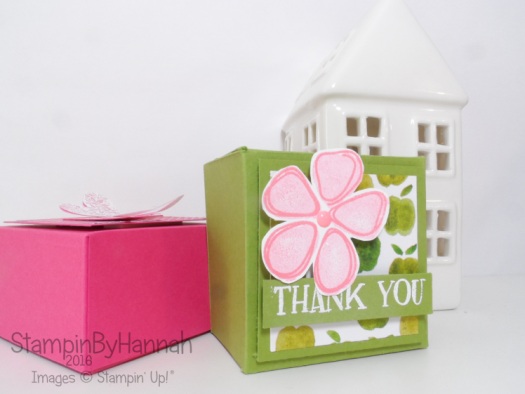
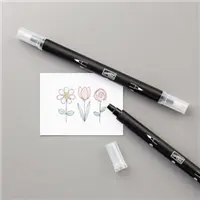
 The flower is taken from the Fresh Fruit stamp set. I’m totally loving the 2-step stamping effect of this stamp set, with the solid layer stamped off once before stamping on the project for a lighter tone, and the outline image stamped at full strength. I’m also enjoying this colour combination; Flirty Flamingo and Old Olive, very fresh – great for Summer (if it ever arrives!)


 These are so super simple to do. I used the paint strokes stamp from Work of Art and inked it up, and stamped it four times down a piece of Whisper White card stock without re-inking it. This creates a great gradient effect, and is a great demonstration of the number of times you can generation stamp with Stampin’ Up! inks. I selected four colours: Island Indigo, So Saffron, Old Olive and Watermelon Wonder. The So Saffron didn’t work quite as well as the others, but I still love the card
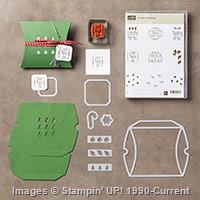
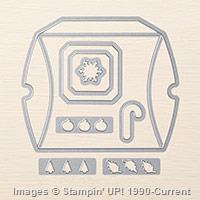
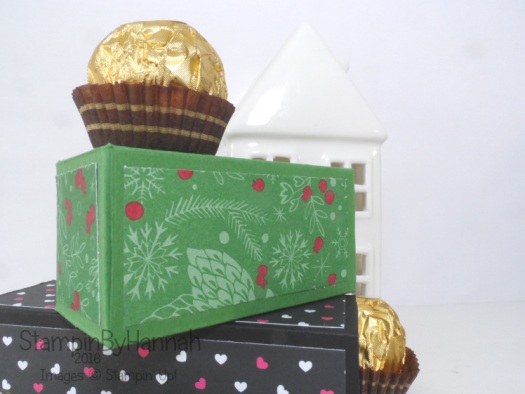
 These cards would make a great gift, and so I also created this awesome box to hold them and their envelopes too!