Butterfly Basics – January Thanks!

I love sending thank you notes to customers, and I try to make a different card each month.

For those lovely ladies who shopped with me in January, these are the cards that should be sat on your shelves!

I have to give credit to Brandy Cox who I have CASE’d this idea from. She did a fab 10 cards in 20 minutes video based around this set. Lovely!

Stampin' Up! UK butterfly Basics thank you

I send cards out at the end of each month, and theses went out last week.

I used a Pool Party card base (have an A4 sheet cut in half, folded in half), with a piece of Whisper White for stamping.

The stamp set used here is Butterfly Basics, it is so pretty! saying that I haven’t included a butterfly! The ferns are triple stamped in Pear Pizzazz, with the other elements stamped in Crumb Cake.

The ‘Thank You’ sentiment is taken from Crazy About You.


Hannah Wilks

Stampin’ Up! UK Independent Demonstrator

If you like the project, or any of the products used, would like a catalogue, or to join my team, please contact me, or click on the ‘Shop NOW’ button at the top of the page. You can also find me on Twitter, Facebook, YouTube, Google+, About.me, and Tumblr (Links in the sidebar)

Sign up to our newsletter here – http://eepurl.com/2if59

Thank you for stopping by www.www.stampinbyhannah.co.uk today

x


Sale-a-bration on Sunday – Project Life edition!

I love Project Life, I have written several times about my 2015 Project Life album, and I’m also using the Project Life system to document my wedding.

Project Life is a scrapbooking system from Becky Higgins, brought to us by Stampin’ Up! In both the Annual and Spring/Summer catalogues there are larger Project Life kits, with coordinating accessory packs and stamps. But we also have a great 30 card pack as one of our Sale-a-bration Freebie choices! awesome!

Now, although I love doing Project Life, I also love being able to get several projects from any item I buy! and so I love using Project Life cards for cardmaking

Stampin' Up! UK sale-a-bration Project Life

This card collection features a range of lovely colours and patterns, and is themed around fun days and summer activities.

I trimmed a 6 x 4 card to fit the front of my card, and added a 3 x 4 card with dimensionals. I did pre-stamp the 3 x 4 card using Perpetual Birthday Calender and a sentiment from Painted Petals, adding a trio of jewels to finish.


Sale-a-bration is the biggest Stampin’ Up! sale of the year – not only can you choose a FREE item (from a selection) for every £45 spend, but you can earn more Hostess Credits by holding a party, AND get some great free items by choosing to become a demonstrator!


Hannah Wilks

Stampin’ Up! UK Independent Demonstrator

If you like the project, or any of the products used, would like a catalogue, or to join my team, please contact me, or click on the ‘Shop NOW’ button at the top of the page. You can also find me on Twitter, Facebook, YouTube, Google+, About.me, and Tumblr (Links in the sidebar)

Sign up to our newsletter here – http://eepurl.com/2if59

Thank you for stopping by www.www.stampinbyhannah.co.uk today

x

Fancy Fold Friday – TeePee Card

I’ve seen a lot of this card on various facebook groups recently, and I had to have a go at making one.

When I had a look through Pinterest looking at this type of card, I found two methods of making it. I prefer the method I will demonstrate here, I have tried it both ways.

Stampin' Up! UK TeePee cardThe other way is to cut 3 squares of cardstock, and fold diagonally in half. Apply glue to one half of each square, and stick them together. You should end up with a sort of chain of square that wrap around to form the TeePee.

Stampin' Up! TeePee card Sale-a-bration

Here I have used Basic Black cardstock, and the Best Year Ever Sale-a-bration designer series paper, and Pink Pirouette with the same DSP.

The stamp is from Big Day, another Sale-a-bration, offering, and is punched out using the Extra-large Oval punch.

Measurements:

Cardstock – 8 1/4 x 5 3/4″

Score on the long side at 4 1/8″ and fold, as if creating a standard fold card

place this folded card base onto the Simply Scored with the short side at the top, scoring at 4 1/8 down to approximately 2 1/2″

Cut this score line, and then cut from the end of that line to the bottom corner of the card – forming a triangle.

Open the card out, score from the middle score line to the outer bottom corner on both sides

DSP = 3 3/4″ x 3 3/4″, cut into two triangles


Hannah Wilks

Stampin’ Up! UK Independent Demonstrator

If you like the project, or any of the products used, would like a catalogue, or to join my team, please contact me, or click on the ‘Shop NOW’ button at the top of the page. You can also find me on Twitter, Facebook, YouTube, Google+, About.me, and Tumblr (Links in the sidebar)

Sign up to our newsletter here – http://eepurl.com/2if59

Thank you for stopping by www.www.stampinbyhannah.co.uk today

x


Indescribably Amazing!

As a Stampin’ Up! demonstrator one of the perks is getting to order from new catalogues before anyone else. With the launch of the latest Spring/Summer catalogue, demonstrators got to order all the new goodies during December. Which I of course took full advantage of! but there are always stamps that we skip over the the catalogue. This time around it was Indescribable Gift, a great stamp set designed for Easter cards, but I totally didn’t see it! That was until it started to pop up in my Pinterest feed!

Wow, this set if gorgeous! and works wonderfully with the latest release of Blendabilities.

Stampin' Up! UK Indescribable gift

I love colouring with my Blendabilities, but I wasn’t feeling like an afternoon of playing with my alcohol markers when I made this card. Saying that, I did stamp it in Momento Black Ink, more because it’s a great black ink than its compatibility with alcohol markers. I’d stamped it once (for the very first time actually) and it hit me again how beautiful it is all over again! and made the decision to fill the cardstock with it – making my own Designer Series Paper!

I trimmed the piece to 1cm shorter and narrower than my card base, and cut a matt of Basic Black cardstock to 0.5 cm shorter and narrower than my card base.

Then I set off to find a sentiment! I have to say Painted Petals contains my favourite sentiments of the moment, I adore the mix of fonts. You Are Amazingly Amazing fits perfectly into the Extra-Large Oval punch. Stamped in Lost Lagoon, and edges sponged.

I did consider adding some bling, but I decided not too this time (I know, its shocking!) to let that beautiful floral print do all the talking!


Hannah Wilks

Stampin’ Up! UK Independent Demonstrator

If you like the project, or any of the products used, would like a catalogue, or to join my team, please contact me, or click on the ‘Shop NOW’ button at the top of the page. You can also find me on Twitter, Facebook, YouTube, Google+, About.me, and Tumblr (Links in the sidebar)

Sign up to our newsletter here – http://eepurl.com/2if59

Thank you for stopping by www.www.stampinbyhannah.co.uk today

x

Mini Egg Basket

Ok, so I have a confession to make. I am a chocoholic! and seeing as I am currently on the biggest Wedding diet of the Century my chocolate intake is very very limited! So, I’m making boxes and bags to put chocolate in instead! lol, have to get my fix somewhere!

So, this is my Mini-Egg basket

Stampin' Up! UK Mini Eggs Basket Easter Sale-a-bration

It’s it cute! I love it! Not only is it adorable in the Best Year Ever Designer Series Paper (part of Sale-a-bration) but its super quick to make, AND they fold flat for storage! awesome!

Measurements:

Designer Series Paper = 6 x 5″

Score on the long side at – 1/2, 1, 2 1/2, 3 1/2, 5 and 5 1/2″

Score on the short side at – 1 and 4″

To enable this basket to fold flat you need to create some extra score lines. Holding the paper with the long side at the top, fold the two horizontal scores in wards. The two score lines in the centre need to fold to meet the score lines you have just folded. The video shows this better than I can explain it.


The basket when assembled holds 6-9 Mini Eggs, yum!


Hannah Wilks

Stampin’ Up! UK Independent Demonstrator

If you like the project, or any of the products used, would like a catalogue, or to join my team, please contact me, or click on the ‘Shop NOW’ button at the top of the page. You can also find me on Twitter, Facebook, YouTube, Google+, About.me, and Tumblr (Links in the sidebar)

Sign up to our newsletter here – http://eepurl.com/2if59

Thank you for stopping by www.www.stampinbyhannah.co.uk today

x

Happy Blooming Birthday

I always have a stack of birthday cards pre-made and ready to send, well, I say I do, but recently my birthday card stash has dwindled and so I’m now in desperate need of making more! I love a simple card, simple cards are my thing. Every now and again I will make a more complex card for a special person or occasion, but more often than not my cards are simple.

So, I needed some more birthday cards this week, and chose to use the Flower Patch stamp set and coordinating dies

Stampin' Up! UK flower patch birthday

This card uses a piece of Strawberry Slush as the card base, and Very Vanilla as my stamping piece.

I stamped and die cut the flowers a few weeks ago, while I was playing around with the stamps, but I had no use for them. I do this quite regularly, I’ll get a new stamp set and play around with it, different colours and cardstocks, to get a feel for it. This time I also die cut the flowers, seeing as I was testing out the dies too! I just store all the die cut pieces in the box with the stamps until I find a use for them.

So I pulled this stamp set off the shelf and these flowers fell out! I had another play around with them, and found this cute arrangement.

The leaves are from the Crazy About You stamp set, and are stamped in In Colour – Pistachio Pudding Stampin’ Write Marker. When I joined Stampin’ Up! the latest set of In-Colours had just been released, and so I didn’t purchase the existing ones as they only had 12 months left (even less now), but then the Stampin’ Write markers turned up on a Weekly Deal! I love my markers – they are a great way of getting all the Stampin’ Up! ink colours without having to spend all that cash to get all the ink pads all at once. Once I had the markers, I needed some cardstock to match, so I picked up the 2013-2015 In Colour Cardstock. I love the cardstock multi-packs, its so handy being about to get all the colours of cardstock for a particular colour family for a £8.95.

Sorry, off on a ramble again!

The flowers are 3 layer stamped in Pink Pirouette, Blushing Bride, and Strawberry Slush. The Sentiment is also from Flower Patch is and stamped in Strawberry Slush too.

Instead of leaving all the flower flat to the card I needed a bit of dimension, and added dimensionals to 2 of the 5 flowers to give some lift.

What do you do when you get a new stamp set?


Hannah Wilks

Stampin’ Up! UK Independent Demonstrator

If you like the project, or any of the products used, would like a catalogue, or to join my team, please contact me, or click on the ‘Shop NOW’ button at the top of the page. You can also find me on Twitter, Facebook, YouTube, Google+, About.me, and Tumblr (Links in the sidebar)

Sign up to our newsletter here – http://eepurl.com/2if59

Thank you for stopping by www.www.stampinbyhannah.co.uk today

x

Sale-a-bration on Sunday – How to Stamp the Lotus Blossom

I’m loving the selection of Sale-a-bration items this year! So many stamps to choose from, let alone the Designer Series paper, Accessory pack, Project Life, or the great selection of Blendabilities!

This week I decided not to make a card but that I would show you how I stamp the Lotus Blossom instead.

Stampin' Up! UK Lotus Blossom how to stamp

This is a great stamp, its really lovely. But as its a 3 step technique it can be a little tricky to get right. Stampin’ Up! have kindly not only numbered them in the order to stamp, but also provided us with an arrow to help us get the stamps lined up together.

I have tried a number of different variations of this stamp, and personally prefer to stamp the first two stamps in the same ink (stamping off once for the second stamp), before changing to a different ink for the 3rd and most solid stamp. But it really is personal preference.

Stampin' Up! lotus Blossom

These are just a selection of the combinations I have tried. I have to say, although purples are my favourite, I wasn’t over keen on the Elegant Eggplant / Perfect Plum combinations of the blossoms on the left. The first one I felt was too dark, I did try again, stamping off the Perfect Plum once for my final layer, but I’m still not all that fussed. The blue blossom on the other hand is lovely! Stamped in Marina Mist and Soft Sky (definitely a favourite colour combination of late, have you noticed the new look here by the way!) while the yellow version uses Daffodil Delight and Crushed Curry.

I have to say as well that this is one of my favourite things about Stampin’ Up! being about to try out loads of different colour combinations, this is one of the times I pull out my Colour Coach. On the back of each card is a complimentary colour, so you (almost) always have a colour combination for a great tone-on-tone look – great for stamping the Lotus Blossom!

I know there are loads of tutorials and demonstrations available on the many ways to use the Lotus Blossom, I think I will try getting all 3 layers with one ink pad next.


Don’t forget Sale-a-bration runs from the 6th of January through to the 31st of March – and you can choose a free item with each £45 spent! Which means that if you spend £90 you can choose 2 items! How awesome! You can find the Sale-a-bration product HERE


Hannah Wilks

Stampin’ Up! UK Independent Demonstrator

If you like the project, or any of the products used, would like a catalogue, or to join my team, please contact me, or click on the ‘Shop NOW’ button at the top of the page. You can also find me on Twitter, Facebook, YouTube, Google+, About.me, and Tumblr (Links in the sidebar)

Sign up to our newsletter here – http://eepurl.com/2if59

Thank you for stopping by www.www.stampinbyhannah.co.uk today

x


Project Life – Week 3

Stampin' Up! UK Project life by Stampin Up PLxSU blog hopWelcome to another Project Life Blog Hop!

I know its a short hop this month, but we are hoping that over the coming months this will grow. I love Project Life, its a great way of documenting both important events, as well as the every day occurrences. This year, my wedding year, I am hoping to complete a full Project Life, with a page for each week. I hope that this monthly hop can help keep me on track, as well as giving you some inspiration and ideas.

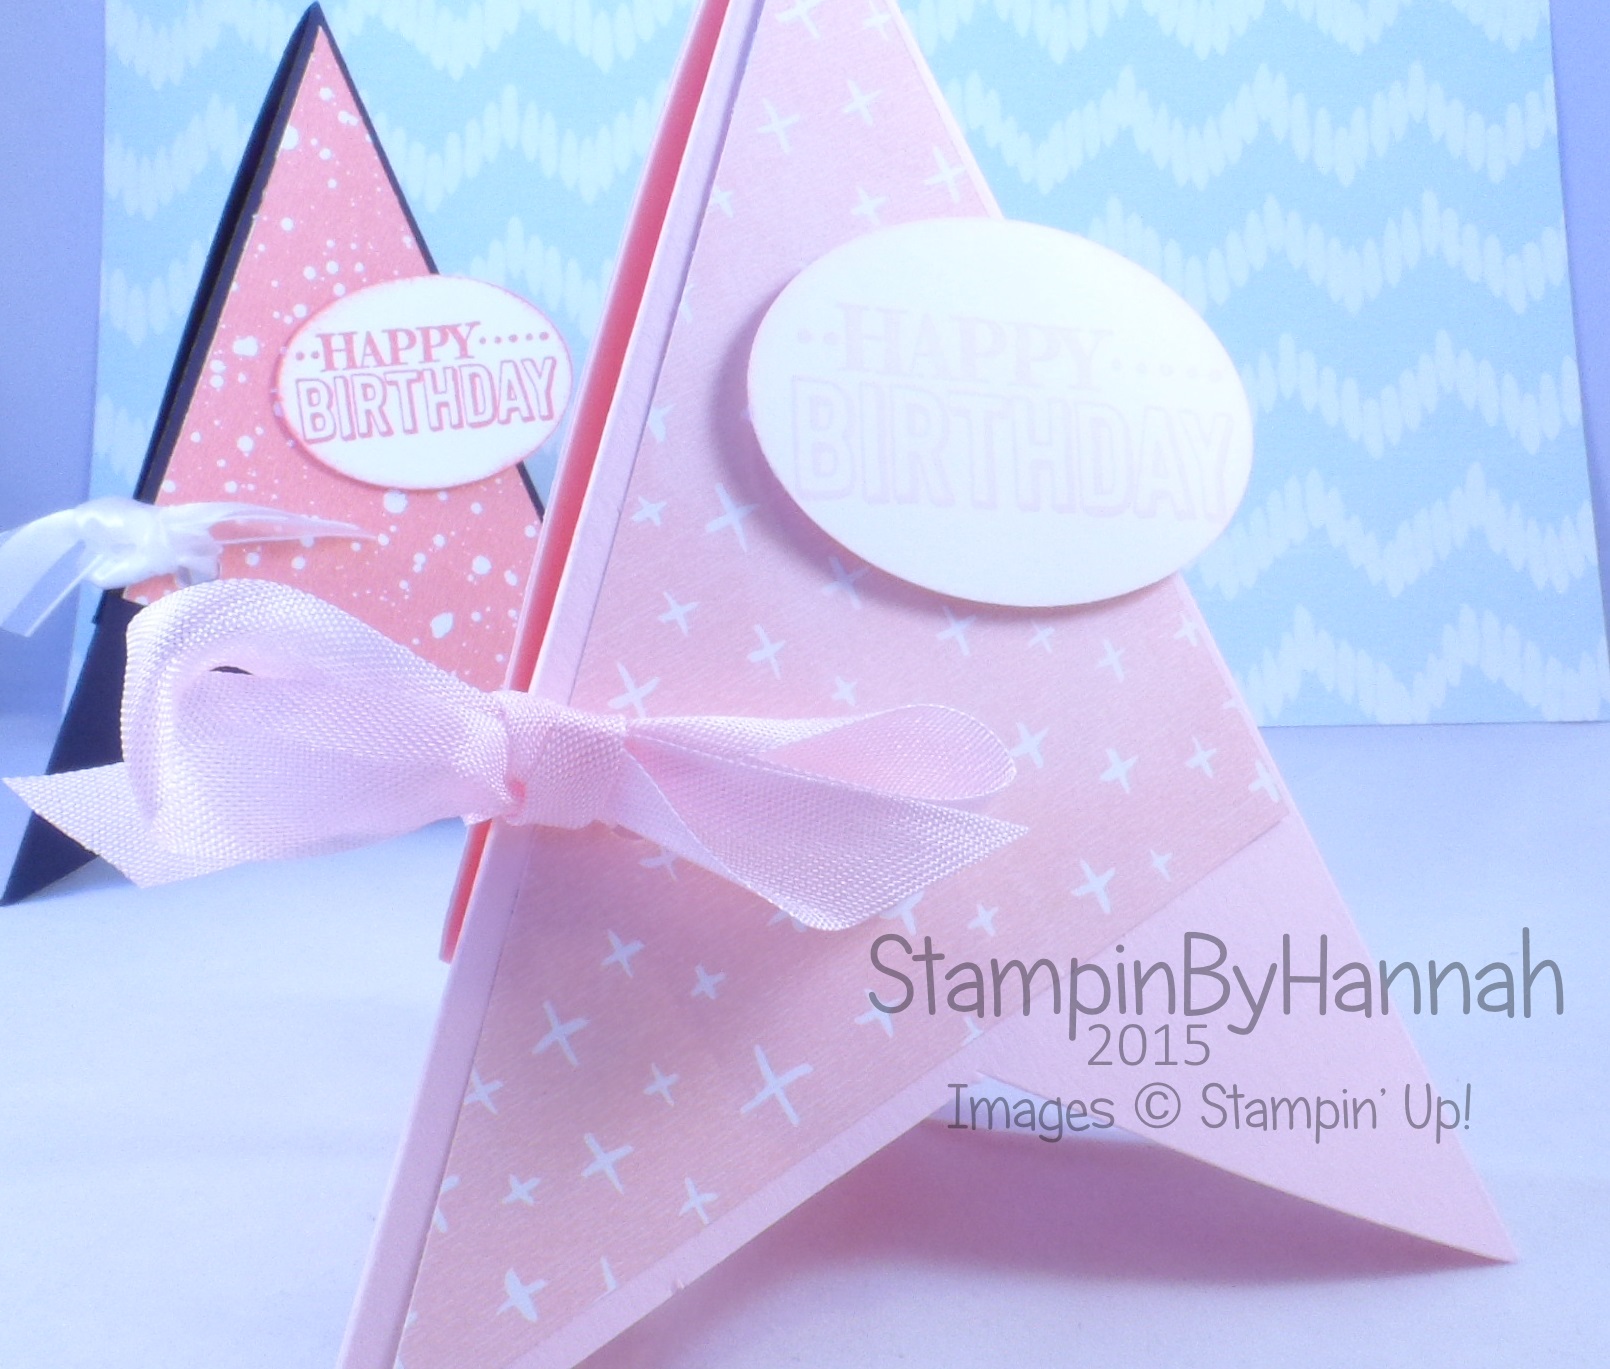
I decided to use the Sale-a-Bration This Day Project Life Mini Card Collection for this short week of my Project Life.

I work a strange schedule in my day job, doing 5 11 hour shifts one week and 2 the next. This means that I do very little other than work every other week, and guess what, Week 3 was one of those weeks! Still, with trying to loose some weight and slim down ready for this Wedding in August Me and James went for a 7.5 mile walk one day, and as such giving me something for the PL album week 3! Stampin' Up! UK Project Life sale-a-bration

I love the Project Life style of documenting. It allows you not only to document the big things in life; birthdays, weddings, births etc. but also it makes documenting the every day really easy. I wouldn’t have made a 12 x 12 page layout of us going for a walk, but a few pockets of Project Life is super simple.

Some weeks I do a lot of embellishing, some weeks less, and seeing as I don’t have much of a story for this week I haven’t embellished very much either. But this is one of the greatest things about Project Life – it doesn’t matter, you do as much as you like, as much embellishing, as much journalling, or just use photos, and it still looks awesome!

The Big Day Project Life Mini Card Collection is one of the Sale-a-bration offerings this year. It contains 30 cards, both 6 x 4 and 3 x 4, with a range of summery patterns and journalling cards. As I have mentioned before one of the many awesome things about Stampin’ Up! is the coordination between products, and this card collection is no exception, using Stampin’ Up! colours; Coastal Cabana, Daffodil Delight, Island Indigo, Rich Razzleberry, and Tangerine Tango.

Stampin' Up! UK Sophisticated Serifs  Project Life

I always make a title card for each spread in my Project Life album. I will often use stickers, seeing as I have quite a collection of Thickers from my previous life as a 12 x 12 scrapbooker. But today I have opted to use stamps! In particular a new set of Alphabet stamps from the Spring / Summer catalogue – Sophisticated Serifs, stamped in Rich Razzleberry to tie into the other cards in the layout.

As part of my title card this week I have also explained way there aren’t very many pictures of this week, and what the photographs are of. I love doing this, a kind of weekly round up.

Stampin' Up! UK Project Life

Please support the other blog hoppers today :

Carmelita Wasson – Www.carmenacita.blogspot.com
Hope to see you again here next month!

Hannah Wilks

Stampin’ Up! UK Independent Demonstrator

If you like the project, or any of the products used, would like a catalogue, or to join my team, please contact me, or click on the ‘Shop NOW’ button at the top of the page. You can also find me on Twitter, Facebook, YouTube, Google+, About.me, and Tumblr (Links in the sidebar)

Sign up to our newsletter here – http://eepurl.com/2if59

Thank you for stopping by www.www.stampinbyhannah.co.uk today

x

Fancy Fold Friday – Double Diamond

So, a few weeks ago I asked for any requests for fancy fold cards (any further suggestions most welcome, by the way!) and one of my lovely downline suggested a Double Diamond Fold – So Kathryn this is for you!

Stampin' Up! UK Double Diamond Fold Card I Like You


When I initially looked at this card, I did think ‘oh dear, that looks awfully complicated’ but really its quite simple, just folding the cardstock – no cutting involved!

I have used the I Like You Hostess Stamp set for this card, coloured with 4 of the lightest Blendabilities – Coastal Cabana, Old Olive, Rich Razzleberry, and Pumpkin Pie. I love this way of using my Blendies – really its just line colouring, and you could just as easily use the Stampin’ Write Markers. Using the stamped image as a guide, use your markers to add lines of colour, it just gives that hint of a shade rather than going for a full blended coloured look.

Measurements:

Cardstock = 10 x 4″

Score on the long side at 2 and 8″ making marks at 4 and 6″ on both sides

Score on the short side at 2″ before turning back to the long side, and marking the card stock on that 2″ horizontal score line at 3 and 7″

Then using a ruler and stylus (or ball tool) join the marks to form a diamond shape in the centre of the cardstock – the marks at 4″ should join with the 3″ mark, and the marks at 6″ should join the 7″ mark

Fold the cardstock from the left hand side; mountain fold, valley fold, valley, mountain.

Holding the edges of the cardstock push the edges together and the card should form!

Magic

In addition to the originally piece of cardstock you will need 2 pieces of coloured card measuring 1 /34 x 1 3/4″ and a piece measuring 2 3/4 x 2 3/4″

For stamping you will need 3 pieces of Whisper White; 1 measuring 2 1/2 x 2 1/2″ and 2 measuring 1 1/2 x 1 1/2″


Hannah Wilks

Stampin’ Up! UK Independent Demonstrator

If you like the project, or any of the products used, would like a catalogue, or to join my team, please contact me, or click on the ‘Shop NOW’ button at the top of the page. You can also find me on Twitter, Facebook, YouTube, Google+, About.me, and Tumblr (Links in the sidebar)

Sign up to our newsletter here – http://eepurl.com/2if59

Thank you for stopping by www.www.stampinbyhannah.co.uk today

x

A Painted Thank You.

I recently took delivery of all the stamps for the rest of my Classes and Workshops from now until June, and this stamp set was amongst my haul!

Having trawled through Pinterest a few weeks ago I knew I loved the images of this set, but when it actually came time to use it, I was stumped. The floral images are so pretty, but I wanted to use the less obvious stamps within the set, the dots and lines, rather than the bold flowers.

Stampin' Up! UK Painted Petals Thank you

Over the weekend I had a Crafty Crop, attended by my lovely downline, Kathryn. And I grabbed Painted Petals out for another card (coming soon!), but while it was on the desk I took the opportunity to have a little play with the stamps. I regularly do this when I have little or no inspiration, I just grab the stamps and some inks and just stamp – no plan, no card in mind, just stamping.

So the colours I picked up this time where Blackberry Bliss, Hello Honey, and Smoky Slate. What a lovely selection I don’t think I’ve used before. Stamping onto Very Vanilla for a softer look, I came up with this simple Thank You card. Isn’t it lovely


Hannah Wilks

Stampin’ Up! UK Independent Demonstrator

If you like the project, or any of the products used, would like a catalogue, or to join my team, please contact me, or click on the ‘Shop NOW’ button at the top of the page. You can also find me on Twitter, Facebook, YouTube, Google+, About.me, and Tumblr (Links in the sidebar)

Sign up to our newsletter here – http://eepurl.com/2if59

Thank you for stopping by www.www.stampinbyhannah.co.uk today

x