Fancy Fold Friday – Twisted Easel Card

Have you got that Friday feeling?! I do! and if its Friday, it can only mean one thing around here! Time for another Fancy Fold!

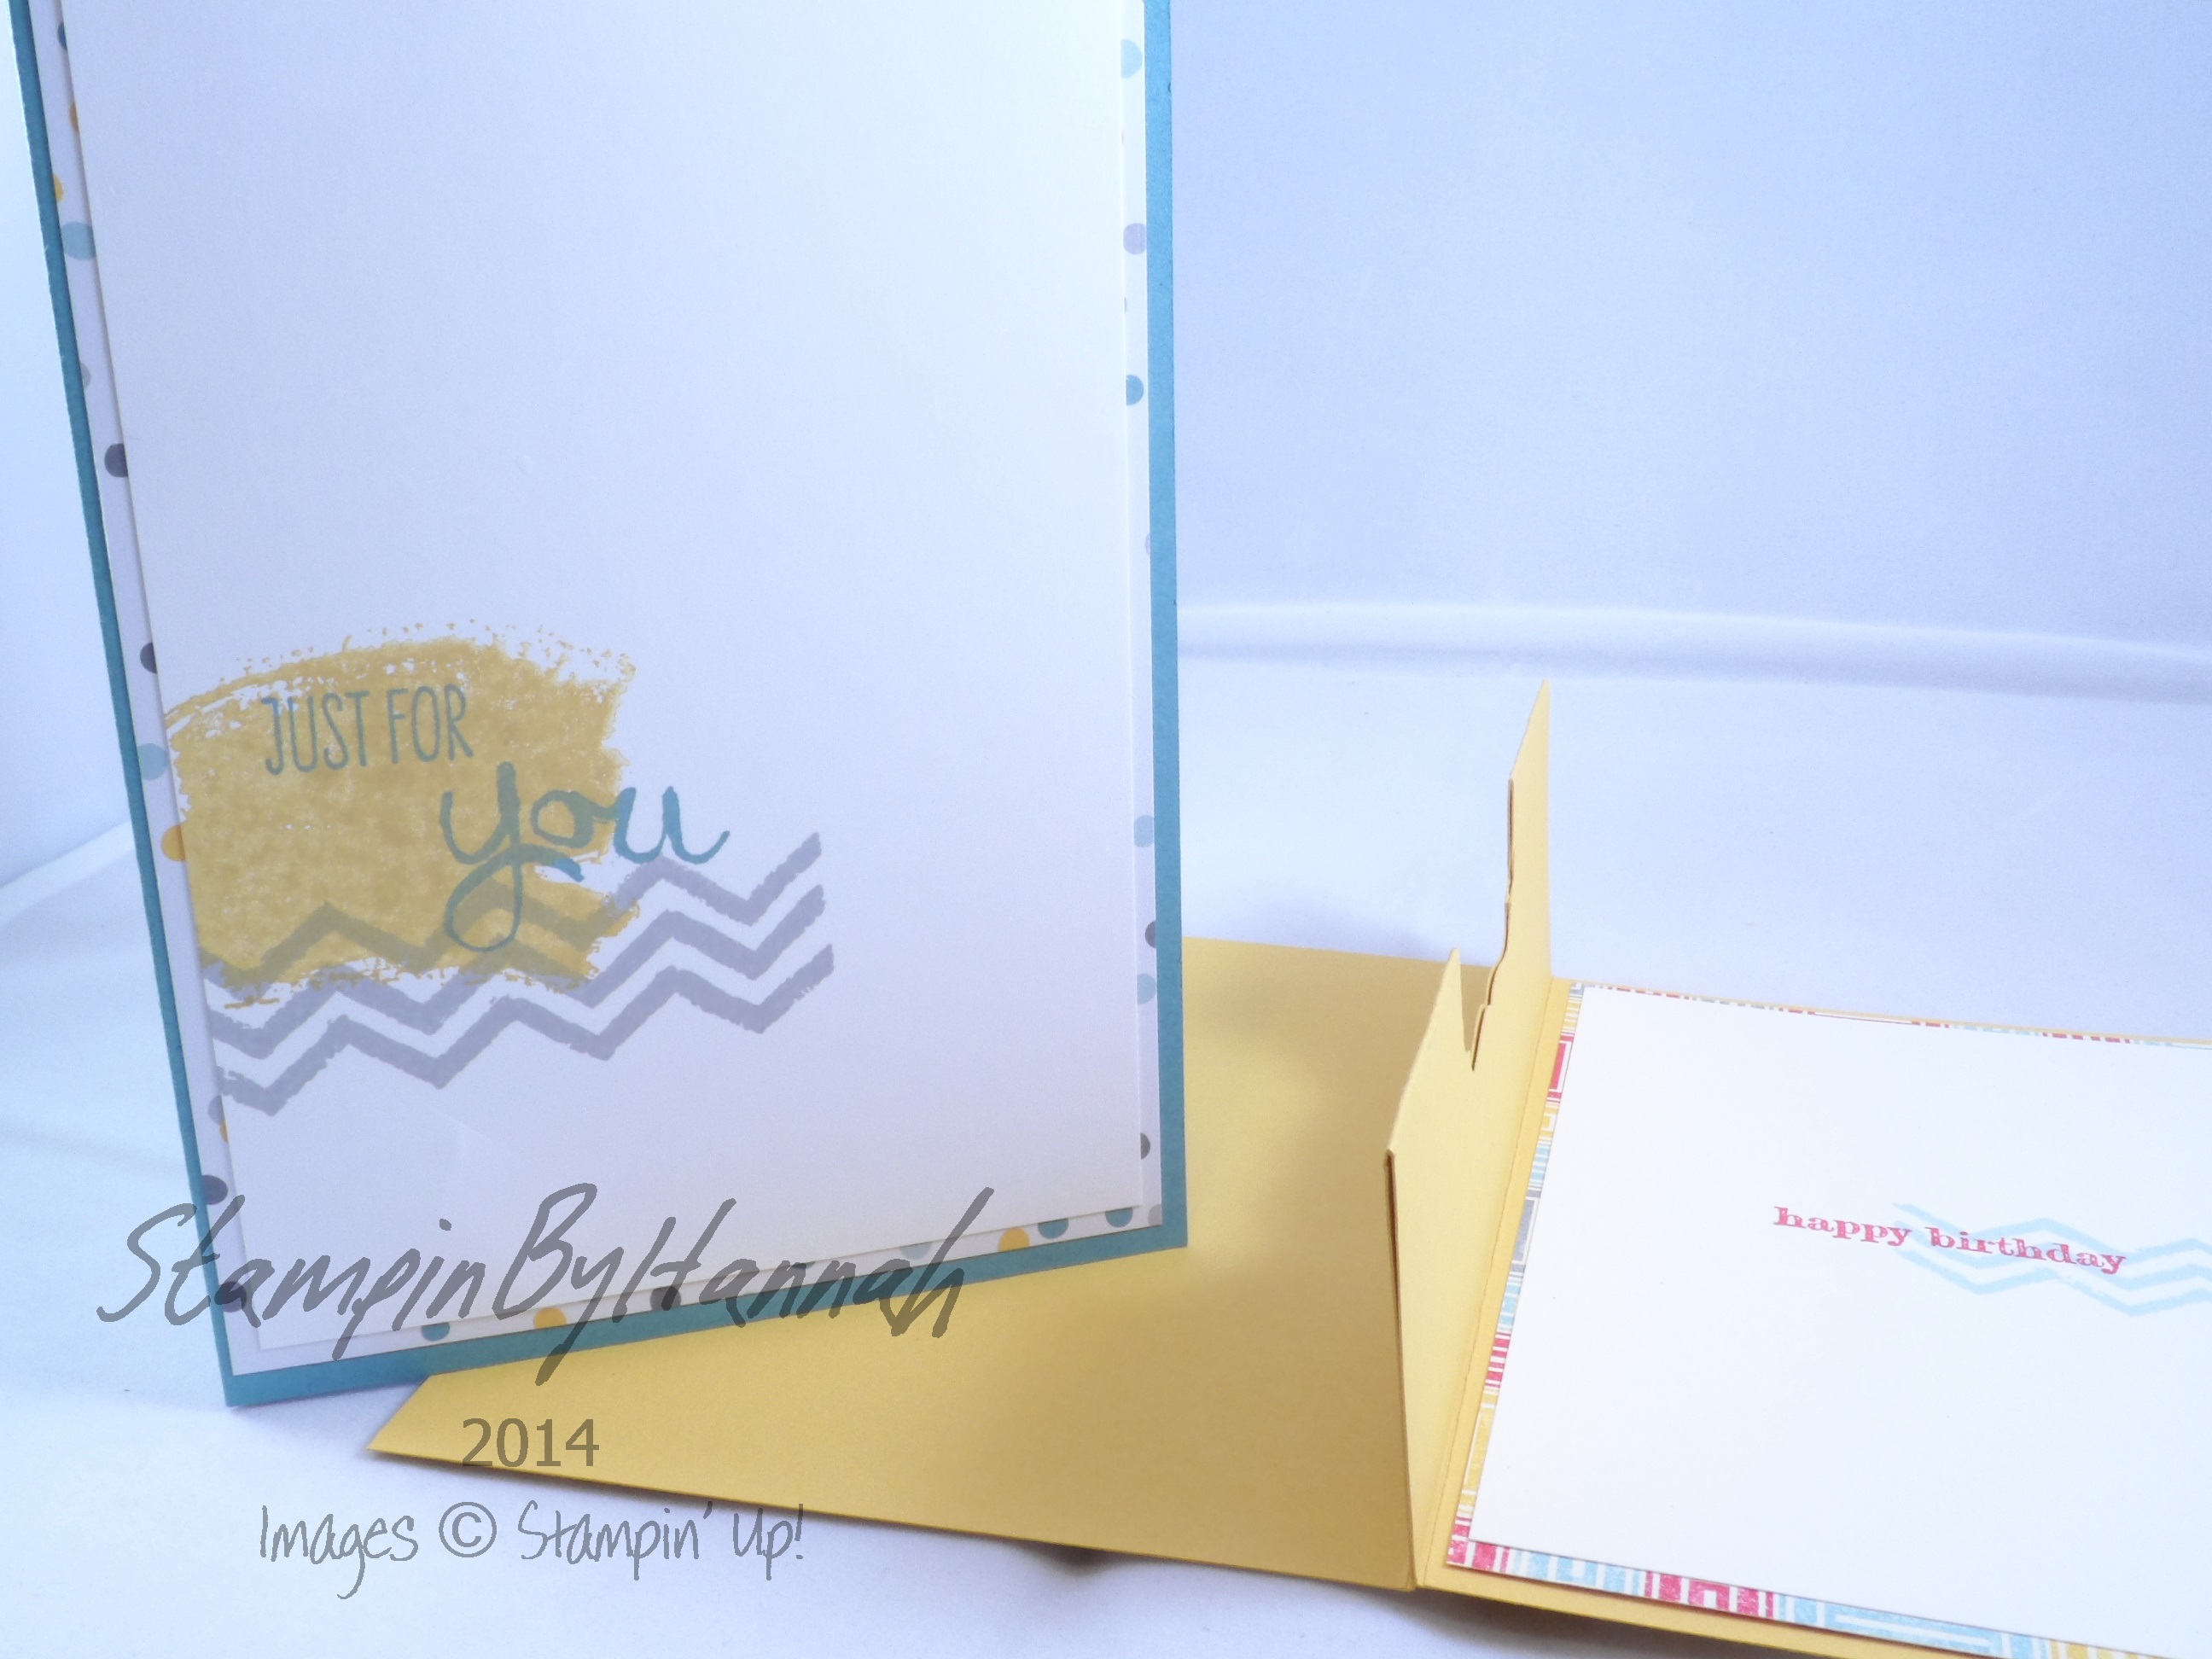
This week I have kept it simple and made a Twisted Easel card, using that lovely Butterfly Basics stamp set and the coordinating Butterflies Framelits dies.

Stampin' Up! UK Twisted Easel Card Butterfly Basics In Collours

I absolutely LOVE the latest selection of In Colours; Blackberry Bliss, Lost Lagoon, Hello Honey, Mossy Meadow, and Tangelo Twist, and so have selected 3 of them to use on my Fancy Fold card this week.

No one wants to watch my pick all the pieces out of these butterflies so I pre-cut them for filming purposes, but I wanted to share with you how pretty they are and how well they cut using the Big Shot! There are loads of YouTube tutorials out there already showing you how to get the best from these dies, so for now I’ll stick to having them pre-cut and ready to show you.

Measurements:

Cardstock – 12 x 6″ (30 x 15 cm)

Score on the long side at 6″ (15 cm)

Score a diagonal line from the top corner of one side of your cardstock to the bottom of the central score line. Fold and Burnish all the score lines well (this is the trick to this card)

Mat = 5 3/4 x 5 3/4″ (14.5 x 14.5 cm)

Layer – 5 1/2 x 5 1/2″ (14 x 14 cm)


Hannah Wilks

Stampin’ Up! UK Independent Demonstrator

If you like the project, or any of the products used, would like a catalogue, or to join my team, please contact me, or click on the ‘Shop NOW’ button at the top of the page. You can also find me on Twitter, Facebook, YouTube, Google+, About.me, and Tumblr (Links in the sidebar)

Sign up to our newsletter here – http://eepurl.com/2if59

Thank you for stopping by www.www.stampinbyhannah.co.uk today

x


Fancy Fold Friday – Box Card

Welcome to another Fancy Fold Friday.

This card is the result of a conversation I had a few weeks before Christmas with one of my Stampin’ Up! Pootles team mates. She had spotted this card, and could find what it was called or a tutorial for it. What followed was a quick mess around with some copy paper (a disaster by the way) and a quick hunt on Pinterest. We found this tutorial, and I just knew I had to do my own version; I have altered the measurements in order to fit the card into a C6 envelope.

Stampin' Up! UK Box Card Video Tutorial


The card above uses Elegant Eggplant cardstock, with the Something Borrowed Designer Series Paper and stamps from Your Perfect Day.

I’m sorry, but I haven’t currently got the metric measurements of this card. I have tried but I wasn’t very successful. So its imperial only for the time being.

Measurements:

Cardstock = 8 1/4 x 10!

Score on the Long Side at – 2, 3 1/2, 6 1/2, and 8″, marking the cardstock at 5″

Score on the Short Side at – 1 1/2 and 6 3/4″

Score triangles from the 5″ marks to the points where the score lines meet.


Hannah Wilks

Stampin’ Up! UK Independent Demonstrator

If you like the project, or any of the products used, would like a catalogue, or to join my team, please contact me, or click on the ‘Shop NOW’ button at the top of the page. You can also find me on Twitter, Facebook, YouTube, Google+, About.me, and Tumblr (Links in the sidebar)

Sign up to our newsletter here – http://eepurl.com/2if59

Thank you for stopping by www.www.stampinbyhannah.co.uk today

x

Fancy Fold Friday – Twist Turn Card Video Tutorial!

Welcome to another Fancy Fold Friday! This week I am re-visiting a previous project as a reader had asked for a video tutorial, and so here it is. This is originally a CASE from My Chic and Scratch, but I have altered the measurements to fit A4 cardstock.

Stampin' Up! UK Twist Turn card Butterfly BasicsThis card uses the new Butterfly Basics stamp set, from the Spring/Summer catalogue from Stampin’ Up! This stamp set comes bundled with a set of thinlits, Butterflies Thinlit Dies. This set of dies is a little different that our usual Stampin’ Up! thinlits as not all the dies match a stamp, instead the sets compliment each other. Saying that the butterfly featured on this card is the only stamp/die combination in the set!

Measurements:

Cardstock – 8 1/4 x 5 1/4″ (20.9 x 13.3 cm)

Score on the long side at 2 5/8 and 3 1/2″ (6.6 and 8.9 cm)

Score on the short side at 2 5/8″ (6.6 cm)

Between the two score lines draw two further score lines on a diagonal. Lay your card with the long side at the top and the square created by the previous score lines on the left. Draw a score line from the top of the left hand score line to the point with the right hand score and horizontal score line meet. Then draw a further score line from the point with the right hand score line and the horizontal score line meet to the bottom of the left hand score line.

With the card still laid in the same orientation fold along the horizontal score line, before folding all the score lines both forwards and backwards. Fold the left hand score line backwards, and fold the card along the horizontal score. Holding the card under the square that you have just formed, take hold of the top two corners of that square and tilt. Make sure you burnish all the score lines well at this point.

Then attach your decorative cardstock or DSP.

Measurements:

2 1/4 x 2 1/4″ ( 5.7 x 5.7 cm)
2 1/4 x 4 1/4″ (5.7 x 10.8 cm)


Hannah Wilks

Stampin’ Up! UK Independent Demonstrator

If you like the project, or any of the products used, would like a catalogue, or to join my team, please contact me, or click on the ‘Shop NOW’ button at the top of the page. You can also find me on Twitter, Facebook, YouTube, Google+, About.me, and Tumblr (Links in the sidebar)

Sign up to our newsletter here – http://eepurl.com/2if59

Thank you for stopping by www.www.stampinbyhannah.co.uk today

x

Fancy Fold Friday – Pop-up Gift Card Card Tutorial!

Ok, so before I start, I give Michelle Last full credit for this project, I just think its awesome and HAD to share! (HERE is her version)

Stampin' Up! UK Pop up gift card card

This gift card holder (or gift card card if you will) is super cool! I used this design to hold all the gift cards we gave as Christmas gifts.

Measurements:

Cardstock – 5 3/4″ x 11 3/4″ (14.8 x 29.7cm)

Fold the card in half, and score both ends at 4 1/8″ (10.5cm)

Designer Series Paper – 5 5/8 x 4″ (14.3 x 10 cm)

Whisper White – 5 3/8 x 3 3/4″ (13.8 x 9.5 cm)


I have finished my version with stamping from Work of Art and Something to Say Stamp sets, in the 2014-2016 In-Colours.


Hannah Wilks

Stampin’ Up! UK Independent Demonstrator

If you like the project, or any of the products used, would like a catalogue, or to join my team, please contact me, or click on the ‘Shop NOW’ button at the top of the page. You can also find me on Twitter, Facebook, YouTube, Google+, About.me, and Tumblr (Links in the sidebar)

Sign up to our newsletter here – http://eepurl.com/2if59

Thank you for stopping by www.www.stampinbyhannah.co.uk today

x

Fancy Fold Friday – Scallop Tag Topper Card

Hello!

This is a joint post with my other website – www.thehandmadeweddings.co.uk.

I love making wedding stationary, but a standard card can be a little bit dull, and I love making these!

It uses my favourite Scallop Tag Topper punch, yes I really do use it all the time!

Stampin' Up! UK Scallop tag topper punch wedding card


Measurements:

Cardstock = 8 1/4 x 5 3/4″ (21 x 14.5 cm)

Mark your halfway point on the short sides of your cardstock – approximately 2 7/8″ (7.3 cm) and use these as guide marks when using your scallop tag topper punch

Score one of the tags where it joins the card, and fold.

Score the main card at 4 1/4″ (10.8 cm)


Insert measures – 3 7/8 x 5 1/2 ” (10 x 14 cm)

Card matt measures – 2 1/4 x 5 1/2″ (5.5 x 14 cm)


For more information and to see the complete Wedding invitation collection visit – www.thehandmadeweddings.co.uk


Hannah Wilks

Stampin’ Up! UK Independent Demonstrator

If you like the project, or any of the products used, would like a catalogue, or to join my team, please contact me, or click on the ‘Shop NOW’ button at the top of the page. You can also find me on Twitter, Facebook, YouTube, Google+, About.me, and Tumblr (Links in the sidebar)

Sign up to our newsletter here – http://eepurl.com/2if59

Thank you for stopping by www.www.stampinbyhannah.co.uk today

x

Fancy Fold Friday – Thinlit edition…..

Ok, So I thought I had finished Fancy Fold Friday (I’m planning on bringing it back soon, I just haven’t got round to making any Fancy Fold cards recently!), and then I found this on my desk.

I know that this really is cheating, but people are always so impressed with these cards, and they just look so complicated to make, but really they are so easy, and its all down to a die!

Stampin' Up! UK Circle Thinlit Festival of Trees

This card is created using the Circle  Card Thinlit die. Stampin’ Up! have 3 of these ‘flip card’ creating dies at the moment, this circle one, a label one, and a great snowflake one! Each die comes with a number of other dies to create a great card. These dies are wonderful! Trying to made a ‘flip card’ by hand is a right pain! This die, not only cuts the card to the right size, but cuts the flip shape AND creates the score lines! and all I had to do was run it through my Big Shot!

To create this card I cut a piece of Real Red cardstock to the slightly bigger than the Circle Card Thinlit die, and ran it though my Big Shot. I also grabbed the scallop circle die from the same die set and a piece of Old Olive cardstock, and ran that through the Big Shot too!

I couldnt make one of these cards without using my favourite Festival of Trees stamp set, this time stamped in Pear Pizzazz, Old Olive, and Real Red. The sentiment is also from the same stamp set, stamped in Real Red, and cut into a cute little banner.

The tricky bit of this card is cutting that DSP! The paper I have used here is from Santa and Co. (that one with the crazy dancing Santas!). To ensure that the DSP fits the card, I used the Circle Card Thinlit die again, but this time cut the DSP rather than cardstock. Then cut along the score lines to give me two pieces; one for the front and the other for the inside! Then its just a case of adding Snail adhesive and sticking it all together!

Over the next few weeks I will be revisiting some of my previous Fancy Fold cards, and adding videos! Like my Facebook page or Subscribe to my YouTube to stay up to date and get my latest projects straight away.


Hannah Wilks

Stampin’ Up! UK Independent Demonstrator

If you like the project, or any of the products used, would like a catalogue, or to join my team, please contact me, or click on the ‘Shop NOW’ button at the top of the page. You can also find me on Twitter, Facebook, YouTube, Google+, About.me, and Tumblr (Links in the sidebar)

Sign up to our newsletter here – http://eepurl.com/2if59

Thank you for stopping by www.www.stampinbyhannah.co.uk today

x

Fancy Fold Friday – Twist Turn Card

Its that time again! Fancy Fold Friday Time – and now we’re getting complex!

This week its the super cute Twist Turn Card!

I love this card, it make such a great birthday card, and is the perfect size to hold a gift card. Actually, while we’re on that – I love giving gift cards as gifts – who doesn’t love the gift of shopping?! lol, ok, but sometimes gift cards are really handy gifts (thinking here of any gamers in your life, I don’t know about you but I think £40 is an expensive gift, but I don’t mind contributing!) So, we give James’ younger brother gift cards, but trying to find a way to package them in a way that’s not really boring is a bit of a challenge. When I gave him a Twist Turn card for his birthday this year, I got a ‘ooooh, cool!’ a great compliment from a 13 year old I do believe! So, I haven’t included a way of attaching your gift card into the card, but that’s really because I use the Stampin’ Up! 2-way glue pen – if you use this adhesive when its wet (and blue) its permanent, but leave it to dry (and turn clear) it becomes re-positionable – and great for holding a gift card!

Stampin' Up! UK Twist Turn Card Gift card holder

Ok, so, to the card! The card base (Hello Honey, if you were wondering!), is cut to 8 1/4″ by 5 1/4″, score it on the long side at 2 5/8″ and 3 1/2″, and on the short side at 2 5/8″. Then, you need to make two diagonal score lines. Orientate the cardstock with the short side at the top, with the two score lines going horizontally near the bottom, draw a score line from the bottom score line at the edge of the cardstock, to the middle of the next score line, repeat on both sides – giving you an arrow pointing away from you. Fold on all the score lines. Stampin' Up! UK Twist Turn Card Gift card holder


The folds should be burnished well, of the card wont stand up well. The DSP used here is from the Moonlight DSP stack (LOVE!), and the stamps are from Everything Eleanor, and Something to Say, punched out uisng the 1″ circle punch, scallop circle punch, and Modern Label punch.

Let me know if you want a video tutorial for this (or anything other card)

See you again next week

x


Hannah Wilks

Stampin’ Up! UK Independent Demonstrator

If you like the project, or any of the products used, would like a catalogue, or to join my team, please contact me, or click on the ‘Shop NOW’ button at the top of the page. You can also find me on Twitter, Facebook, YouTube, Google+, About.me, and Tumblr (Links in the sidebar)

Thank you for stopping by www.www.stampinbyhannah.co.uk today

x


Fancy Fold Friday – Halloween Card in a Box!

Happy Halloween!

and Happy Fancy Fold Friday!

This week I thought I would knock things up a gear and give you a card in a box!

I love these cards! When I’ve made them for people, everyone is always stunned by them!

Stampin' Up! UK Card in a Box Halloween

Isnt it fab!

Ok, So the measurements for this fab project:

Cardstock = 9 x 5 inches (23 x 13 cm) and two pieces measuring 3 x 2″ (8 x 5cm)

DSP = 4 3/4 x 1 7/8″ (12 x 4 1/2cm), 4 pieces that measure 2 x 2 1/8″ (5 x 5.2cm) and 3 pieces that measure 2 x 2 5/8″ (5 x 6.5cm)

Score the Cardstock on the short edge at 2 3/4″ (7cm) and on the long side at 2 1/8″, 4 1/4″, 6 3/8″ and 8 1/2″ (thats every 5.2cm!)

I’ve used Tangelo Twist (I LOVE that orange!) and Flashback DSP for this box, and have fussy cut the images from the Tee-Hee-Hee stamp set for the embellishments! (how cute are those bats!) All the stamping is done using Staz-on Ink

Check the video for full instructions!


DISCLAIMER – I work in Inches, all metric measurements are approximate!

The sentiment used on this card is from Good Greetings – which is still available for FREE with an qualifying order placed before the end of October!

Hannah Wilks

Stampin’ Up! UK Independent Demonstrator

If you like the project, or any of the products used, would like a catalogue, or to join my team, please contact me, or click on the ‘Shop NOW’ button at the top of the page. You can also find me on Twitter, Facebook, YouTube, Google+, About.me, and Tumblr (Links in the sidebar)

Thank you for stopping by www.www.stampinbyhannah.co.uk today

x

Fancy Fold Friday – Centre Step Card

Hello! Welcome to another Fancy Fold Friday!

This card was so complicated! I very very nearly gave up with it all together, and I’ve got to say that the DSP dimensions were pure luck! However, i decided I would share the basic structure of the card with you.

Stampin' Up! UK Centre Step Card

This card uses Pool Party Cardstock cut to 8 1/4″ by 5 3/4″. You’re going to need to grab that Stampin’ Trimmer for this one! Cut two lines in the card stock, the first at 1 3/4″ from 1 3/4 to 4 3/4″ and then at 4 1/4″ from 1 3/4 to 4 3/4″. This should give you two slits in your piece of card. Then score along the long edge at 2″, at the start of the two slits (between the two slits ONLY!), at 4 1/8″ either side of the cuts, and between the two slits at 5 3/4″ and at the end of the slits.

Stampin' Up! UK Centre Step Card

This card also features stamps from Blooming with Kindness and Petite Petals (along with the Petite Petal punch) and the Sentiment is punch using the Decorative Label Punch

Let me know in the comments below if you want a video tutorial on some of the fancy folds featured as part of Fancy Fold Friday!

See you again next week

x


Hannah Wilks

Stampin’ Up! UK Independent Demonstrator

If you like the project, or any of the products used, would like a catalogue, or to join my team, please contact me, or click on the ‘Shop NOW’ button at the top of the page. You can also find me on Twitter, Facebook, YouTube, Google+, About.me, and Tumblr (Links in the sidebar)

Thank you for stopping by www.www.stampinbyhannah.co.uk today

x

Fancy Fold Friday – Steps of a Festival!

So, this is the last post of our week of Festival of Trees 🙁

I really do love this stamp set (can you tell!) and I’m sure I have plenty of crafting left with it before it leaves us on January 5th 2015

As its Fancy Fold Friday, I couldnt end the week without doing a Fancy Fold Festival of Trees card – this week, Stepper Cards!

FFF - stepper 1

This card is a little complex to cut and score. The cardbase (here in Mossy Meadow) is cut to 8 1/4 by 5 3/4, and is scored on the short side at 2″, and on the long side at 4 1/8″, and 2 1/8, 5 1/4. 6 1/4/ ad 7 1/8 to the 2″ score line.

Side Stepper Card Score Dimentions

Using you Stampin’ Trimmer, cut the 2″ score line between the 2 1/8″ score line and 7 1/8″. The next trick is folding. Fold the 7 1/8″ score line away from you, folding the other lines like a concertina, ensuring that the 4 1/8″ score line on the unscored side is also folded away from you.

This should give you a side stepper card!

As it is Festival of Trees week, I have decorated my Side Stepper as a forest, using two of the tree stamps, the star and both of the sentiments.

FFF - stepper 2

Have I mentioned how much I love how Stampin’ Up! products coordinate – the festival of trees star stamp which works perfectly with the star punch from the Itty Bitty Accents Punch Pack! LOVE IT!

In addition to the Mossy Meadow cardstock, this card features Very Vanilla cardstock, and Mossy Meadow, Pear Pizzazz and Real Red inks!

Can wait for next week!

x


Hannah Wilks

Stampin’ Up! UK Independent Demonstrator

If you like the project, or any of the products used, would like a catalogue, or to join my team, please contact me, or click on the ‘Shop NOW’ button at the top of the page. You can also find me on Twitter, Facebook, YouTube, Google+, About.me, and Tumblr (Links in the sidebar)

Thank you for stopping by www.www.stampinbyhannah.co.uk today

x