Ok, so have you started on your Christmas cards yet? No?! well, don’t worry because this coming week I will be sending out a small mountain of Autumn/Winter Catalogues – let me know that you want one by adding your name to the list!
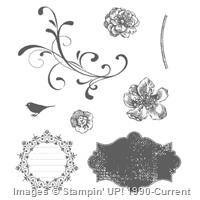
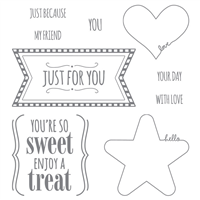
This card however, uses a stamp set you can get your hands on right now! have you found the Christmas section of the Annual Catalogue, it is AWESOME! I love this cute Santa, carrying a present or a candy cane! This stamp set also features a sweet little Rudolph I just can’t wait to use!
I’m sorry if this video was a little odd. I did some editing on this one (unusual for me) and I was trying out a new editing programme, think I will be returning to my normal editing suite next week!
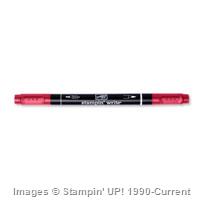
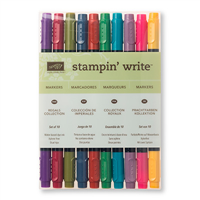
I have coloured Santa in here using my Stampin’ Write markers in Real Red, Cherry Cobbler, Smokey Slate, Basic Black and Garden Green. I don’t even attempt blending with my markers, instead I just add a bit of a darker colour to create some shadow – nice, simple colouring in!
To purchase any of the items featured in my projects please use the links above. To join my team of Stampin’ Friends select ‘Join My Team’ or send me a message!
Please support StampinByHannah, and join my Code Club, by using the Hostess code featured in the top right hand of my blog. For orders of over £150 please do not use this code, as you are entitled to your own Hostess benefits!
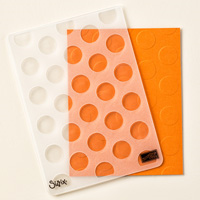
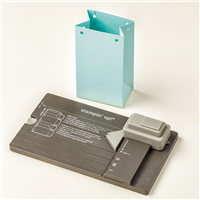
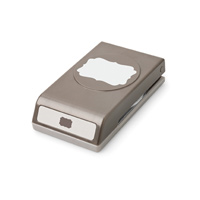
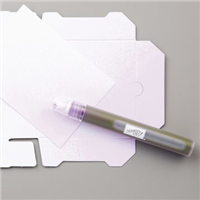
Oh yes, I’ve been playing with my Gift Bag Punch Board again! Last time I posted a Gift Bag Punch Board project I had a comment on my YouTube about it being nice to see a left-handed crafter attempt to use a punch board, well, I’m at it again!
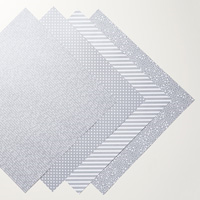
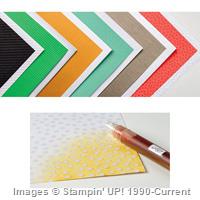
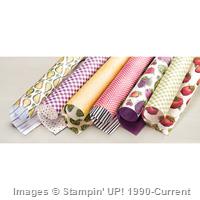
Aren’t these coin wallets super cute! I LOVE using the Neutrals Colour Collection of Designer Series Paper, did you know you get some pieces of Gold and Silver paper in there too?! I know, it’s awesome! I think these wallets are a great way to gift money or gift cards, why just give them in a card, make something really cute!
Measurements:
Designer Series Paper – 7 x 7″ (18 x 18 cm)
1. Line the edge of the Designer Series Paper with the start line on the Gift Bag Punch Board
2. Punch
3. Score at line M and the Horizontal Line
4. Line the Score line up to the start line
5. Score at line M and the Horizontal Line
6. Punch
7. Rotate the DSP by 180 degrees, and repeat the previous 6 steps ensuring the score lines match
8. Fold and burnish on the score lines
9. Choose which side is your front and back, and cut off the front flap on one side
10. Apply adhesive to the skinny strip down the side, and one of your bottom flaps
11. Close up your Coin Wallet
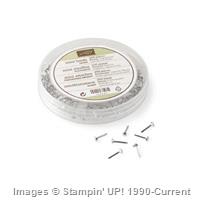
12. Create you closure, punch two 3/4″ circles from card stock, use brads to attach them to the wallet and wrap bakers twine around them in a figure of 8
To purchase any of the items featured in my projects please use the links above. To join my team of Stampin’ Friends select ‘Join My Team’ or send me a message!
Please support StampinByHannah, and join my Code Club, by using the Hostess code featured in the top right hand of my blog. For orders of over £150 please do not use this code, as you are entitled to your own Hostess benefits!
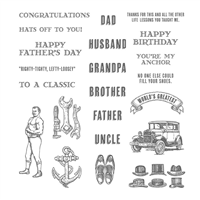
Aren’t we always struggling for men’s birthday cards aren’t we?! Why are men so damn tricky! Well I think I have a almost perfect men’s card for you today
What do you think? What to know how I did that background? Well, because I love you, I will tell you!
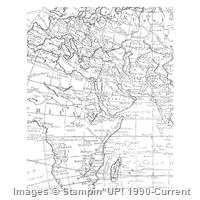
The secret is Colour Me Irresistible (The speciality Designer Series Paper at the top of page 142 of the Annual Catalogue) This great designer series paper features some pieces of white resist paper, including this great stripe. I love stamping on Designer Series Paper, I have a habit of hoarding DSP, and getting it out to stamp on is a great way for me to use it! So, I’ve stamped on the Colour Me Irresistible using the World Map Background stamp – so great for Men’s card!
That Happy Birthday, well that’s from Guy Greetings, and I have used the decorative label to punch it out. Then I have used the same punch on a piece of Real Red card stock, and cut the punched piece in half, attaching on half to one side of my sentiment piece, and the other to the other side. This is then popped onto a couple of Dimensionals and added to the card over a couple of loops of Linen thread.
Don’t forget to shop using the Code Club Code to receive some great FREE product!
2JTHMV6W
I will be closing this order on the 30th August 2015
To purchase any of the items featured in my projects please use the links above. To join my team of Stampin’ Friends select ‘Join My Team’ or send me a message!
Please support StampinByHannah, and join my Code Club, by using the Hostess code featured in the top right hand of my blog. For orders of over £150 please do not use this code, as you are entitled to your own Hostess benefits!
Oh dear, now this post is messy 🙁 really messy. The technique is inky yes, but there is no need to make as much of a mess as me! (check out the video tutorial to see what I mean!)
This is stamp rolling, adding more than one ink colour to a round stamp from two different ink pads. I needed a circular stamp for this and just had to use I Think You’re Great again! The first card uses Bermuda Bay and Pool Party to create a two-tone stamped image, while the card on the right uses Cherry Cobbler and Real Red.
See, isn’t it so super simple (if you manage to keep hold of your stamps, unlike me!)
How to:
Ink you stamp with a light ink colour (I used Real Red for this card)
Take a hold of your stamp (firmly) and press the edges of the stamp into the darker ink pad in a rolling motion, ensuring you don’t touch the middle of the stamp into the ink pad
Always use the lighter colour first so you don’t get darker ink into your light ink pads
To purchase any of the items featured in my projects please use the links above. To join my team of Stampin’ Friends select ‘Join My Team’ or send me a message!
Please support StampinByHannah, and join my Code Club, by using the Hostess code featured in the top right hand of my blog. For orders of over £150 please do not use this code, as you are entitled to your own Hostess benefits!
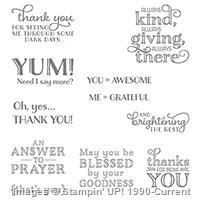
I had so much fun making this card! Would you like to join me and make some fun cards next month? On the 9th of September I am holding my monthly Technique Class, and this time we are using Me = Grateful to make 3 lovely cards
I have recently discovered how much fussy cutting I actually do! For all I say I don’t cut anything out at all, ever, it actually appears that I fussy cut quite often. This card features a really cute fussy cut pear from the Farmers Market Designer Series Paper.
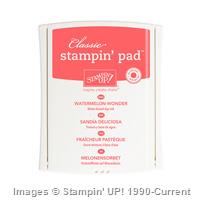
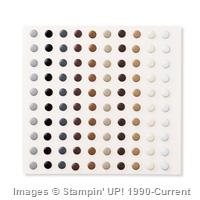
That wonderful sentiment is stamped directly onto another piece of the same Designer Series Paper in Watermelon Wonder, with some neutral Candy Dots to finish
To purchase any of the items featured in my projects please use the links above. To join my team of Stampin’ Friends select ‘Join My Team’ or send me a message!
Please support StampinByHannah, and join my Code Club, by using the Hostess code featured in the top right hand of my blog. For orders of over £150 please do not use this code, as you are entitled to your own Hostess benefits!
Hi! Welcome to StampinByHannah! I hope you enjoy my blog, feel free to have a poke around, leave some likes, and follow along with some tutorials! Check out my latest Classes in the menu bar at the top of the page, and I can’t wait to hear from you!
Todays project was planned as one thing, but changed along the way to be something a little bit different!
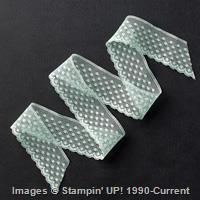
My big plan was a video tutorial decorating this photo frame. However, I started making my sample, added the two butterflies and a bow of Dotted Lace trim, and decided it as so gorgeous it didn’t really need any more – or really warrant a video tutorial either! However, the butterflies IN the frame (also beautiful!) could do with some explanation! The frame came from Asda for about £1.50
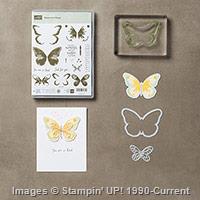
I am loving the Watercolour Wings bundle. This great stamp set, comes complete with two dies, one to cut the whole stamped butterfly and another smaller to coordinate with the Butterfly Thinlits dies.
There are so many ink colours here. The framed version uses; Mint Macaron, Bermuda Bay, Delightful Dijon, Wisteria Wonder and Soft Sky. While the un-framed one uses; Lost Lagoon, Mint Macaron, Pink Pirouette, Melon Mambo and Crushed Curry.
The Watercolour Wings stamp set includes three stamps to make this butterfly (plus four to layer a smaller butterfly, some accent pieces and sentiments). The most solid stamp should be stamped first, with the detailed pieces layering over the top. This is a photopolymer stamp set, so layering up those stamped images is super easy too!
I couldn’t leave without a close up of that lovely die-cut on the frame. The larger butterfly is from the Butterflies Thinlits dies set, and is die cut from Wisteria Wonder Card stock, with the smaller Mint Macaron butterfly from the Bold Butterflies thinlits layered onto with some Tombow glue. The 1″ Dotted Lace Trim ties into a beautiful bow too. I used Tombow to adhere the embellishment to the frame, and left it to dry overnight.
To purchase any of the items featured in my projects please use the links above. To join my team of Stampin’ Friends select ‘Join My Team’ or send me a message!
Please support StampinByHannah, and join my Code Club, by using the Hostess code featured in the top right hand of my blog. For orders of over £150 please do not use this code, as you are entitled to your own Hostess benefits!
I am loving this stamp set so much! So much that it is my Stampin@Home class for September! (more details of that at the bottom of this post!)
This card is a slightly different size to my normal makes, it still uses half a sheet of A4 but I have folded on the short side, rather than the long side I normally use. I love this style of card, although the change in dimensions did throw me off a little.
That wonderful butterfly is stamped using Watercolour Wings, using 3-step stamping. The first layer (and most solid) is stamped in Watermelon Wonder stamped off once, then the outer edges and body are in Mint Macaron, before I added the final details in Watermelon Wonder. One quick tip though, die cut the butterfly BEFORE stamping the body! otherwise you are at risk of cutting off his (or her) head, and we don’t like beheaded creatures!
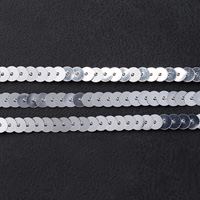
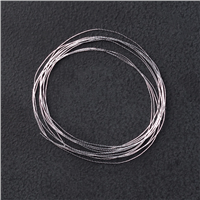
To finish I added a scattering of sequins from the Silver Sequin Trim and some loops of the Silver Metallic thread.
To purchase any of the items featured in my projects please use the links above. To join my team of Stampin’ Friends select ‘Join My Team’ or send me a message!
Please support StampinByHannah, and join my Code Club, by using the Hostess code featured in the top right hand of my blog. For orders of over £150 please do not use this code, as you are entitled to your own Hostess benefits!
Welcome to my Free Online Workshop of August. Seeing as I got married on Saturday I thought it only fitting to do a wedding themed workshop while I am away!
I have been super busy over the last few months preparing for my wedding; making wedding favours, Orders of Service, invitations, thank you cards, place settings and table plans, as well as working full time and running my Stampin’ Up! business! Things have been completely insanely crazy! and although I am currently lying on a beach you can be sure I am planning some awesome things for when I get back!
Just as I get back into working the Autumn/Winter catalogue launches! As a demonstrator I get a super awesome sneaky peak! and get to order things before it goes live on 1st September. You can get a sneaky peak now too – just by joining my team! Get a head start with your Christmas cards and festive projects, get to order the latest products first, and save money in the process! Awesome. You can find more information about joining Stampin’ Up! on my FAQ, or drop me a message (I will be replying to email while I am away I promise!)
I know, I have been really naughty with this one! Very very rarely do I use anything that is not Stampin’ Up! but I really needed some larger cards for my family Thank you’s, and these 8 x 8 cards just happened to still be in the drawer from my pre-SU crafting days (surely it would be a waste NOT to use them up, right!)
As you can see I have a theme to my wedding projects. My Invitations were made before I became a demonstrator (yes, I really am that organised!) and so didn’t use Stampin’ Up! products! (Shocking, I know!) but they did use a map stamp. I used the World Map Background Stamp on these cards, stamped in Elegant Eggplant onto Whisper White and punched using the Sweetheart Punch, so cute!
Everything Eleanor just scream wedding to me, and so I couldn’t not use it on my Thank you cards. These are the cards for people that helped us with our day; the church, the hotel, the photographer etc. I love them all, and they all worked so hard! I do hope they like the cards as a special thank you
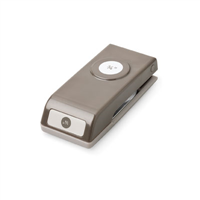
My 3D project this month is my wedding favours. I have to admit that these are totally not my design, they come from Papercraft Button and here wonderful YouTube tutorial from a couple of Easters ago! I made these about 18 months ago, all cut and scored, with sticky strip applied just ready for assembly. The ones on my wedding tables also featured a cute heart in that wonderful map print too, and were held together by the Stampin’ Up! clothespins (or pegs!) just like this one
Measurements:
Card stock – 6 1/2 x 4 1/2″ (17.5 x 11.5 cm)
Score on the long side at – 1 1/2, 3, 4 1/2 and 6″ (4, 8, 12 and 16 cm)
Score on the short side at – 1 1/2, 3 and 4 1/8″ (4, 8 and 10.5 cm)
*please note the metric version is slightly bigger than the imperial shown in the video*
To purchase any of the items featured in my projects please use the links above. To join my team of Stampin’ Friends select ‘Join My Team’ or send me a message!
Please support StampinByHannah, and join my Code Club, by using the Hostess code featured in the top right hand of my blog. For orders of over £150 please do not use this code, as you are entitled to your own Hostess benefits!
I had this idea a few months ago, actually before the launch of this annual catalogue, and I had a great plan for a great stamp …. that then sadly went and retired! but I couldn’t give up on the idea, and chose a different background stamp instead. I have been loving the World Map stamp recently, particularly for men’s cards.
This first card would make a great men’s birthday card. I just love this background technique, it creates a wonderful subtle backdrop for your sentiment and embellishments.
How to:
Ink the middle of your background stamp in Sahara Sand ink, carefully lay a piece of Whisper White card stock onto your background stamp. Apply light pressure using your finger tips, but only in certain areas.
If you watched the video tutorial above you will have seen this card looking a hot mess! Here the background stamp was inked in Versamark and heat embossed in Clear Stampin’ Emboss Powder onto Watercolour paper. Then, using a large round brush and a heap of water, three colours of ink were added; Soft Sky, Mint Macaron and Lost Lagoon. Once the card had been left to dry, the coloured melted back into the card stock, giving this lovely soft finish
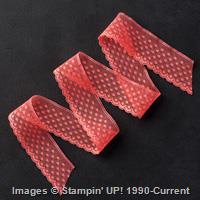
This is the most simple of the three cards, with the World Map being inked in Delightful Dijon and stamped onto a piece of Whisper White. I had to girly this card up a bit as the other two are definitely destined for boys, by adding some of that beautiful Dotted Lace Trim in Watermelon Wonder and mounting the piece onto a Watermelon Wonder Card base.
Each card here uses the same design, but the different techniques give completely different looks. I have even kept the sentiment the same; using the You’re So Sweet Stamp set.
To purchase any of the items featured in my projects please use the links above. To join my team of Stampin’ Friends select ‘Join My Team’ or send me a message!
Please support StampinByHannah, and join my Code Club, by using the Hostess code featured in the top right hand of my blog. For orders of over £150 please do not use this code, as you are entitled to your own Hostess benefits!
Ok, so I am now away on my honeymoon – just in case you missed it I got married on Saturday! (Yay!) but I am not leaving you, my blog will continue while I am away. However, it may take me a little longer to answer an email and comments, you can continue to place orders via my Webstore and they will not be affected by my absence.
But this card today, it’s for you! For reading my blog, for checking out my YouTube channel, for liking my Facebook page, for re-pinning my Pinterest pins, for all of you!
Once again I am using that Whisper White Thick Card Stock (which I LOVE!), but I still have not mastered getting decent photographs of it yet (White on White is hard folks!)
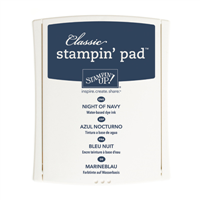
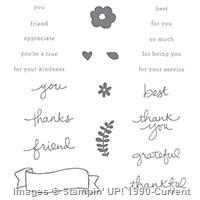
I am loving using the Endless Thanks stamp set, I just love the little images that all stamp together to create awesome designs. I created a mask for this card, using a piece of Sticky Note tape. First I stamped that banner onto the card in Night of Navy, and then onto the tape. I fussy cut the version on the tape to create my mask. The mask is then applied over the banner on the card, and the stamping then happens over the top.
Those flowers and leaves are stamped in Watermelon Wonder, Crushed Curry and Pear Pizzazz, with those lovely cute hearts added in Night of Navy.
One layer cards are a bit different for me, but I LOVE this one! What do you think? Let me know in the comments section below.
Thanks for reading, and I’ll see you again soon!
Don’t forget to shop using the Code Club Code to receive some great FREE product!
2JTHMV6W
I will be closing this order on the 30th August 2015
To purchase any of the items featured in my projects please use the links above. To join my team of Stampin’ Friends select ‘Join My Team’ or send me a message!
Please support StampinByHannah, and join my Code Club, by using the Hostess code featured in the top right hand of my blog. For orders of over £150 please do not use this code, as you are entitled to your own Hostess benefits!